Underfloor Insulation
Cut draughts and cold spots from suspended timber floors — installed from below where access allows, from above where it doesn't.
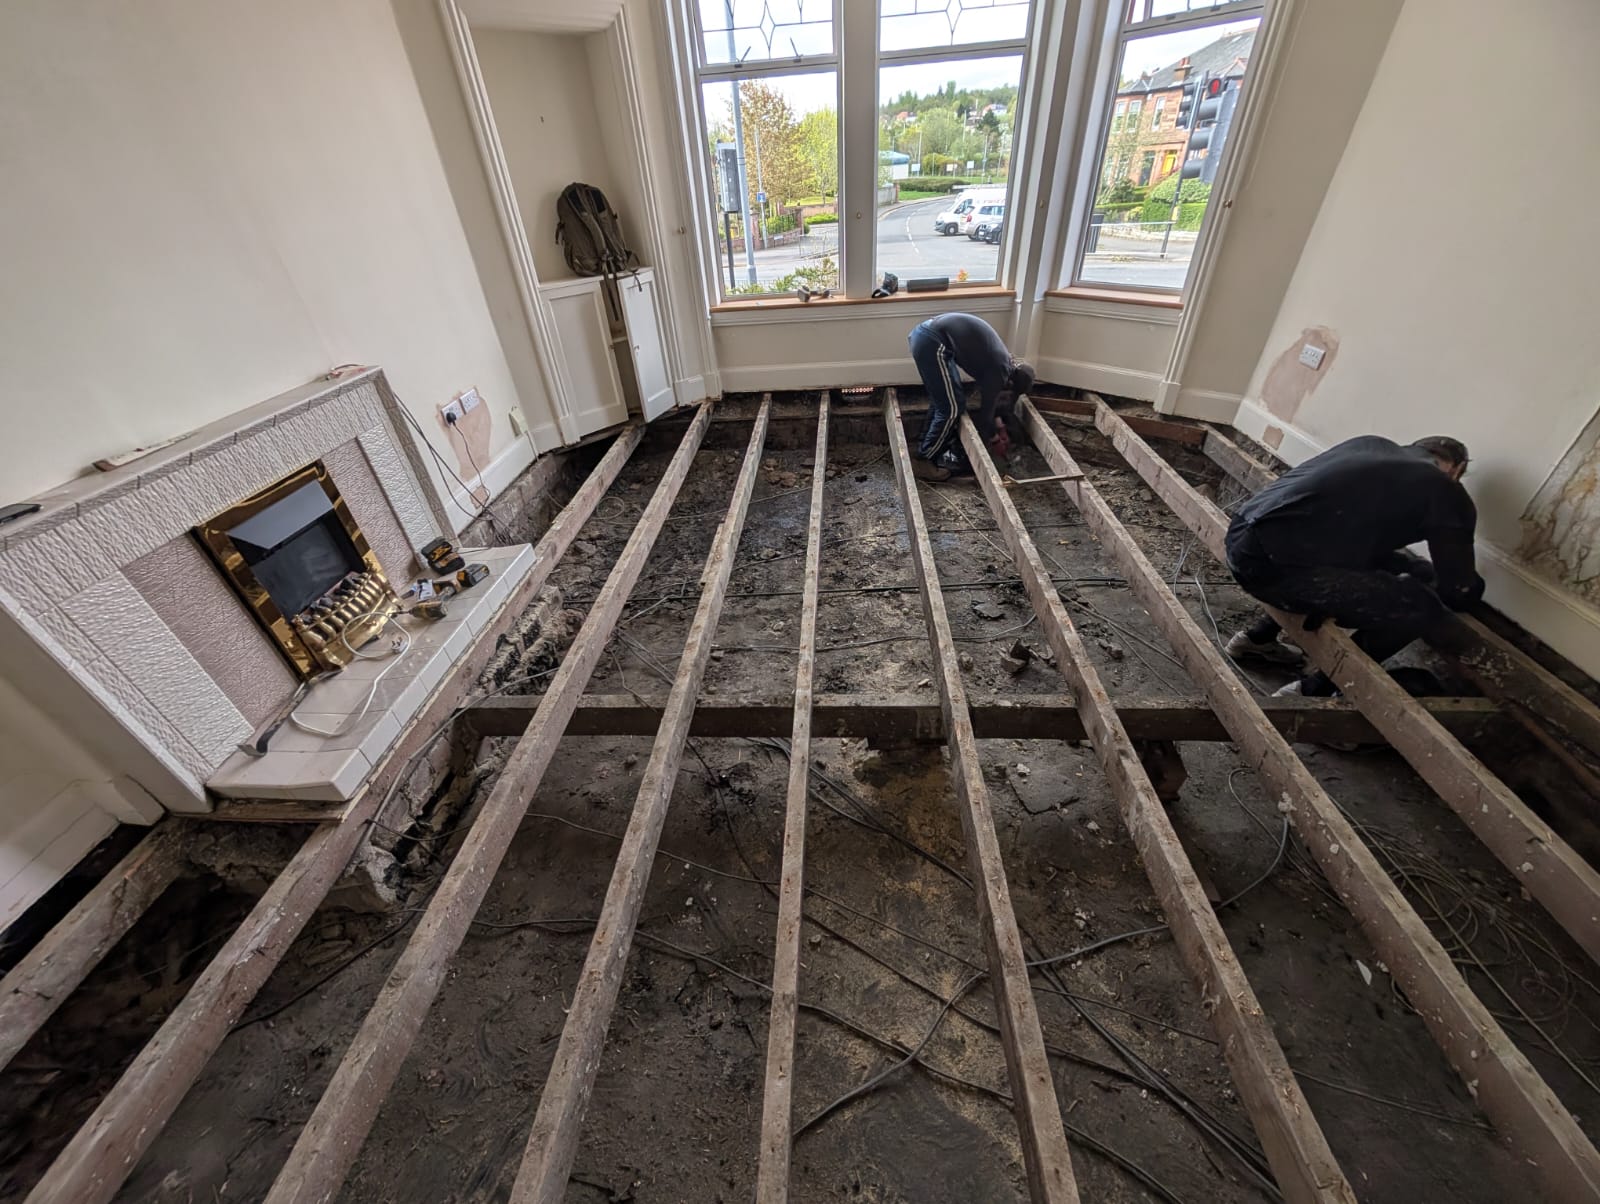
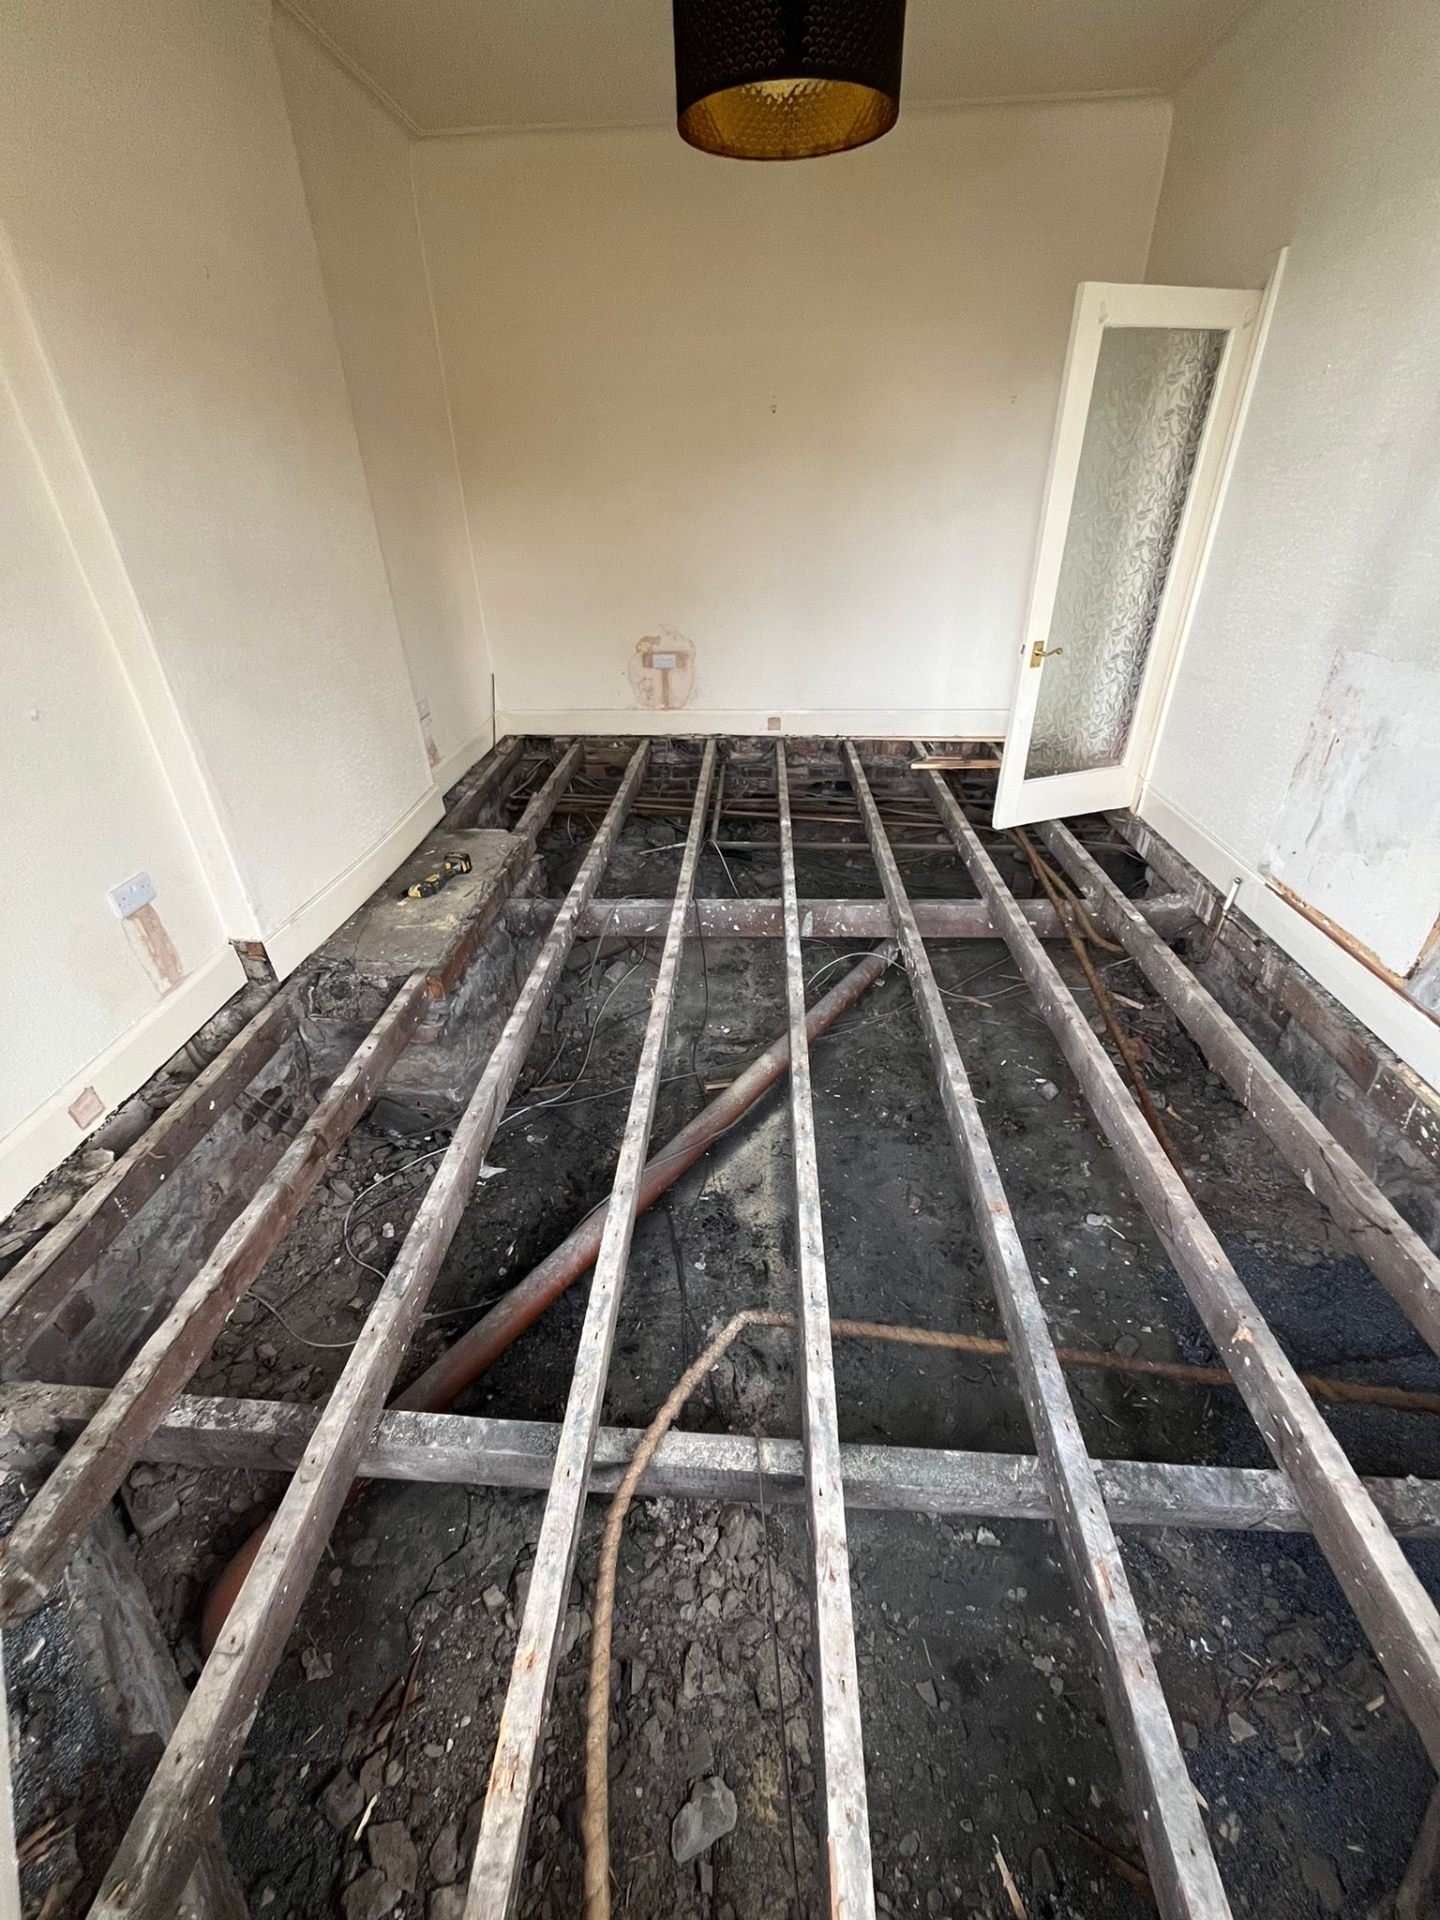
Suspended timber floors leak warmth into ventilated sub-floor voids and let cold air seep up around skirtings and floorboards.
We offer three underfloor insulation systems: a standard Knauf Omnifit 40 installation from below for cost-effective performance, a natural Inditherm Hemp system with Pro Clima airtightness membranes for maximum performance, and a high-performance PIR solution specifically designed for underfloor heating. Every installation maintains sub-floor ventilation, prevents pipework freezing and leaves the floor safe and secure.
Benefits
- Eliminates cold air infiltration from floorboards and around skirting boards
- Reduces heat loss by up to 15%
- Saves up to £180 per year on heating bills
- Makes floors noticeably warmer underfoot
- Lowers energy bills by preventing heat loss
- Improves overall home comfort
- Reduces condensation and dampness
- Reduction in carbon emissions
Standard Installation
Underfloor Insulation is an extremely cost effective measure when access is available to carry out the work from below the floors themselves. We can work in subfloor spaces as shallow as 350mm and use Knauf Omnifit 40 floor insulation rolls as they are tested and certified for use in timber floors while being packaged in a way that is easy to move about and install in tight spaces while giving great thermal performance.
Typical cost: £1,400–£2,500
Process
- Step 01
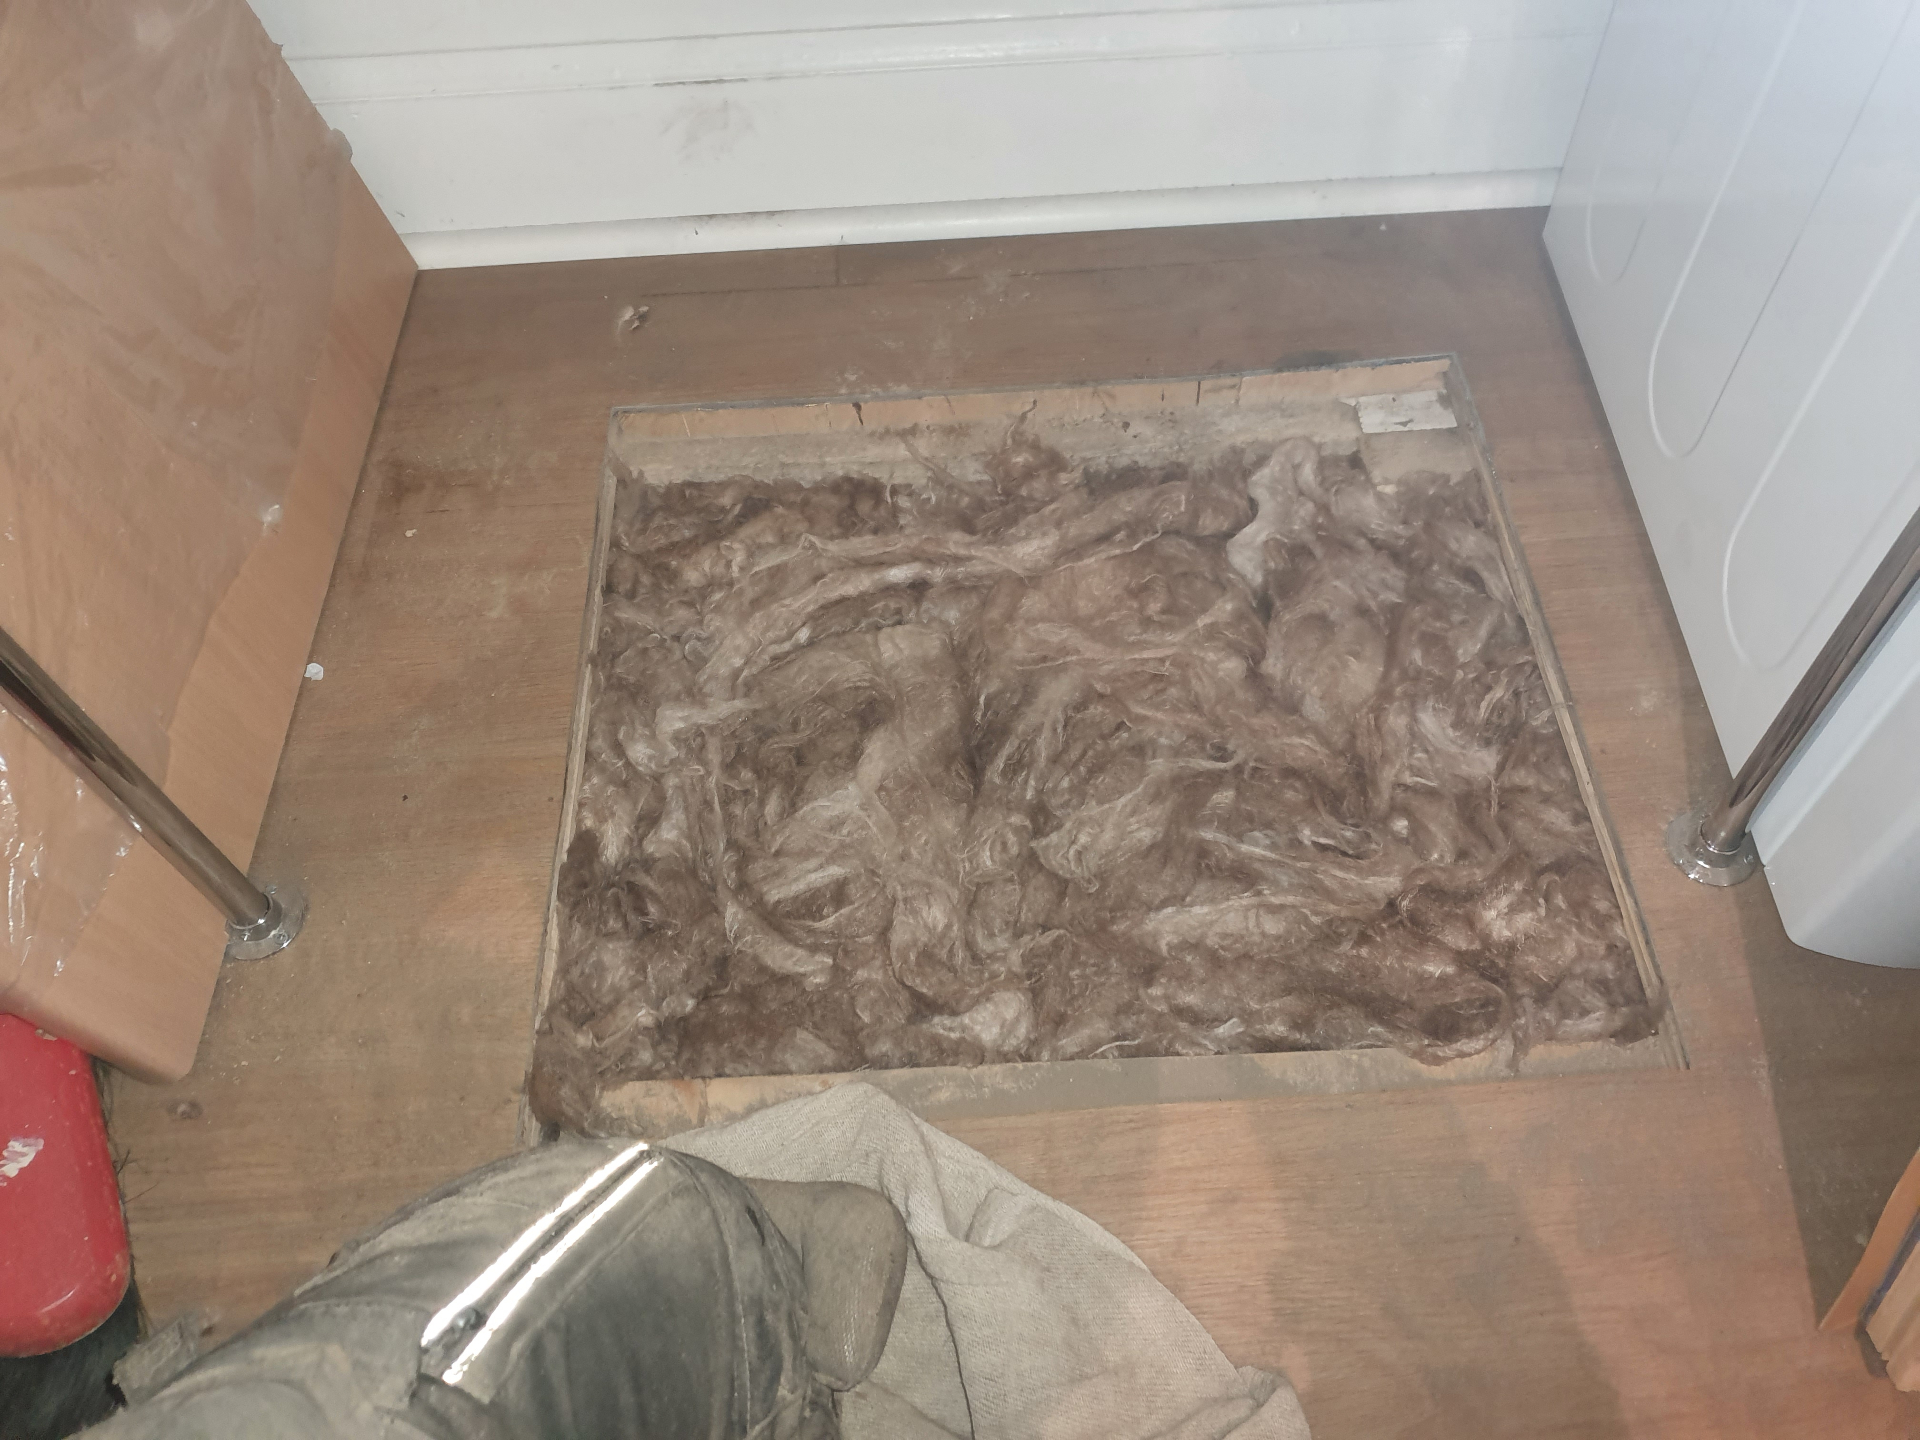
We access the subfloor space through any existing floor hatches or can create an access point easily by cutting and lifting some of the base floor layer. Carpeted rooms are generally easiest to create an access point and we can usually do the entire ground floor from one hatch.
- Step 02
Any electrical wiring that has been installed inside the joist level is unclipped and rerouted below the joists to prevent overheating.
- Step 03
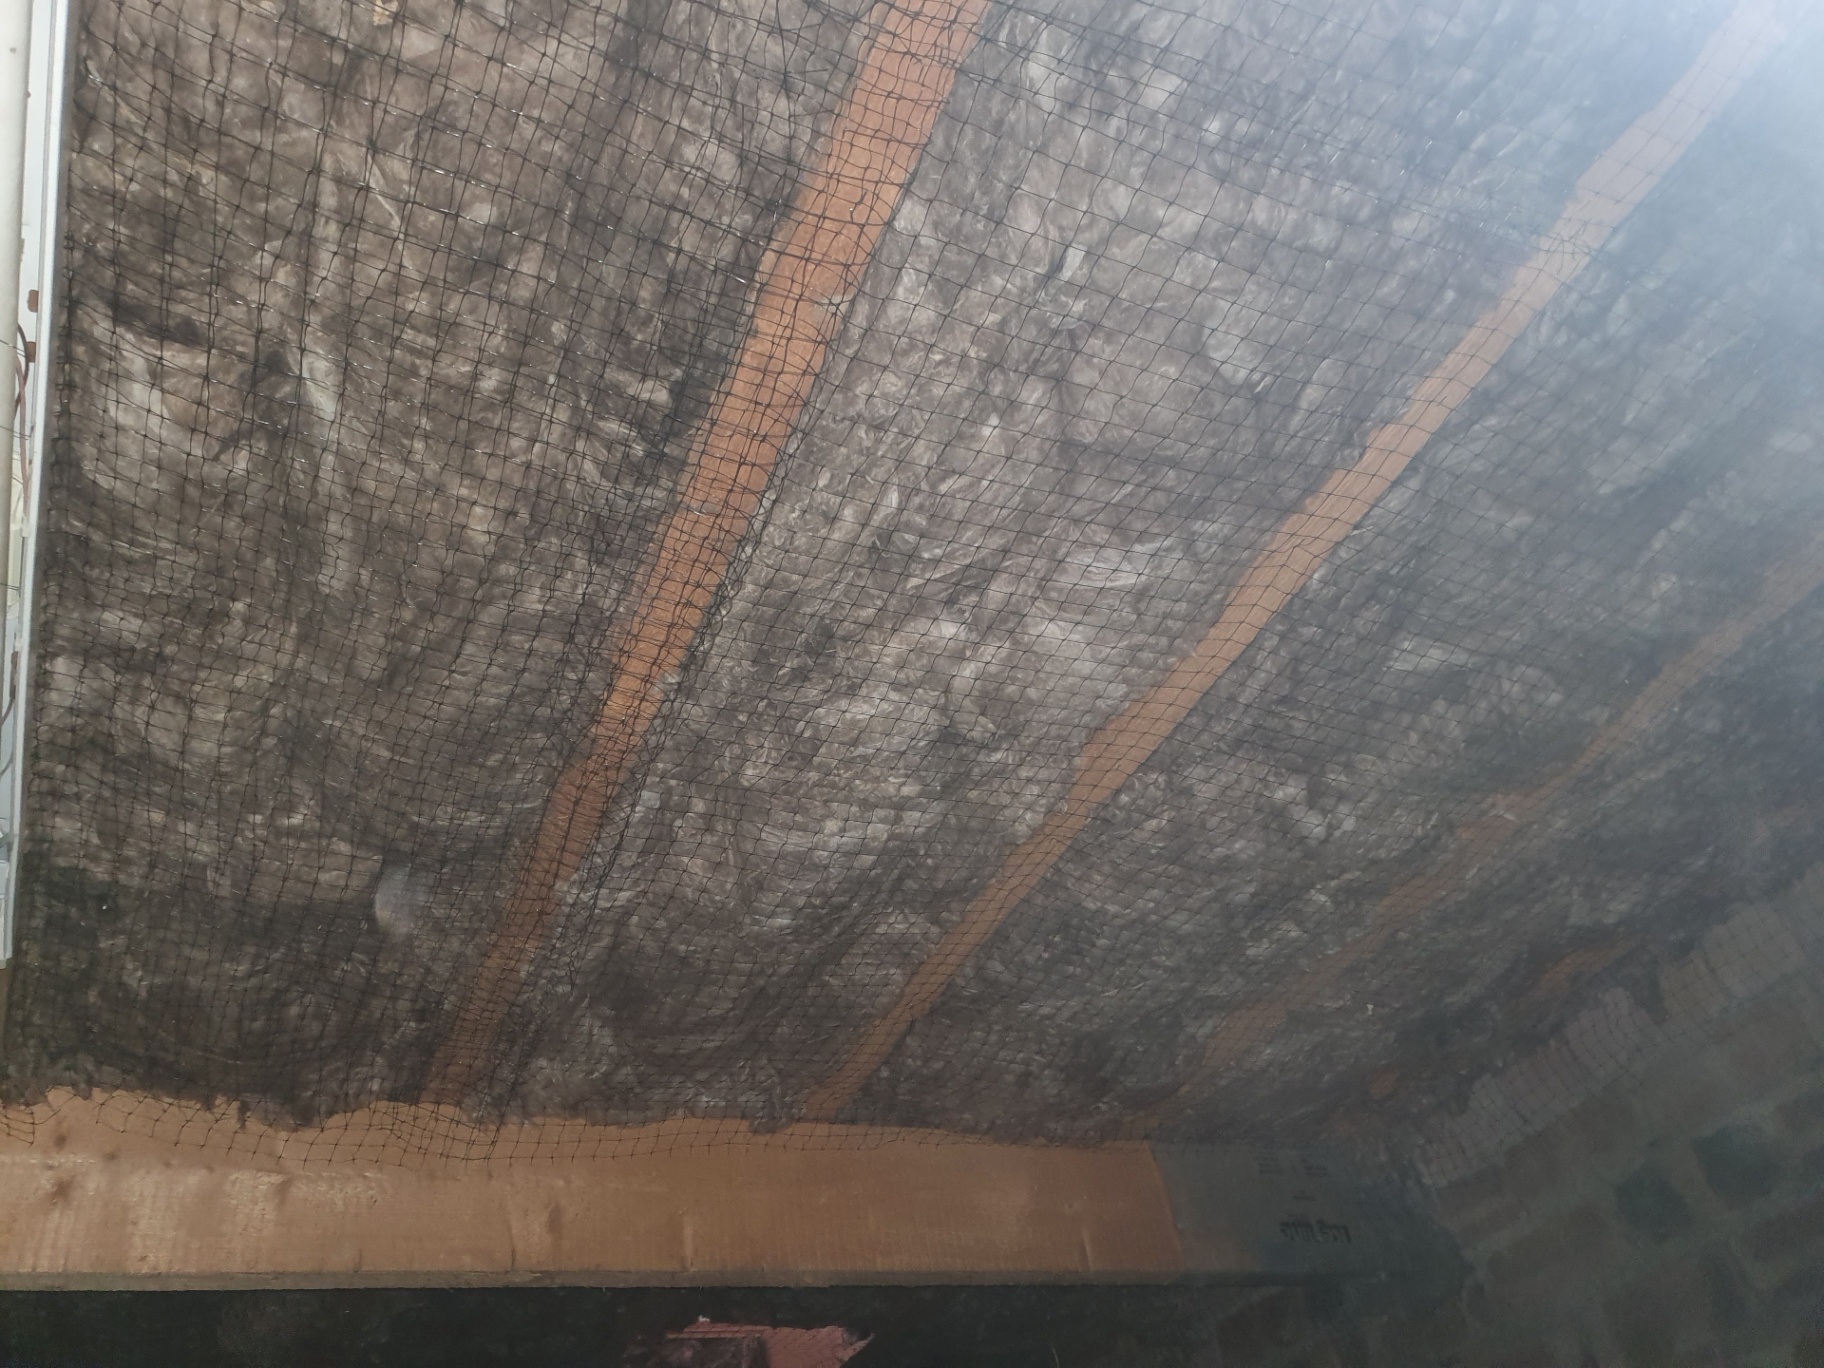
We install 150mm or 200mm Knauf Omnifit 40 floor insulation cut slightly wider than the joist widths to friction fit and fill the entire joist depth.
- Step 04
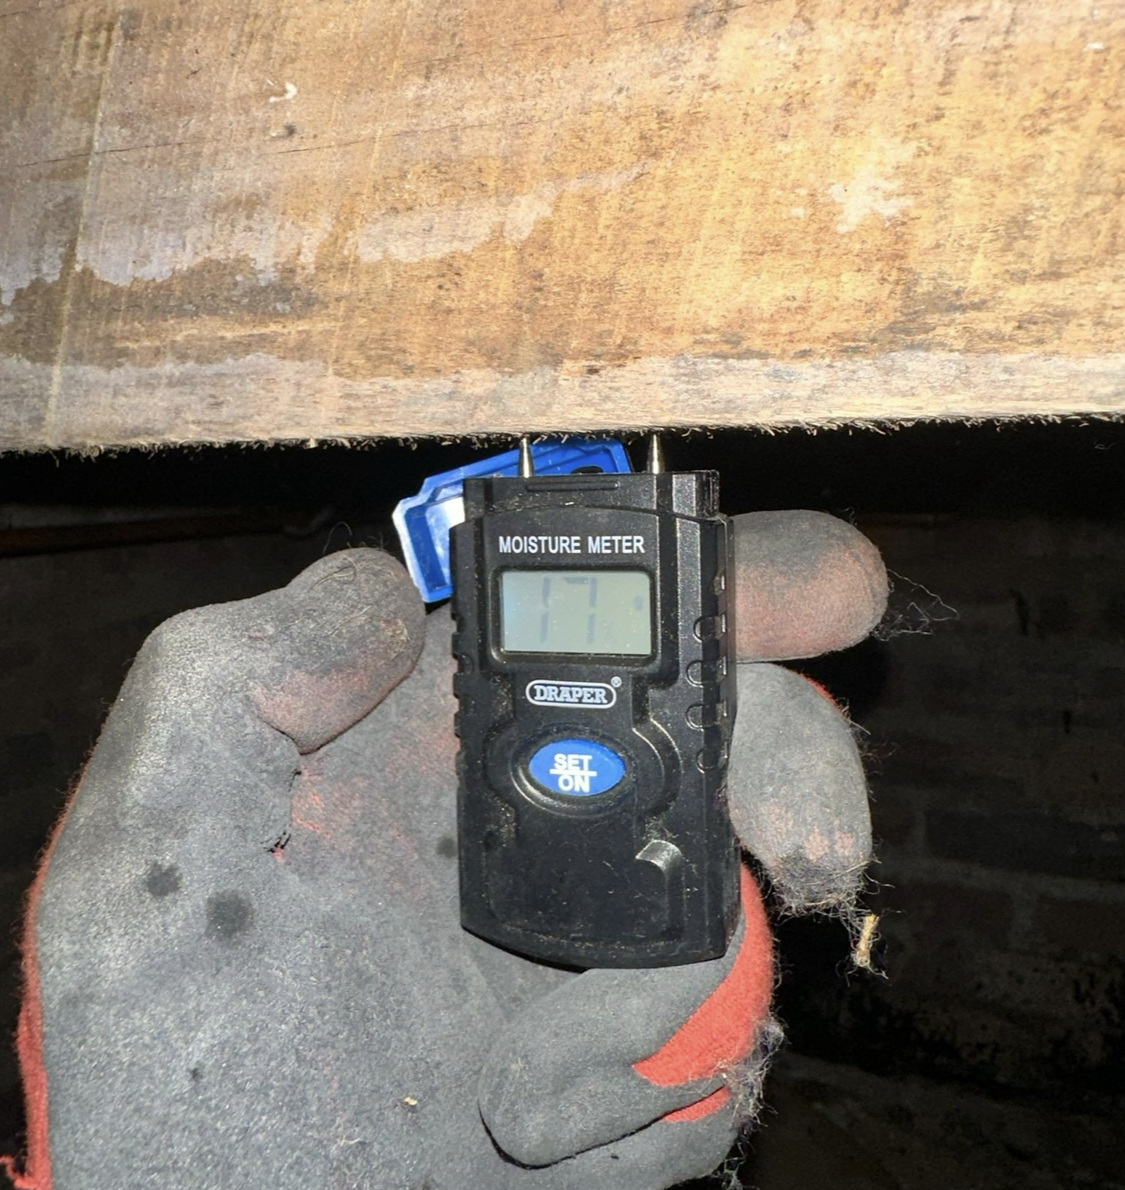
We then insulate any existing central heating pipes to prevent them from freezing in winter due to less heat entering the subfloor space after the insulation is fitted.
- Step 05
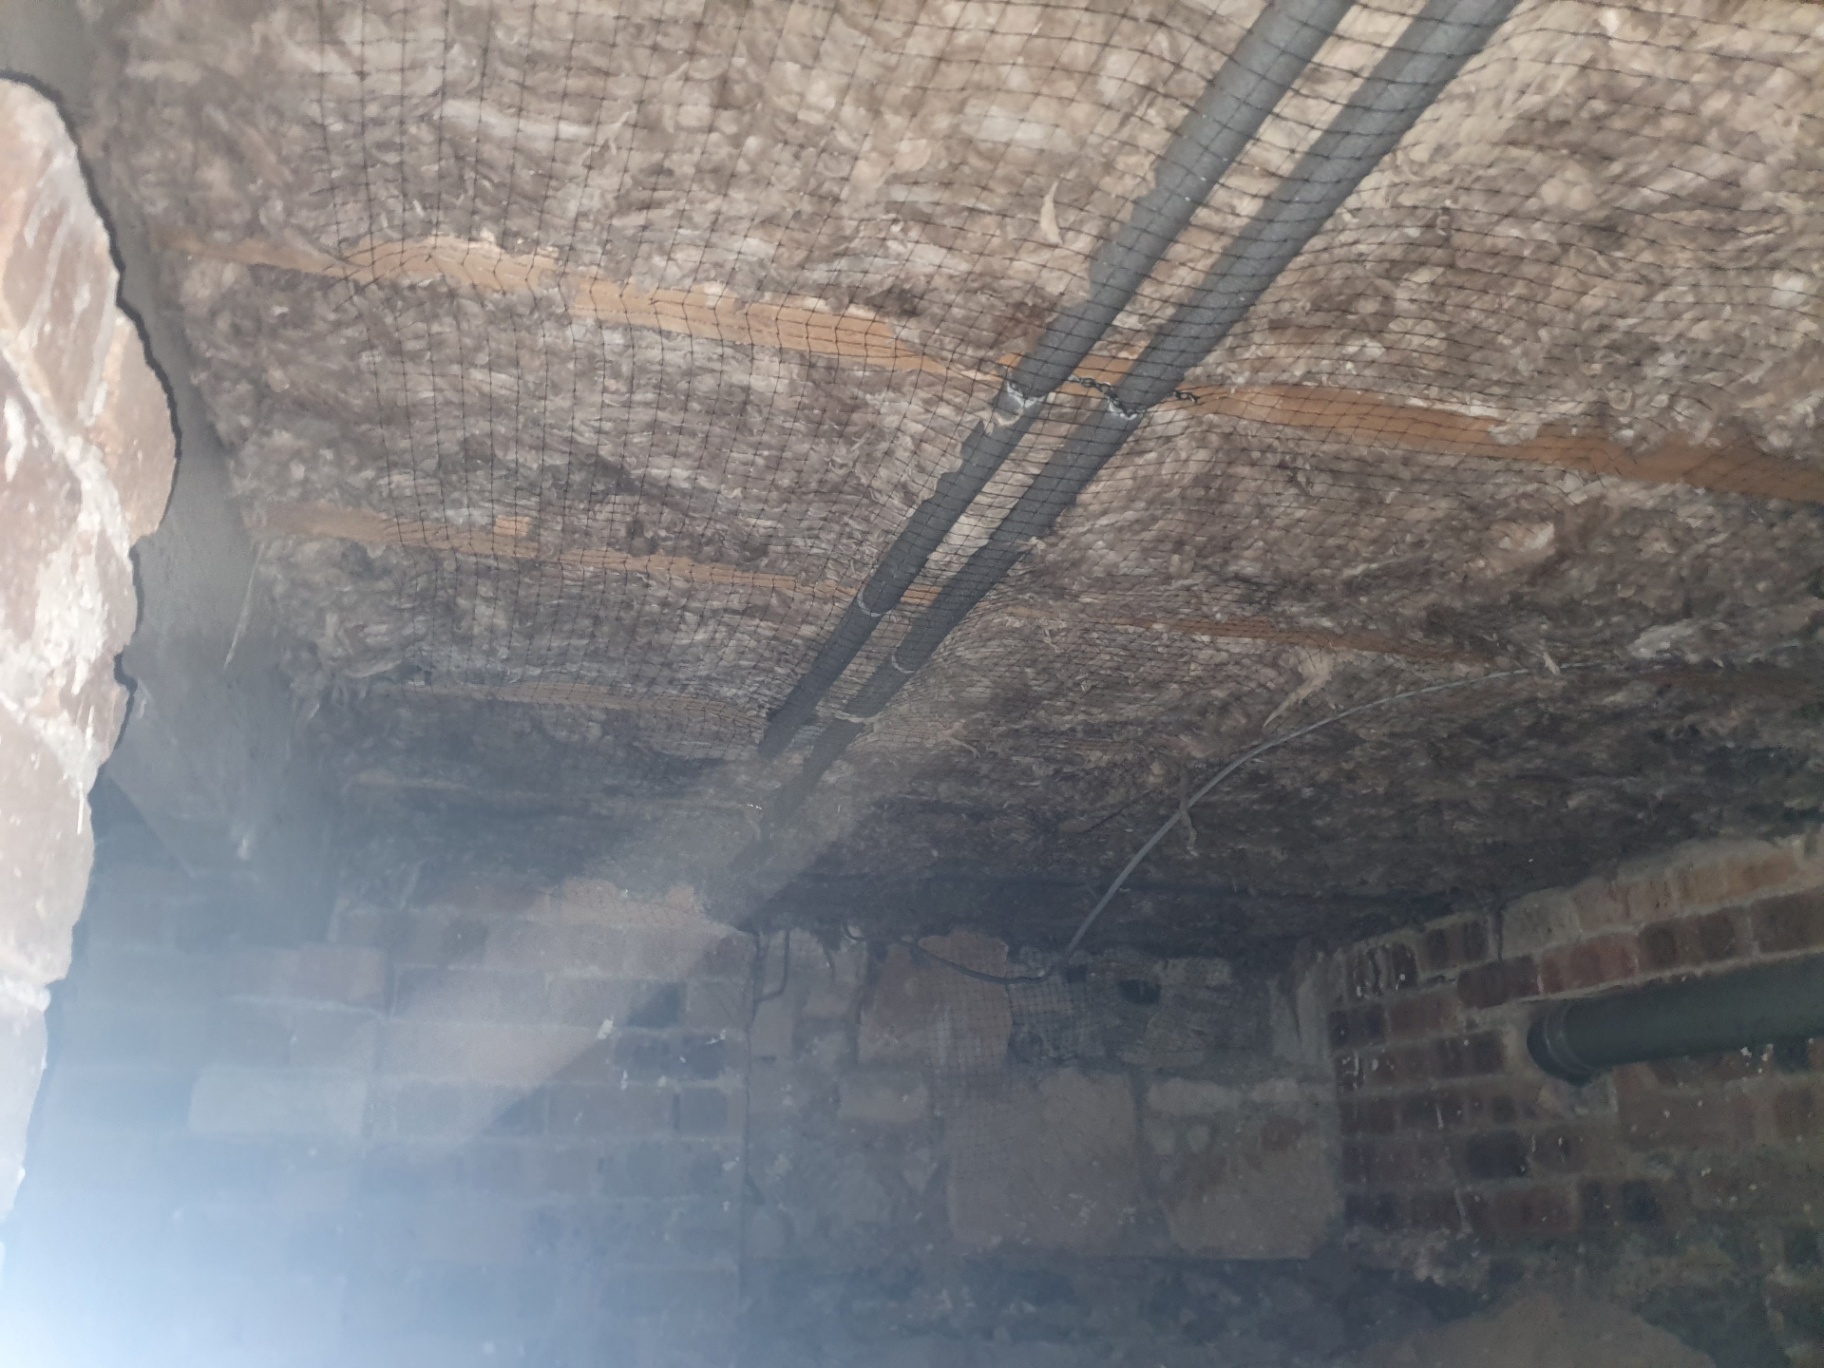
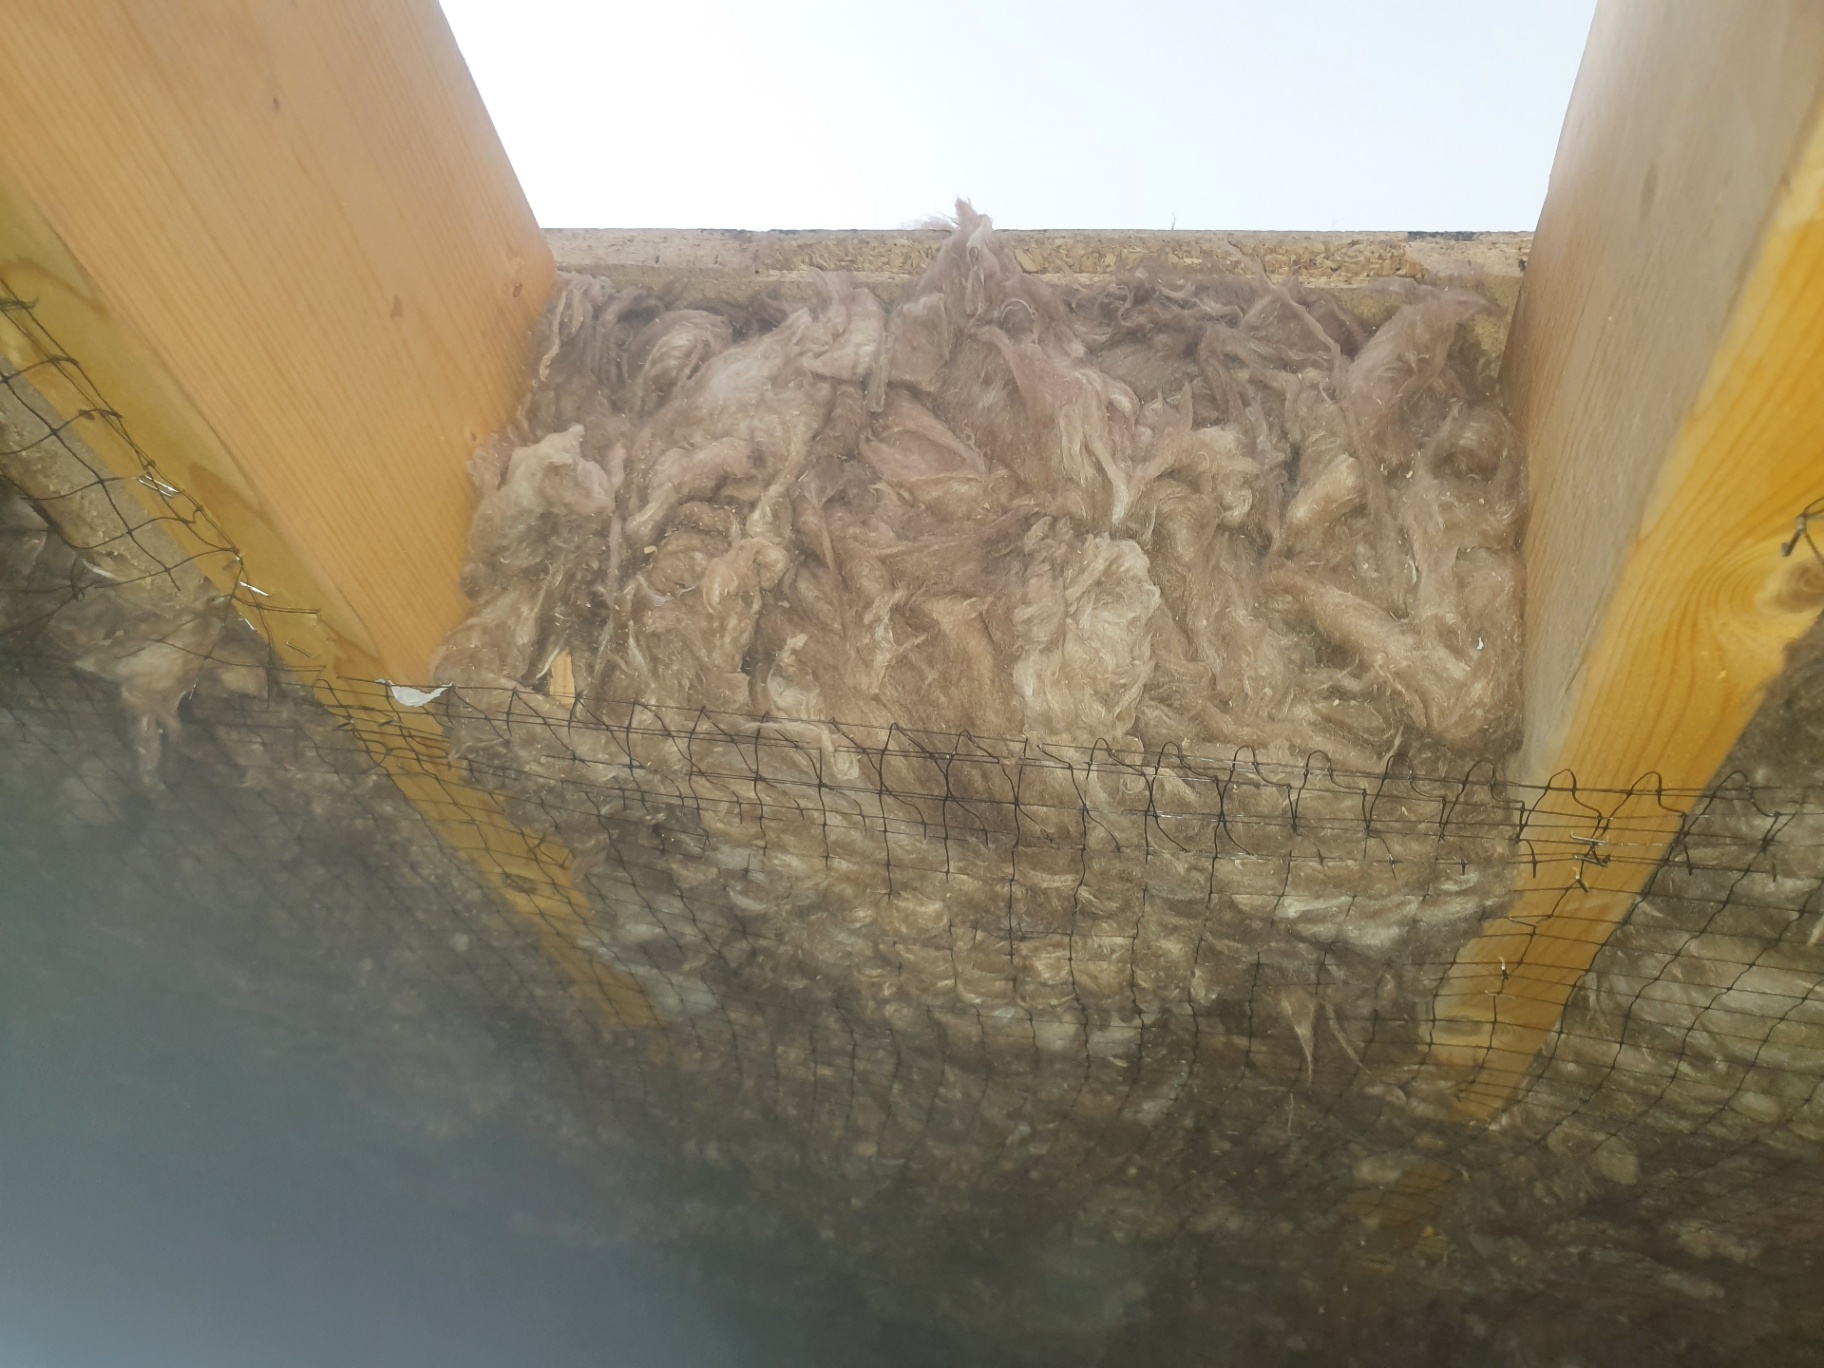
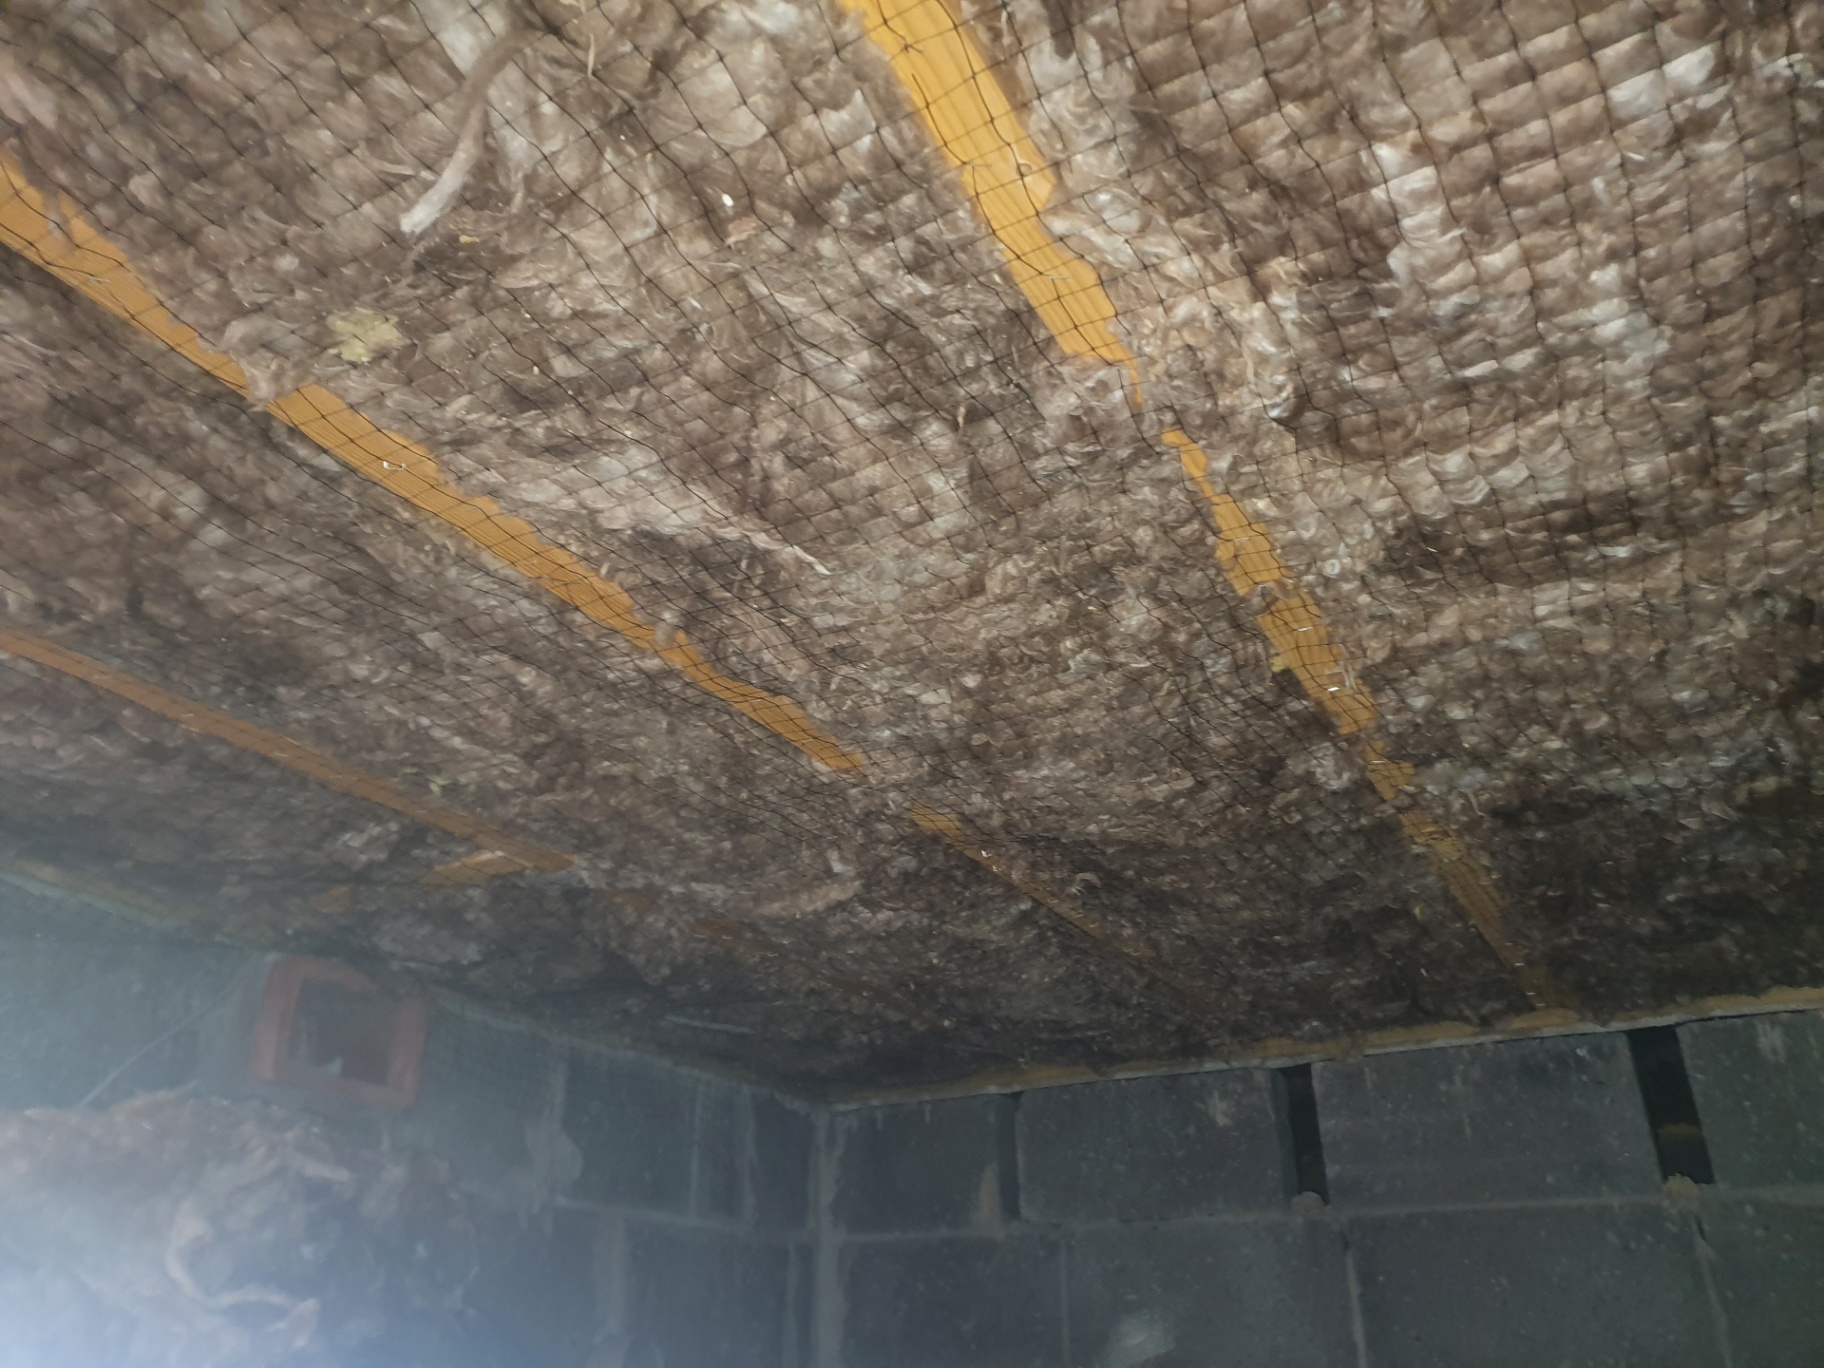
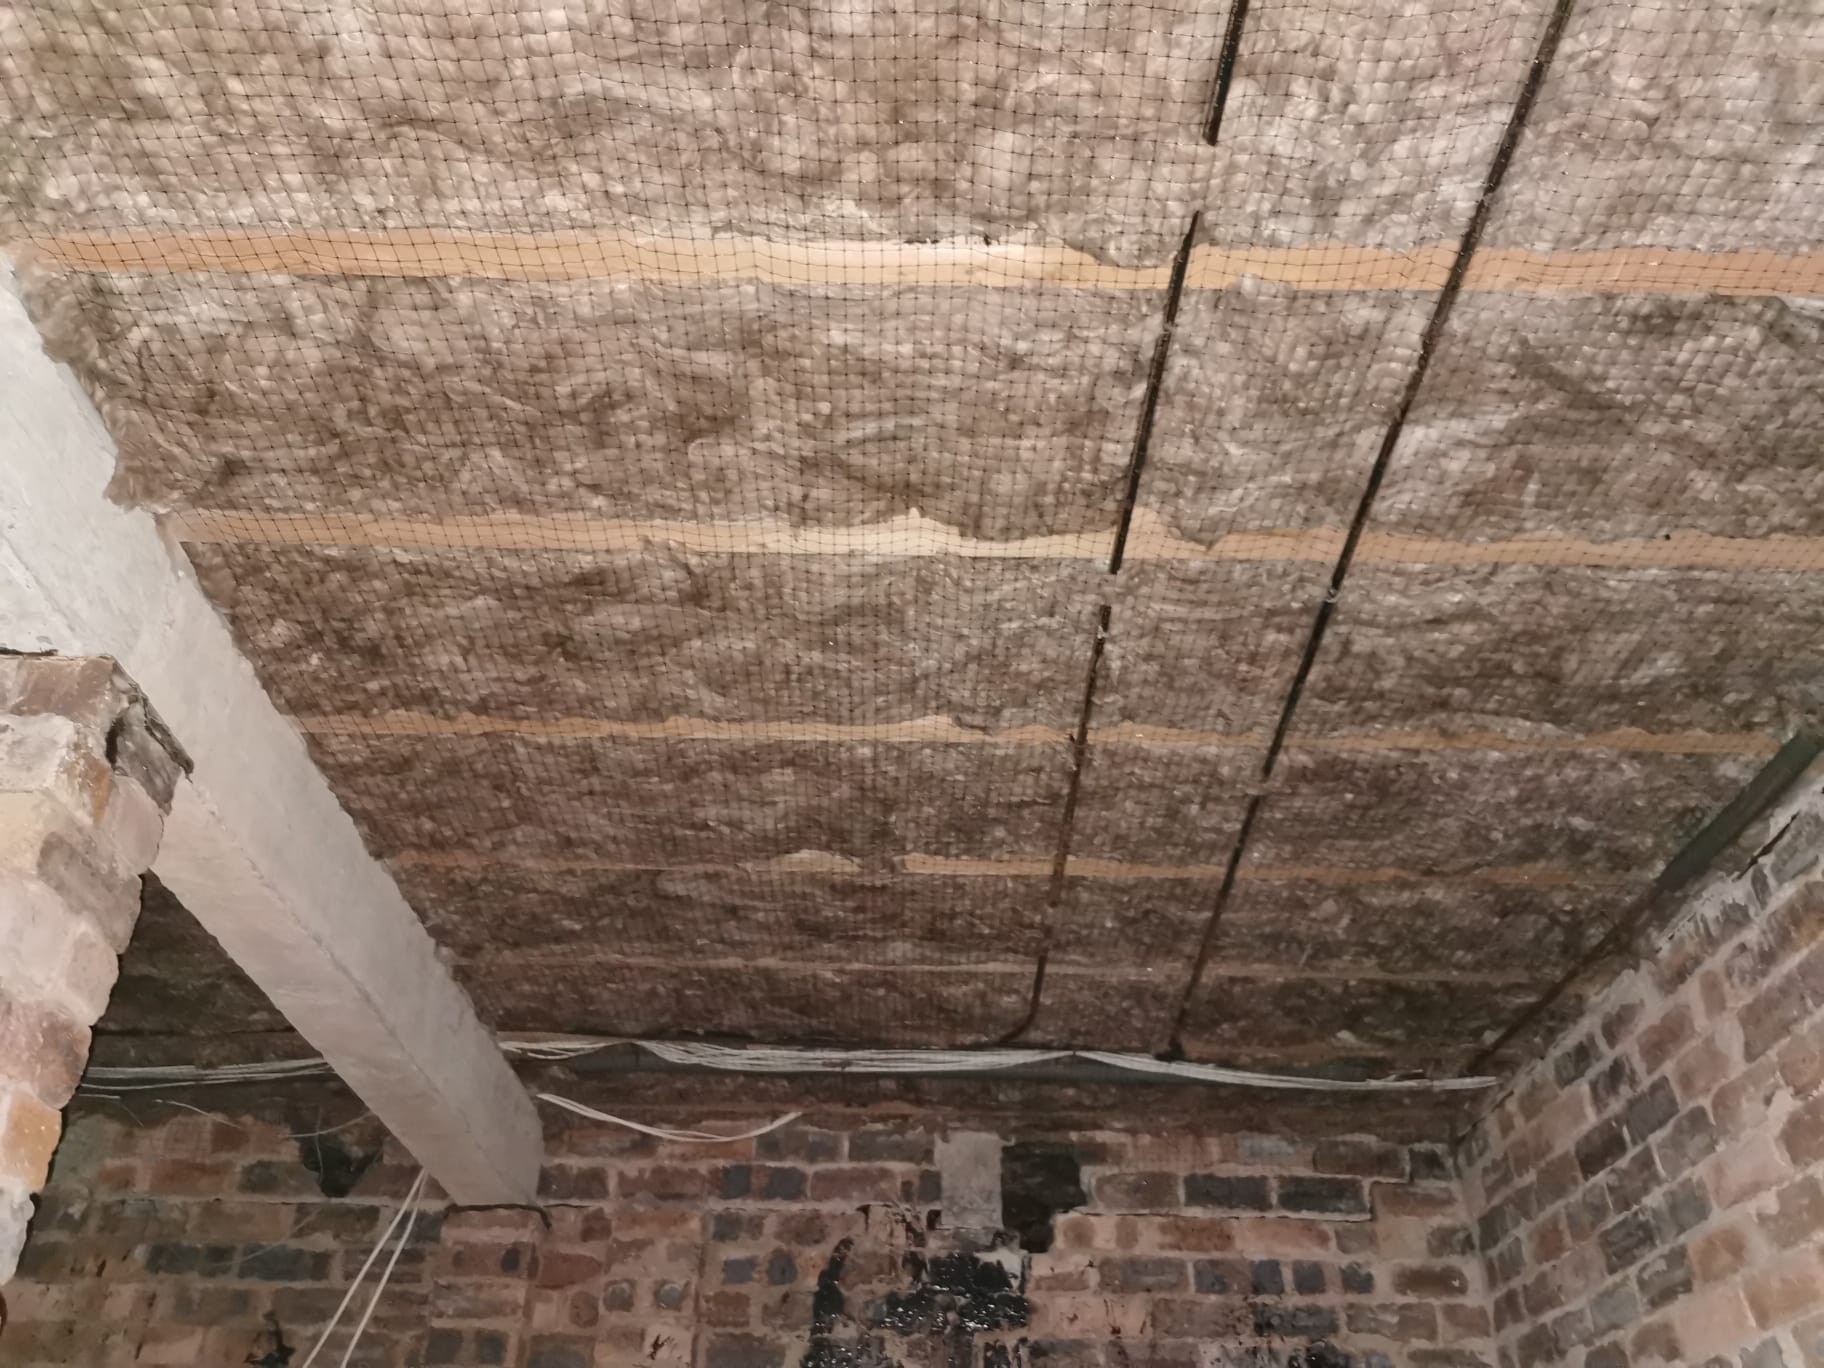
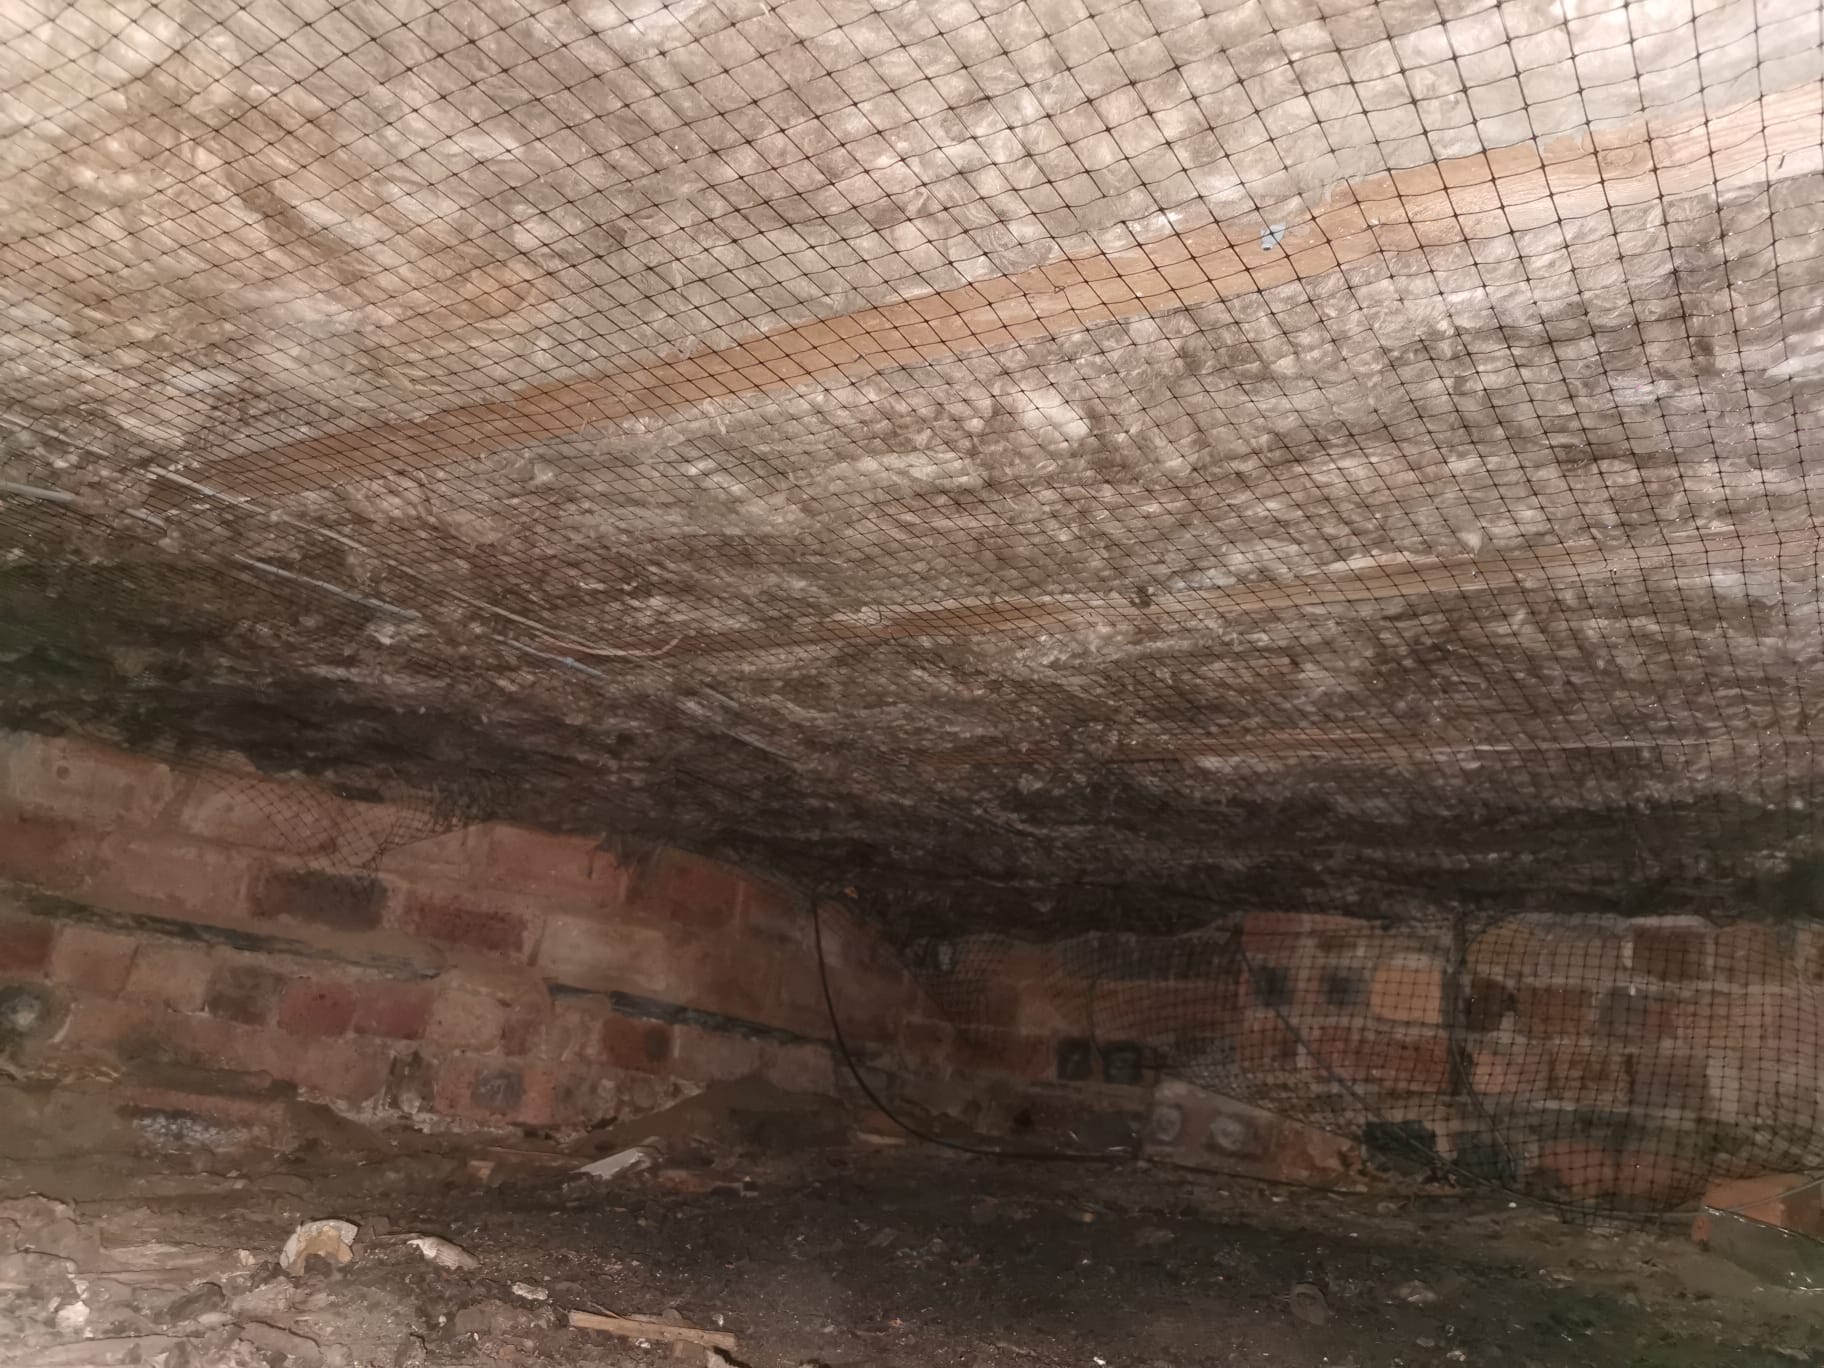
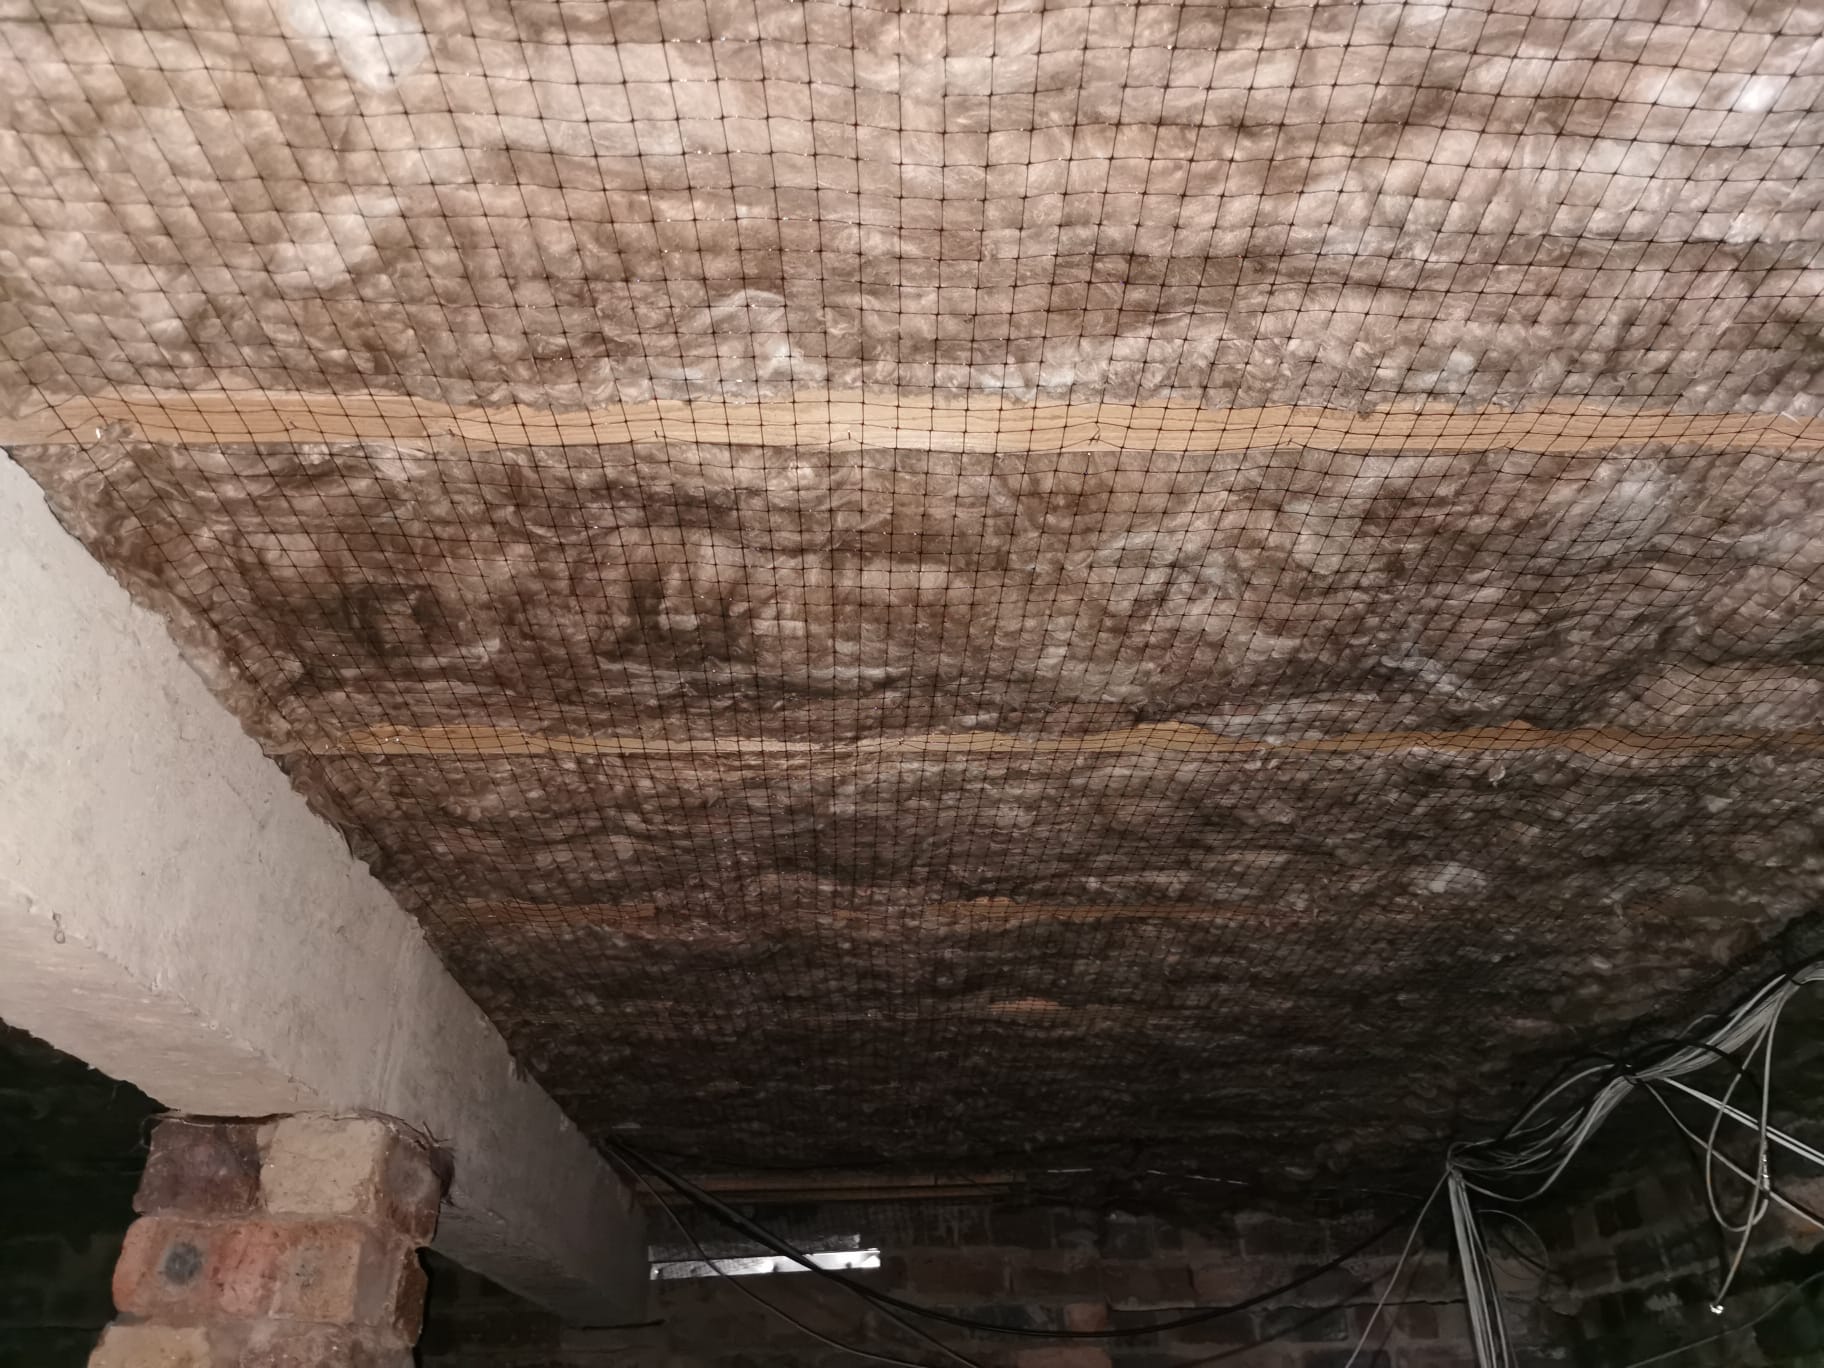
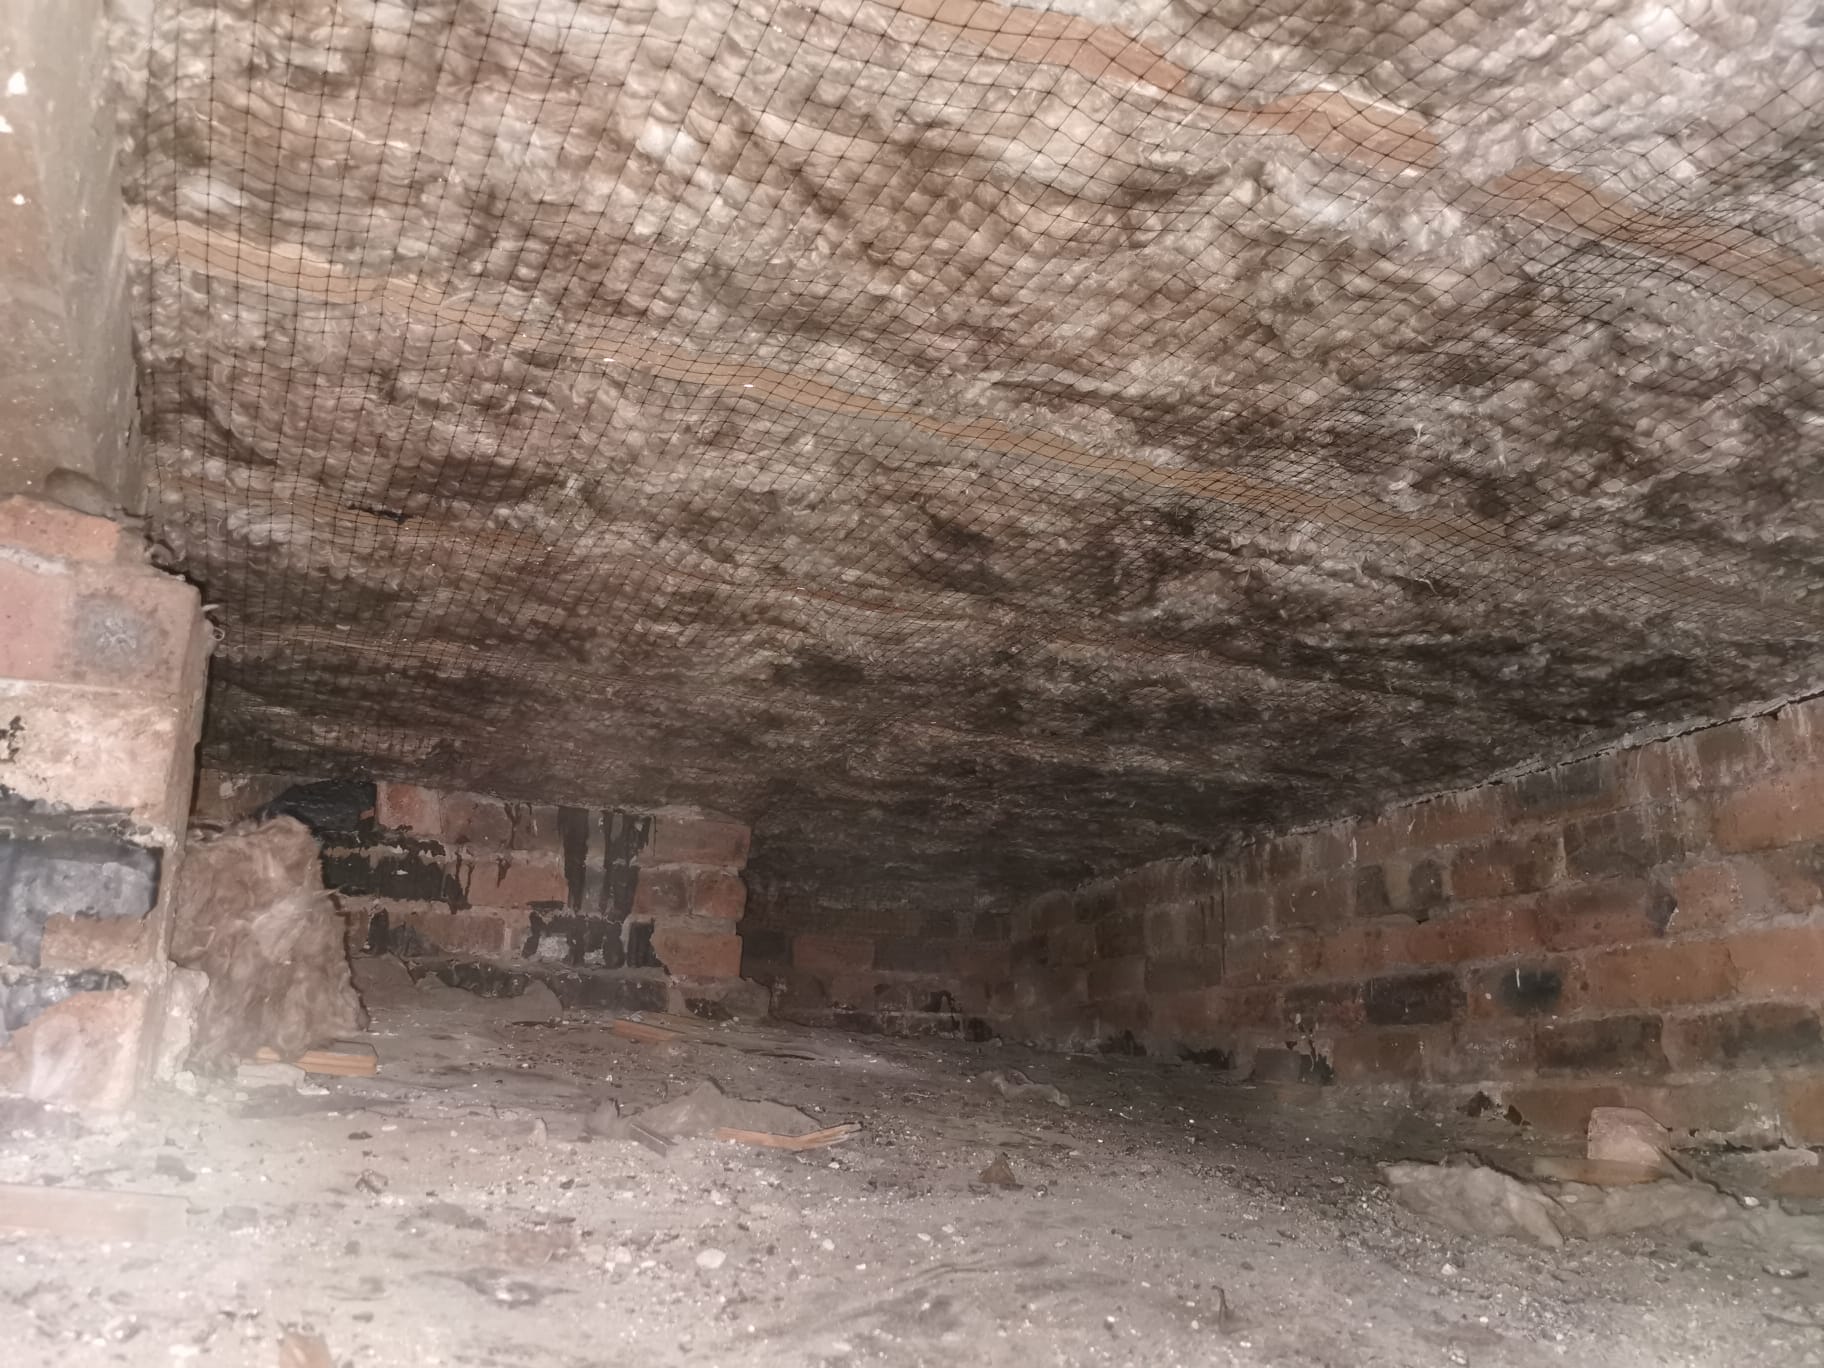
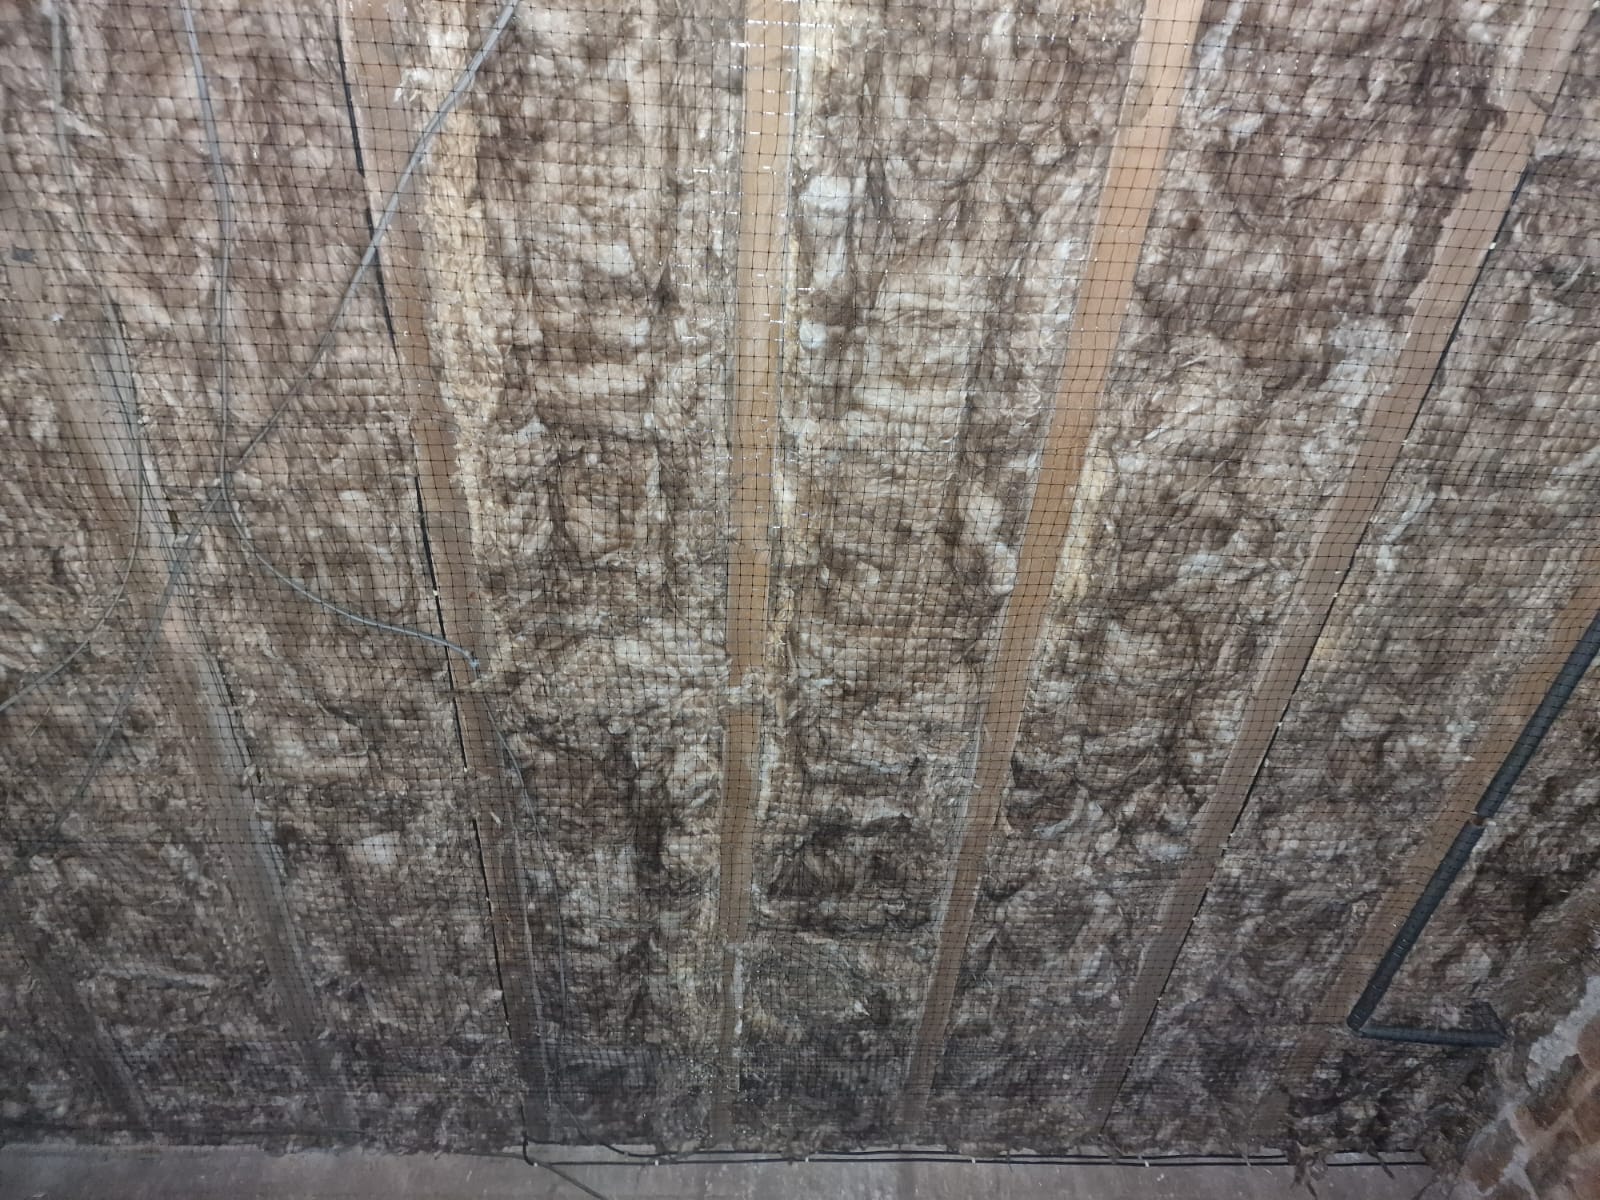
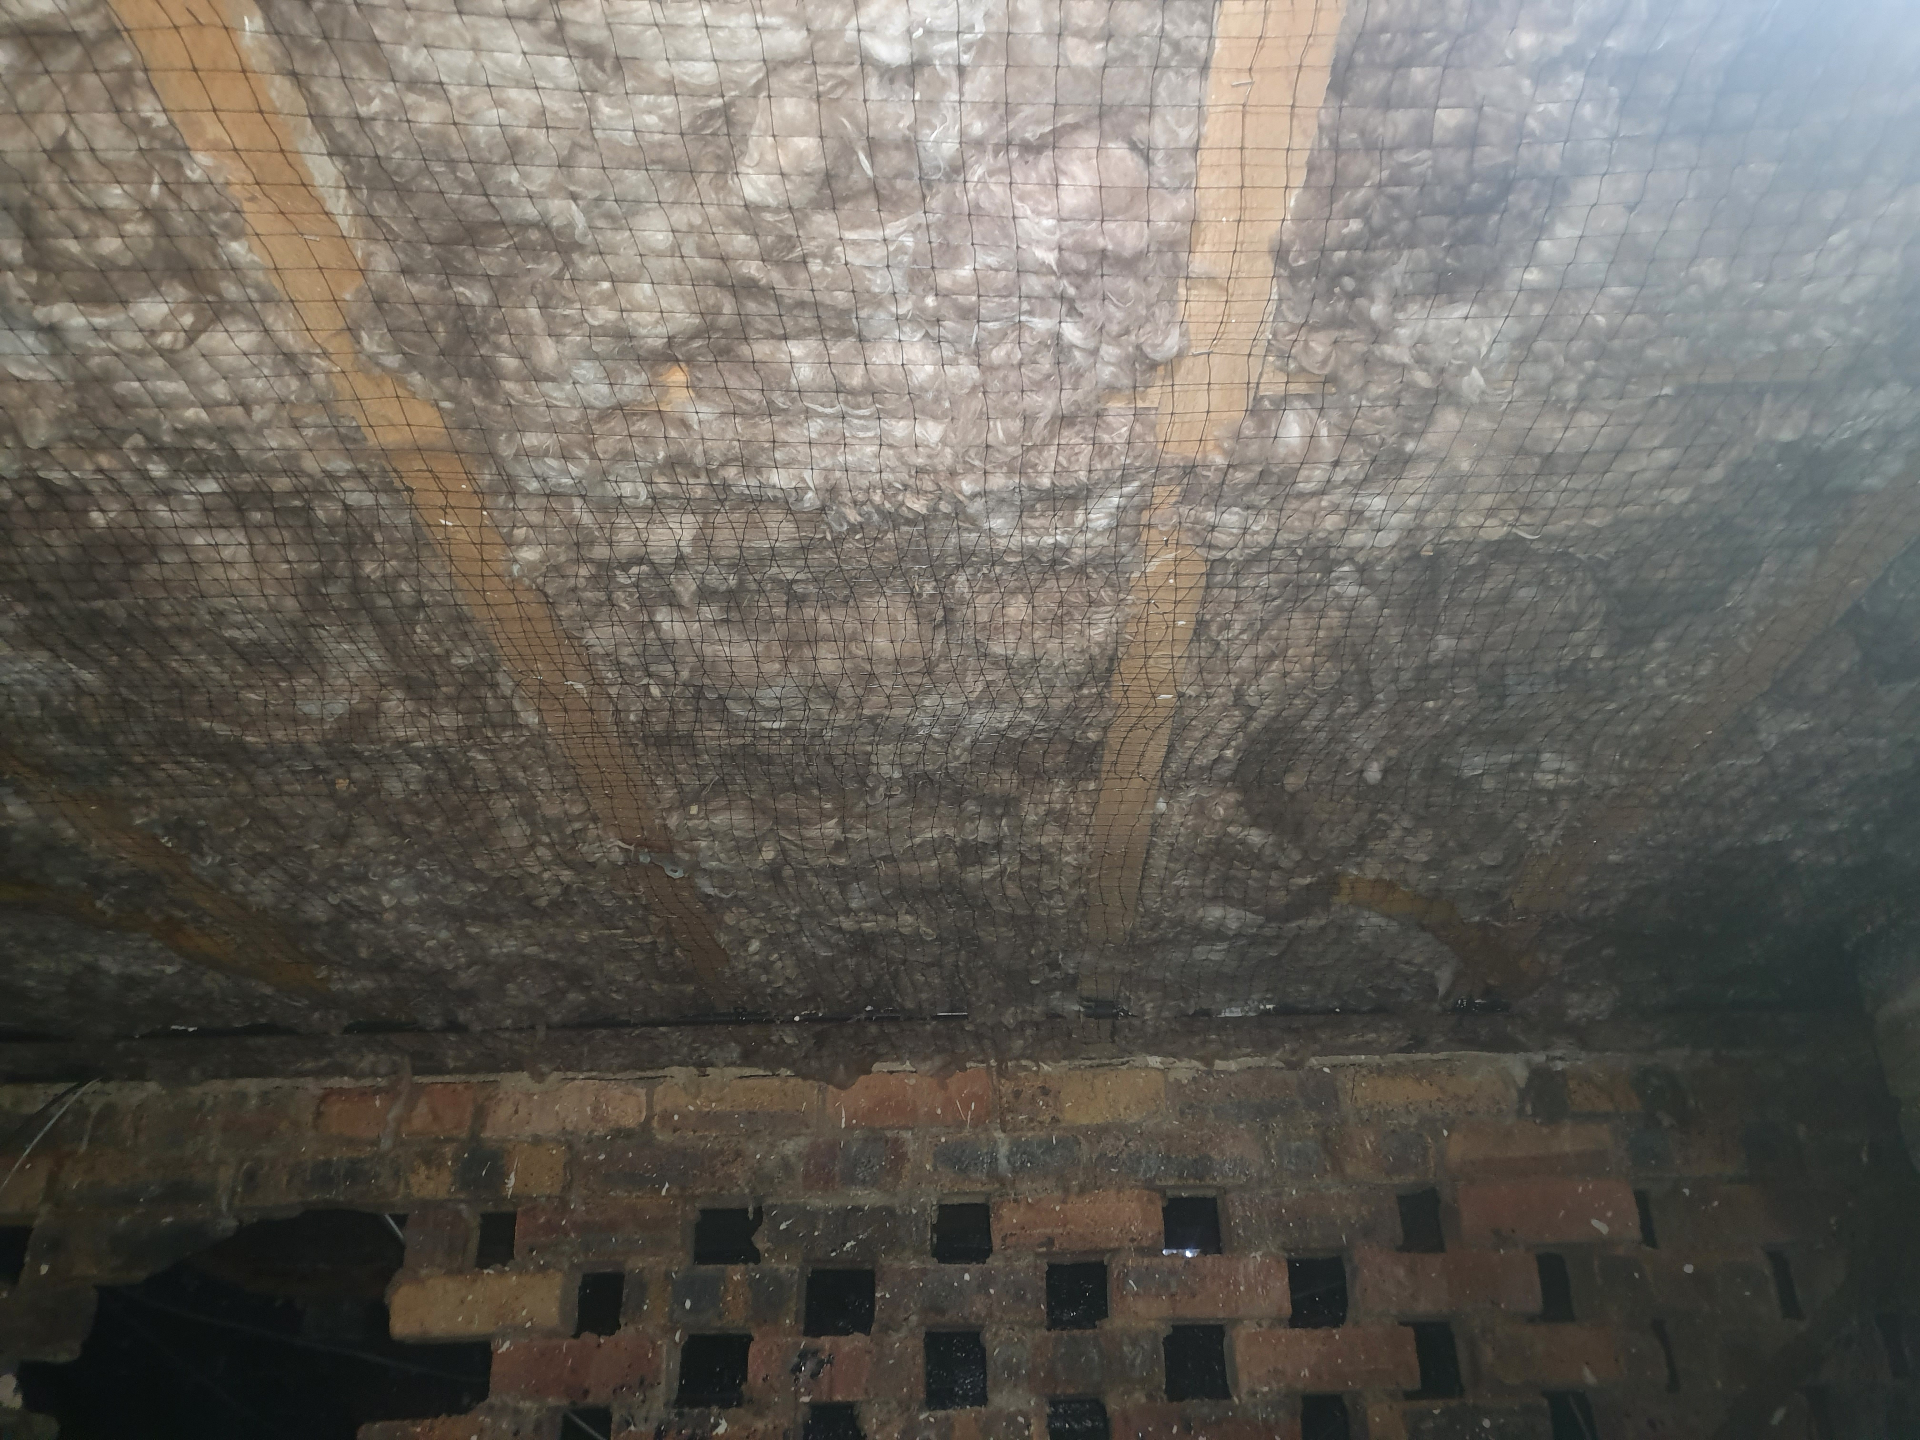
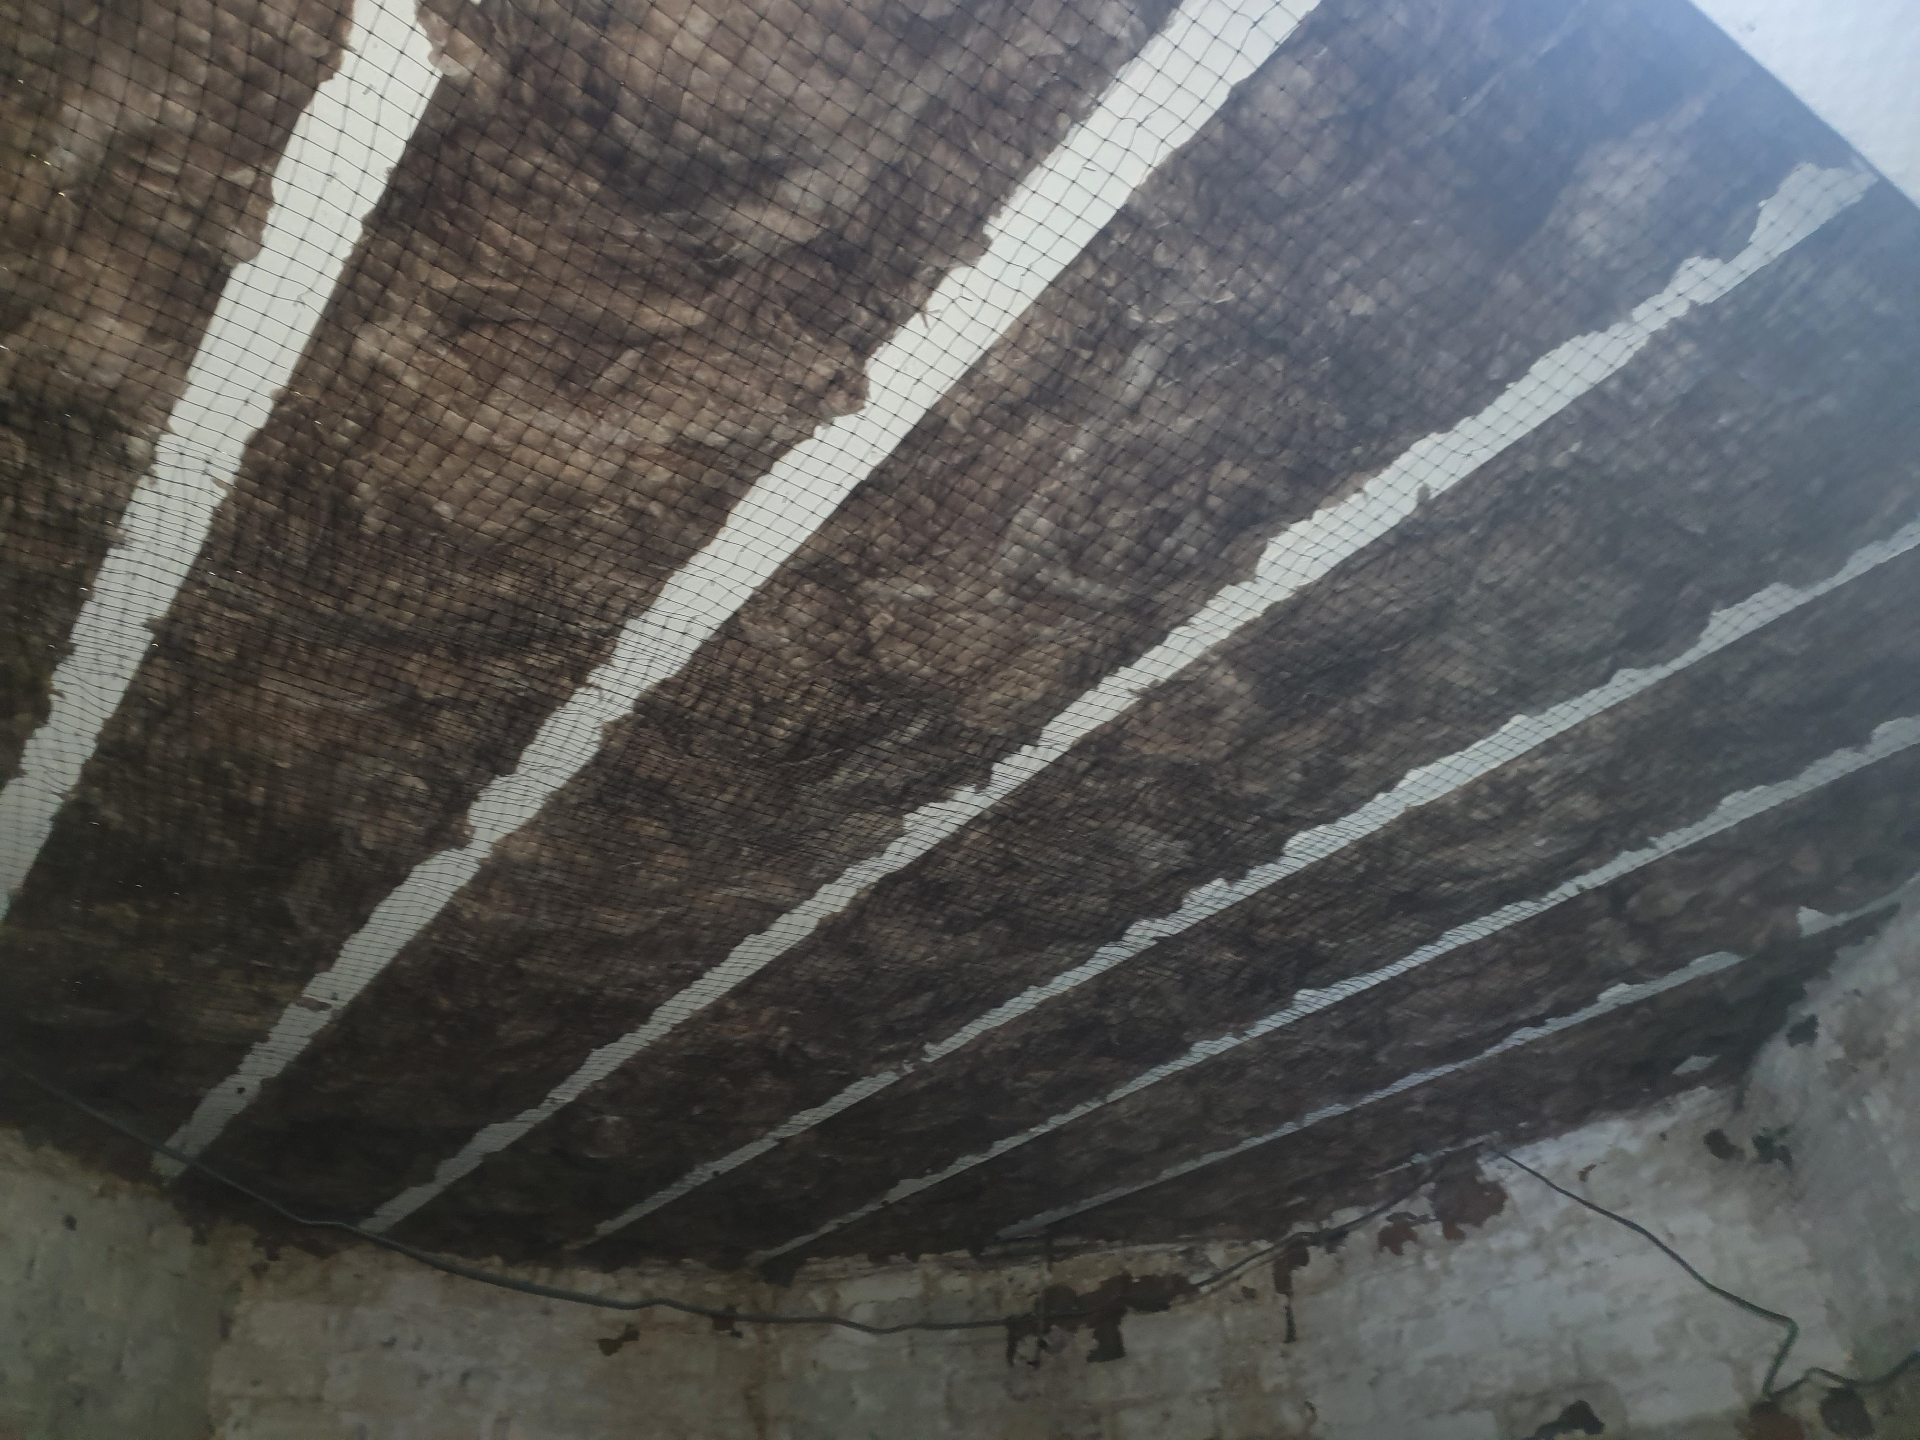
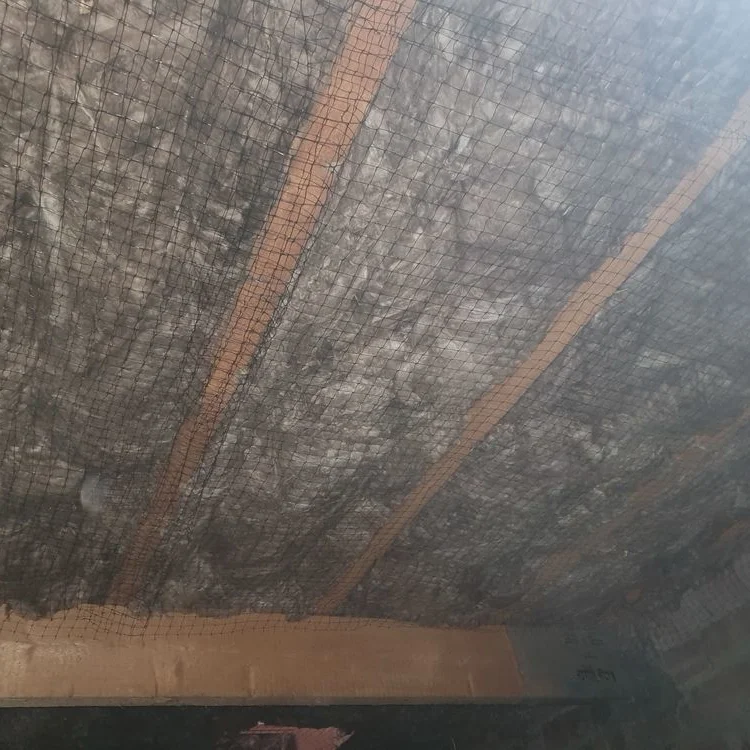
We install insulation support netting attached to the underside of the joists to prevent any long term sagging of the insulation material so the performance of the insulation is maintained for decades to come.
- Step 06
We can substitute the insulation support netting for a breathable membrane and airtightness tape to provide additional airtightness performance at an additional cost.
- Step 07
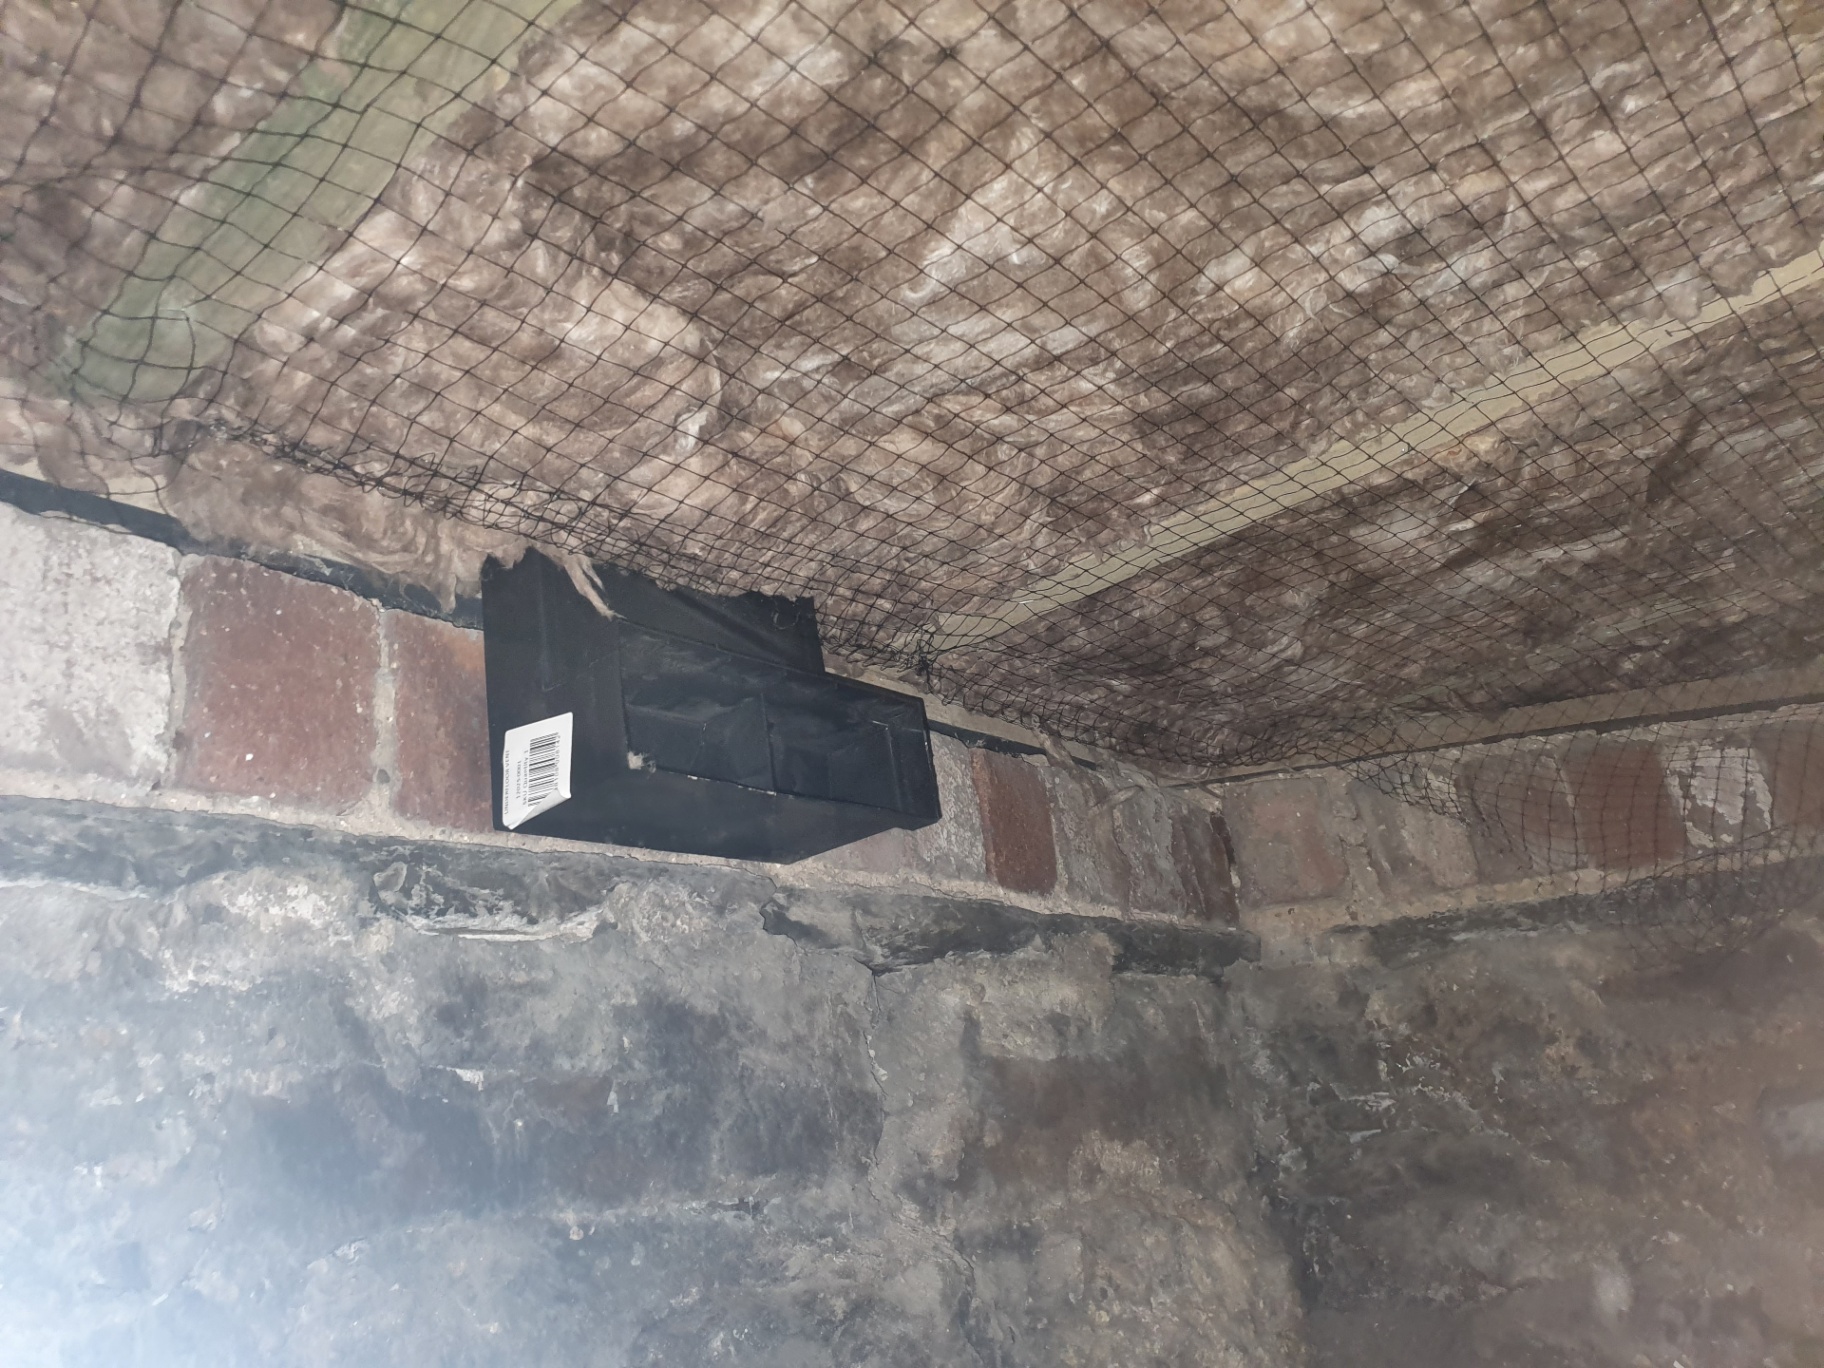
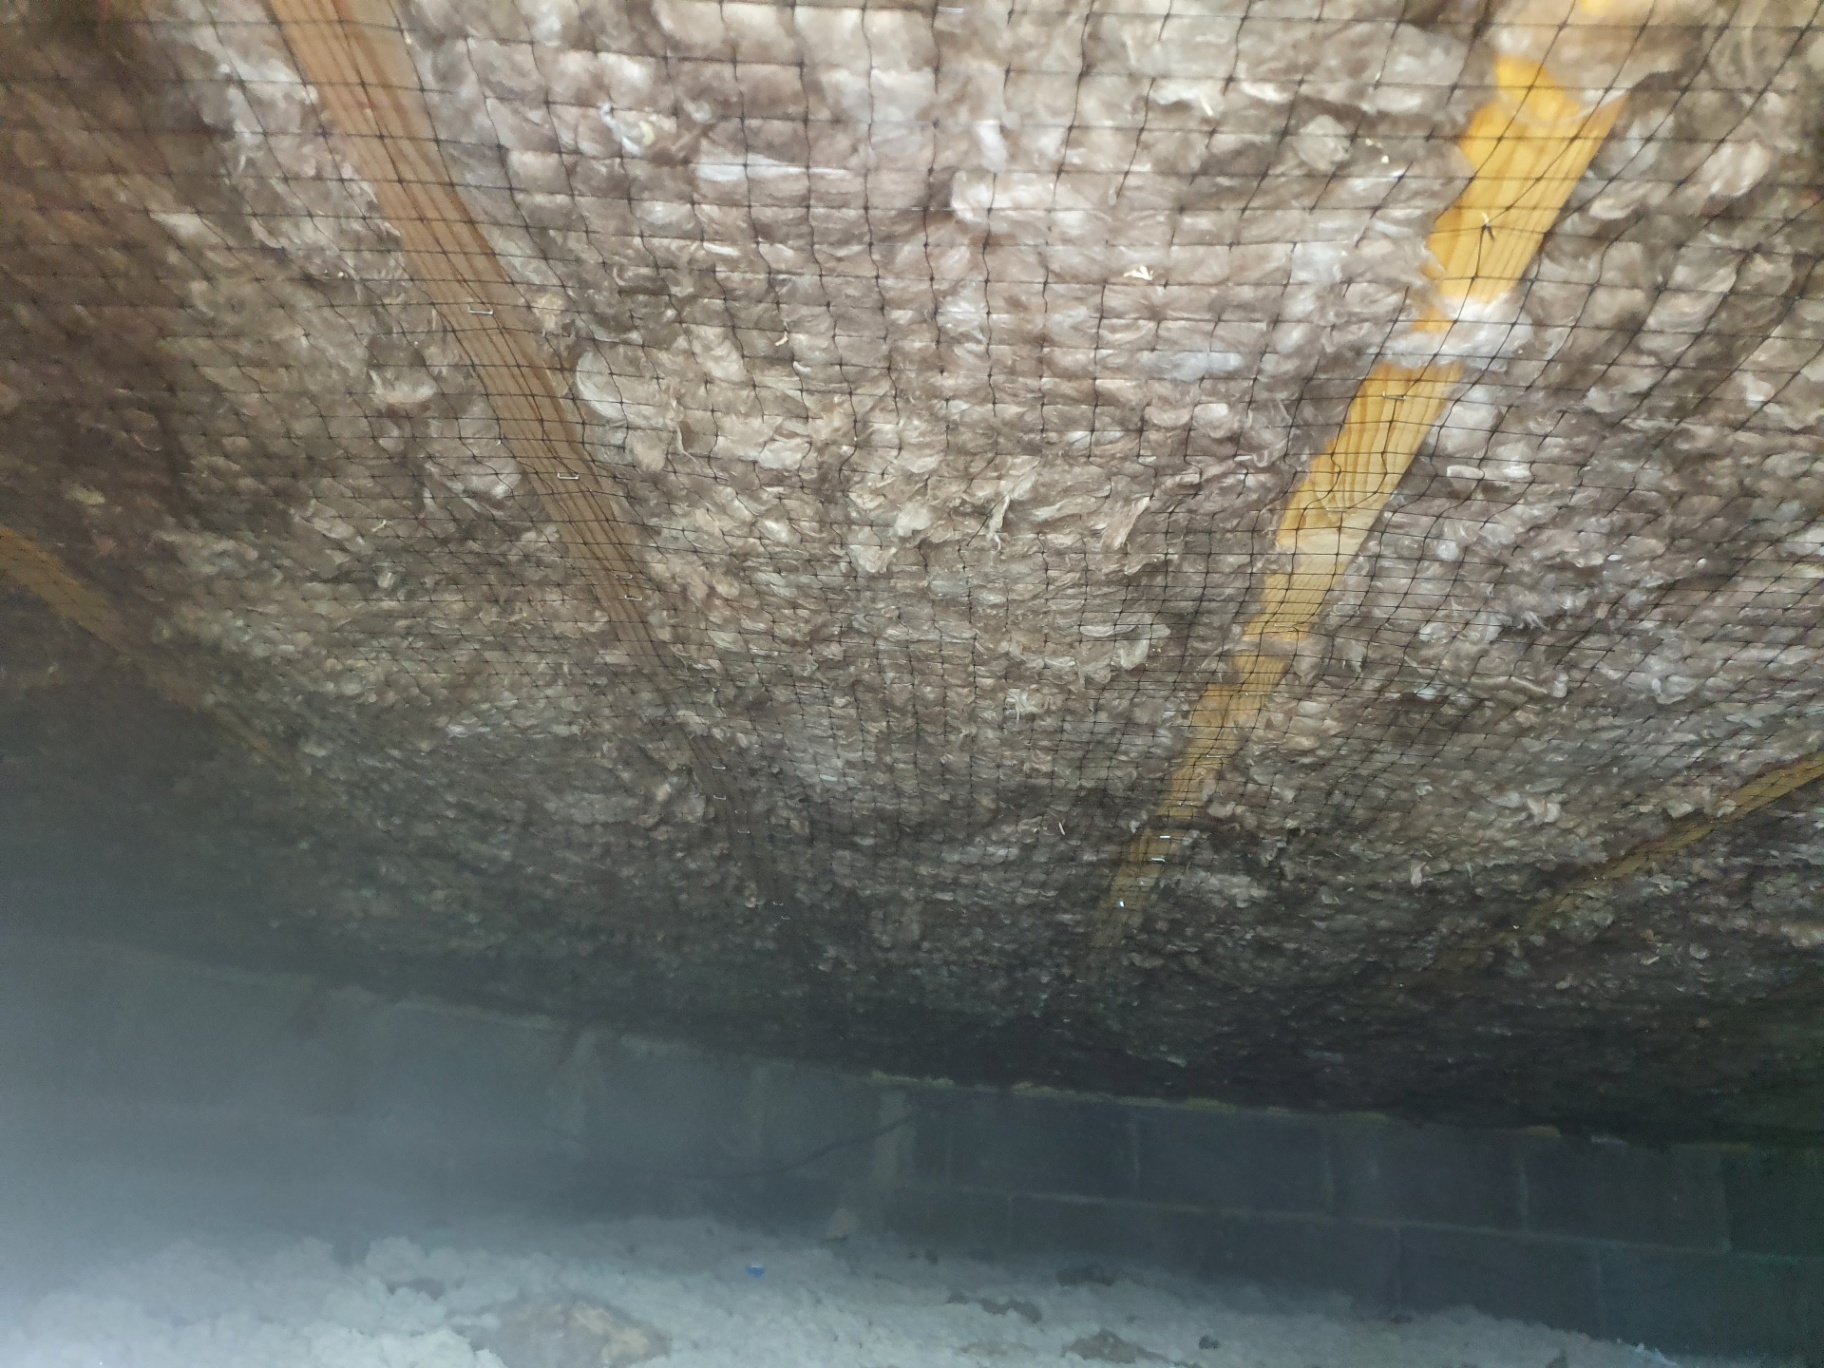
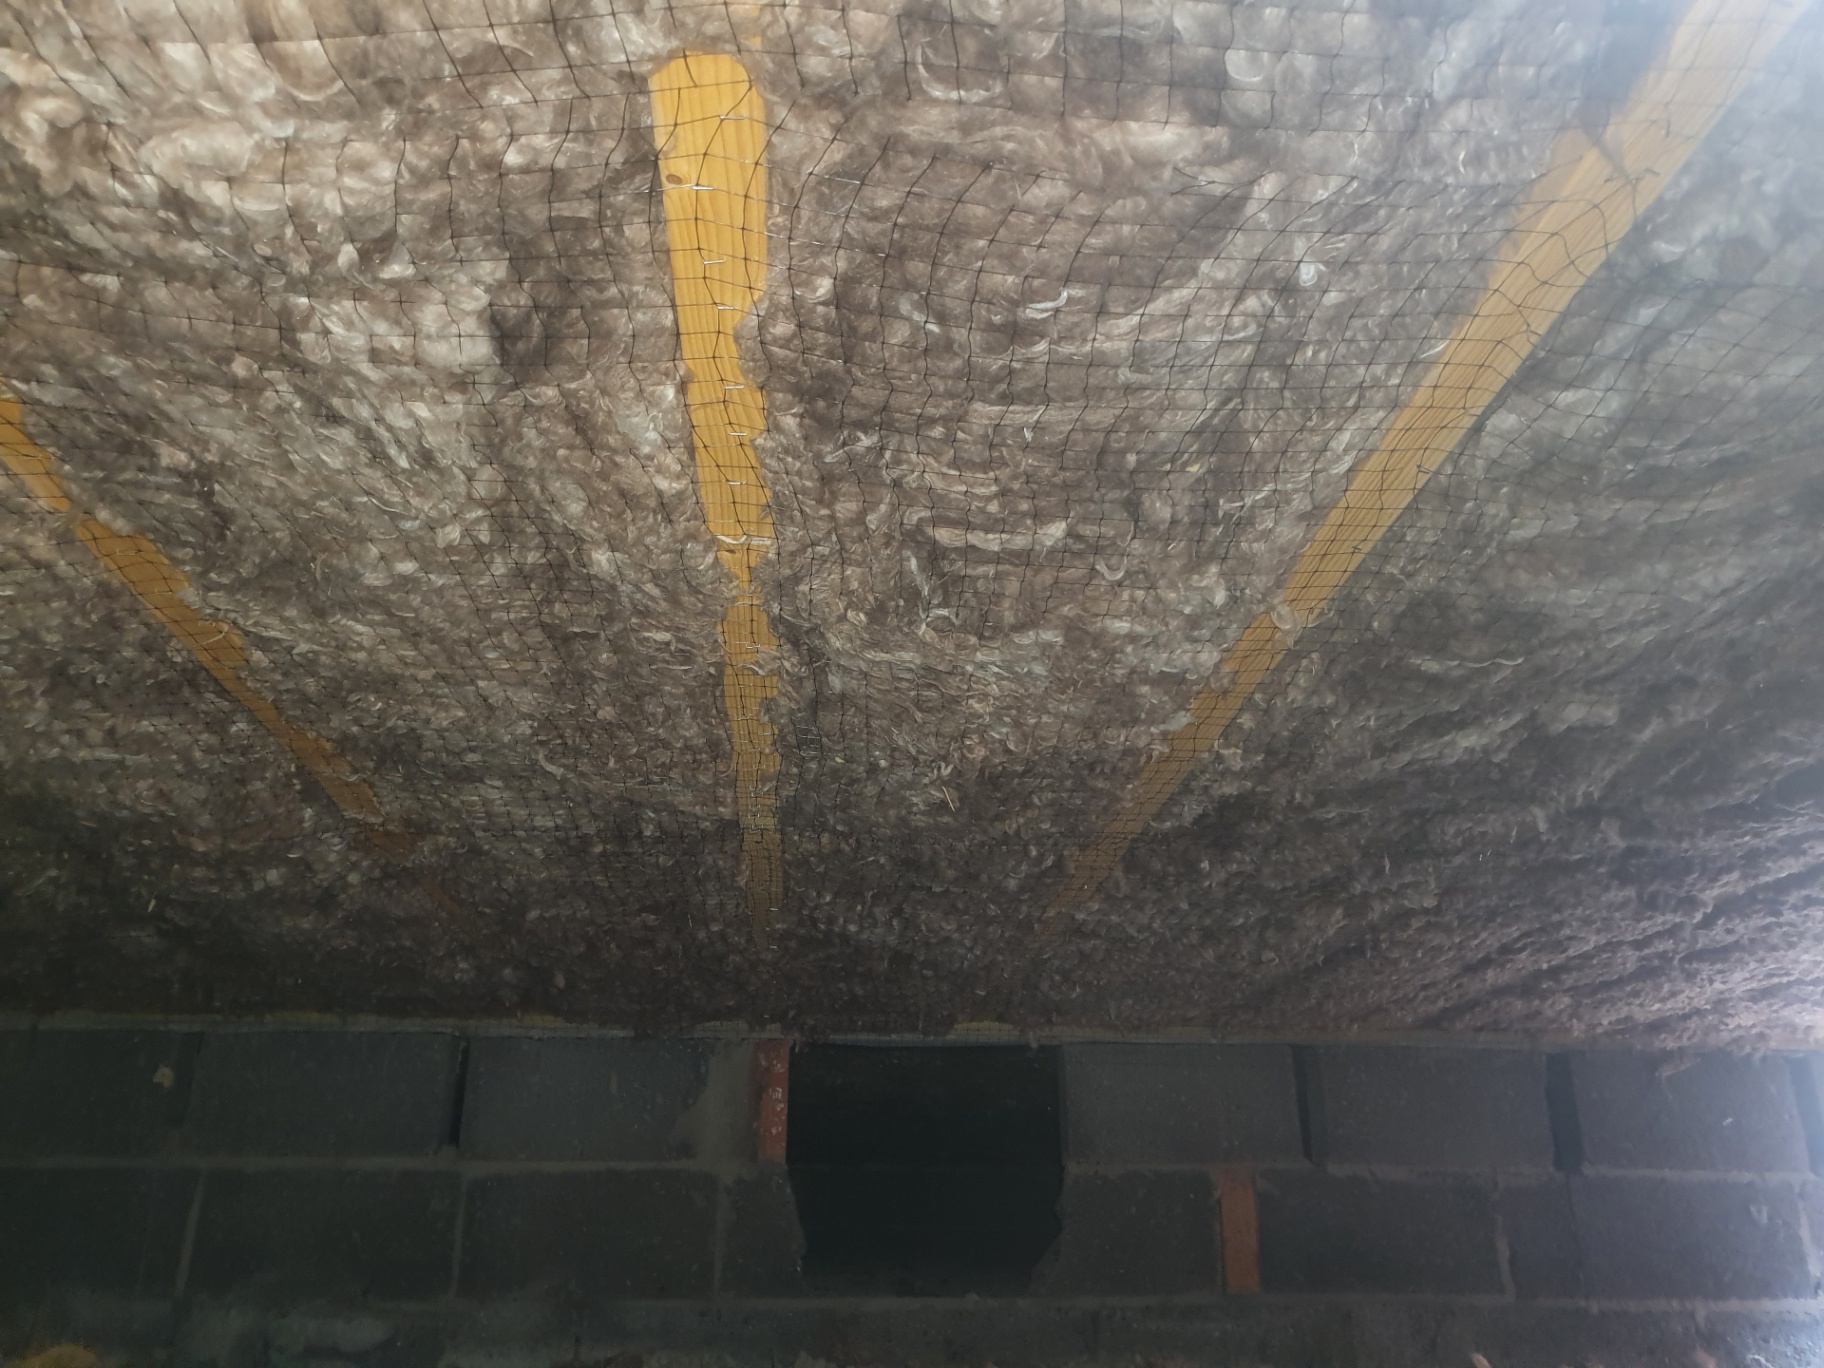
At the end of the job subfloor ventilation bricks are counted from outside and pictures are taken externally and internally showing they are clear to allow sufficient ventilation.
- Step 08
If any subfloor vents are at the joist level we install telescopic vent extenders to allow us to insulate the area around the air brick while maintaining airflow to the subfloor.
- Step 09
Any access hatches are insulated, reinstated and screwed down so the floor is safe and secure for walking on.
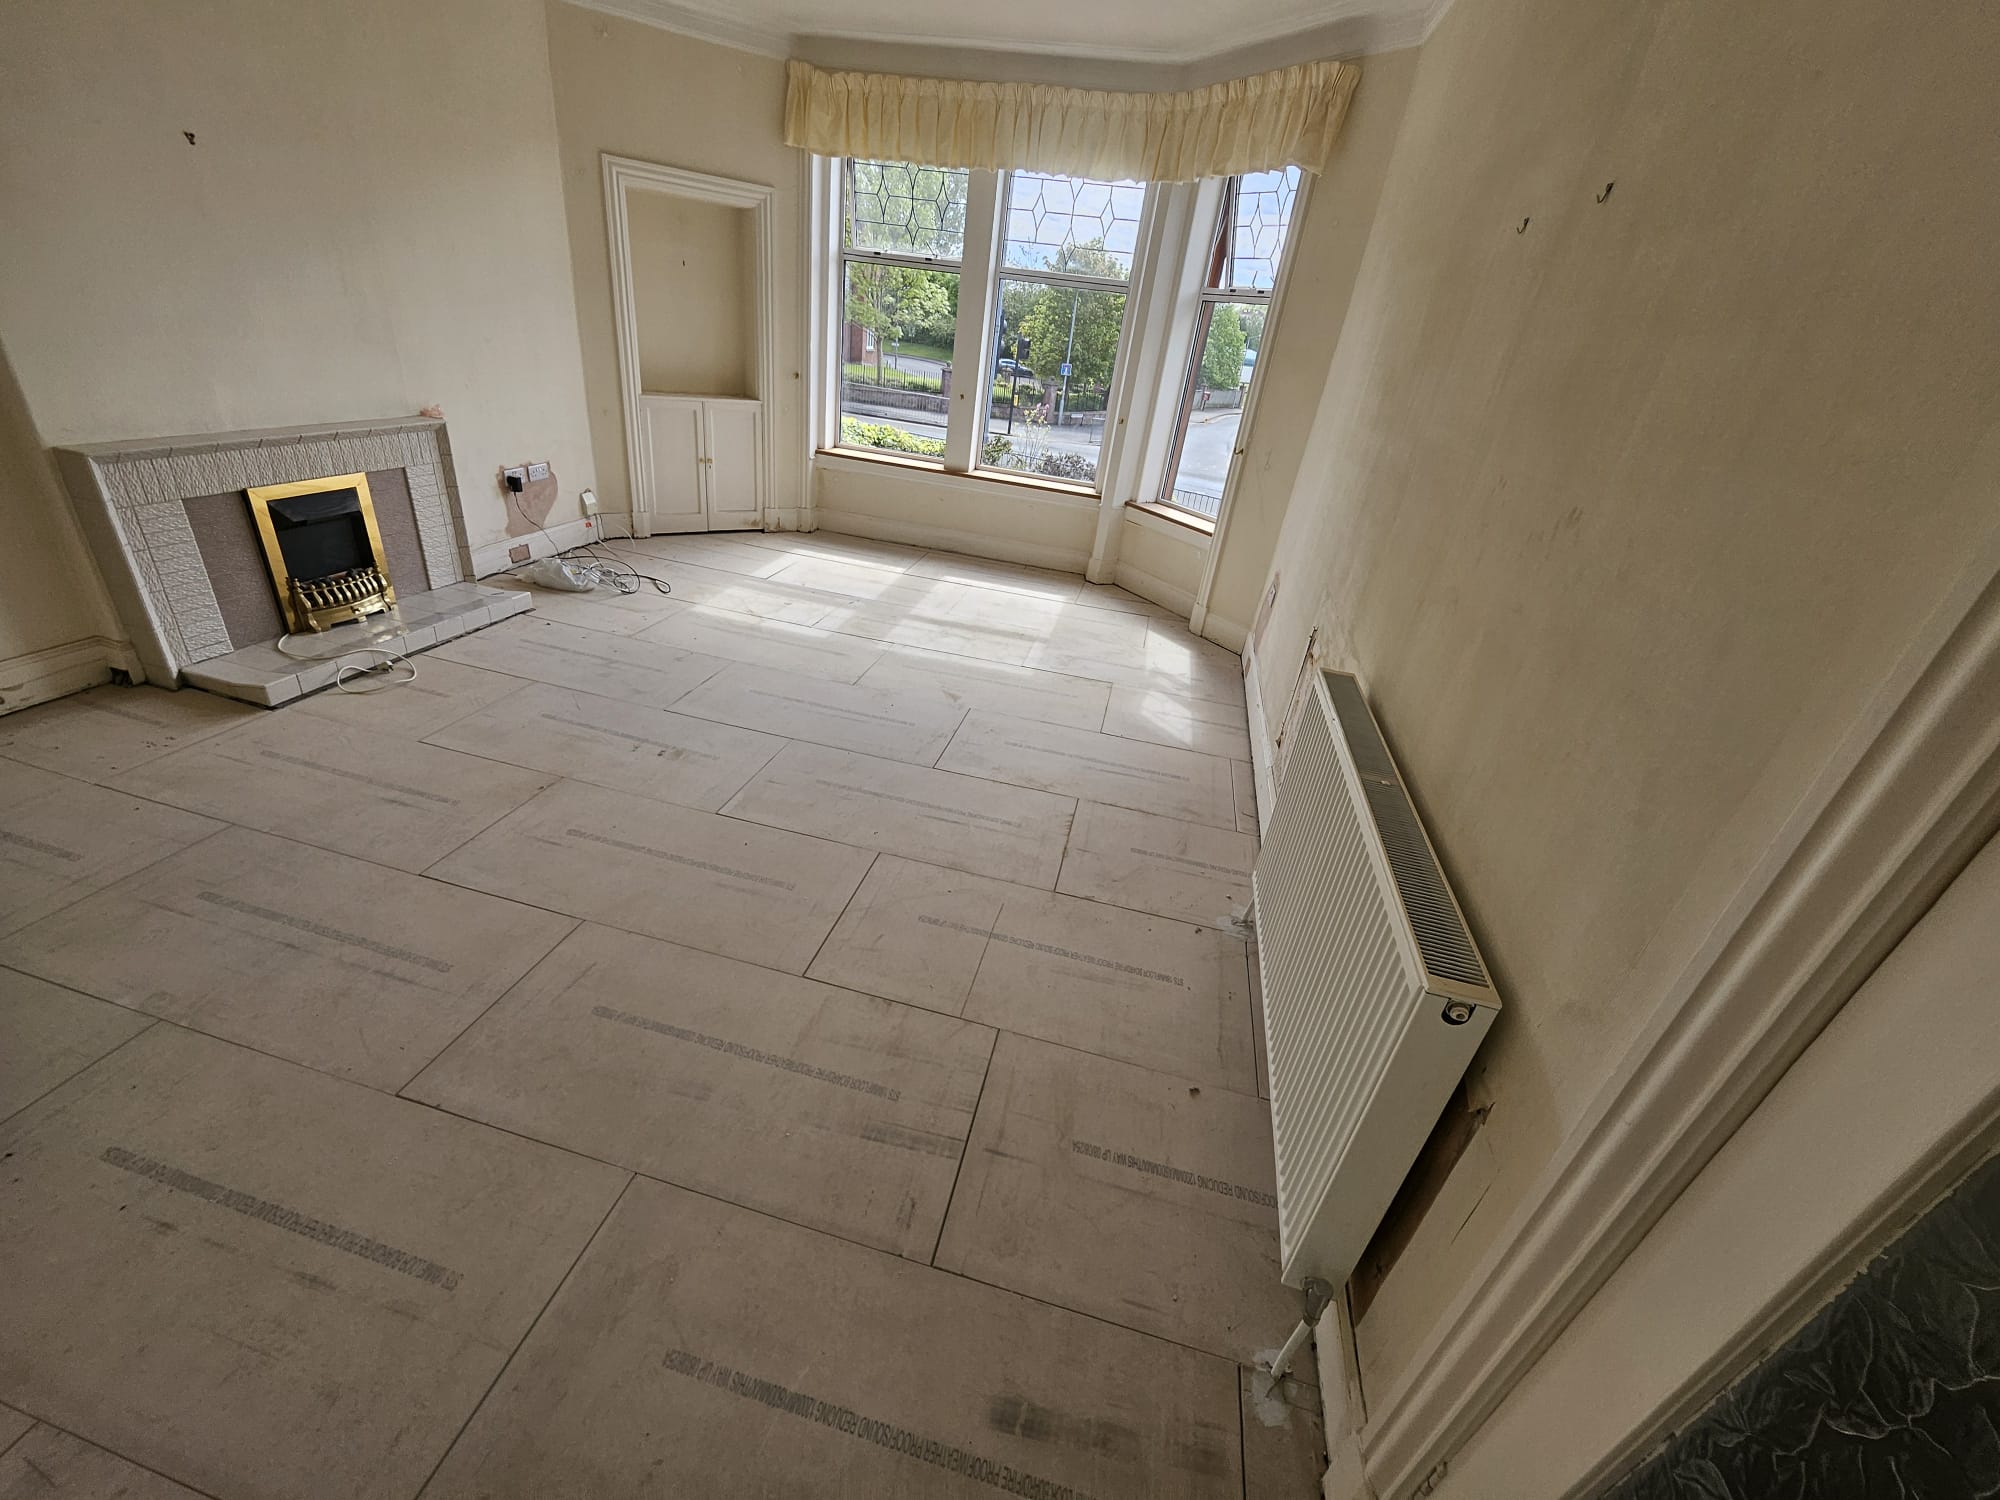
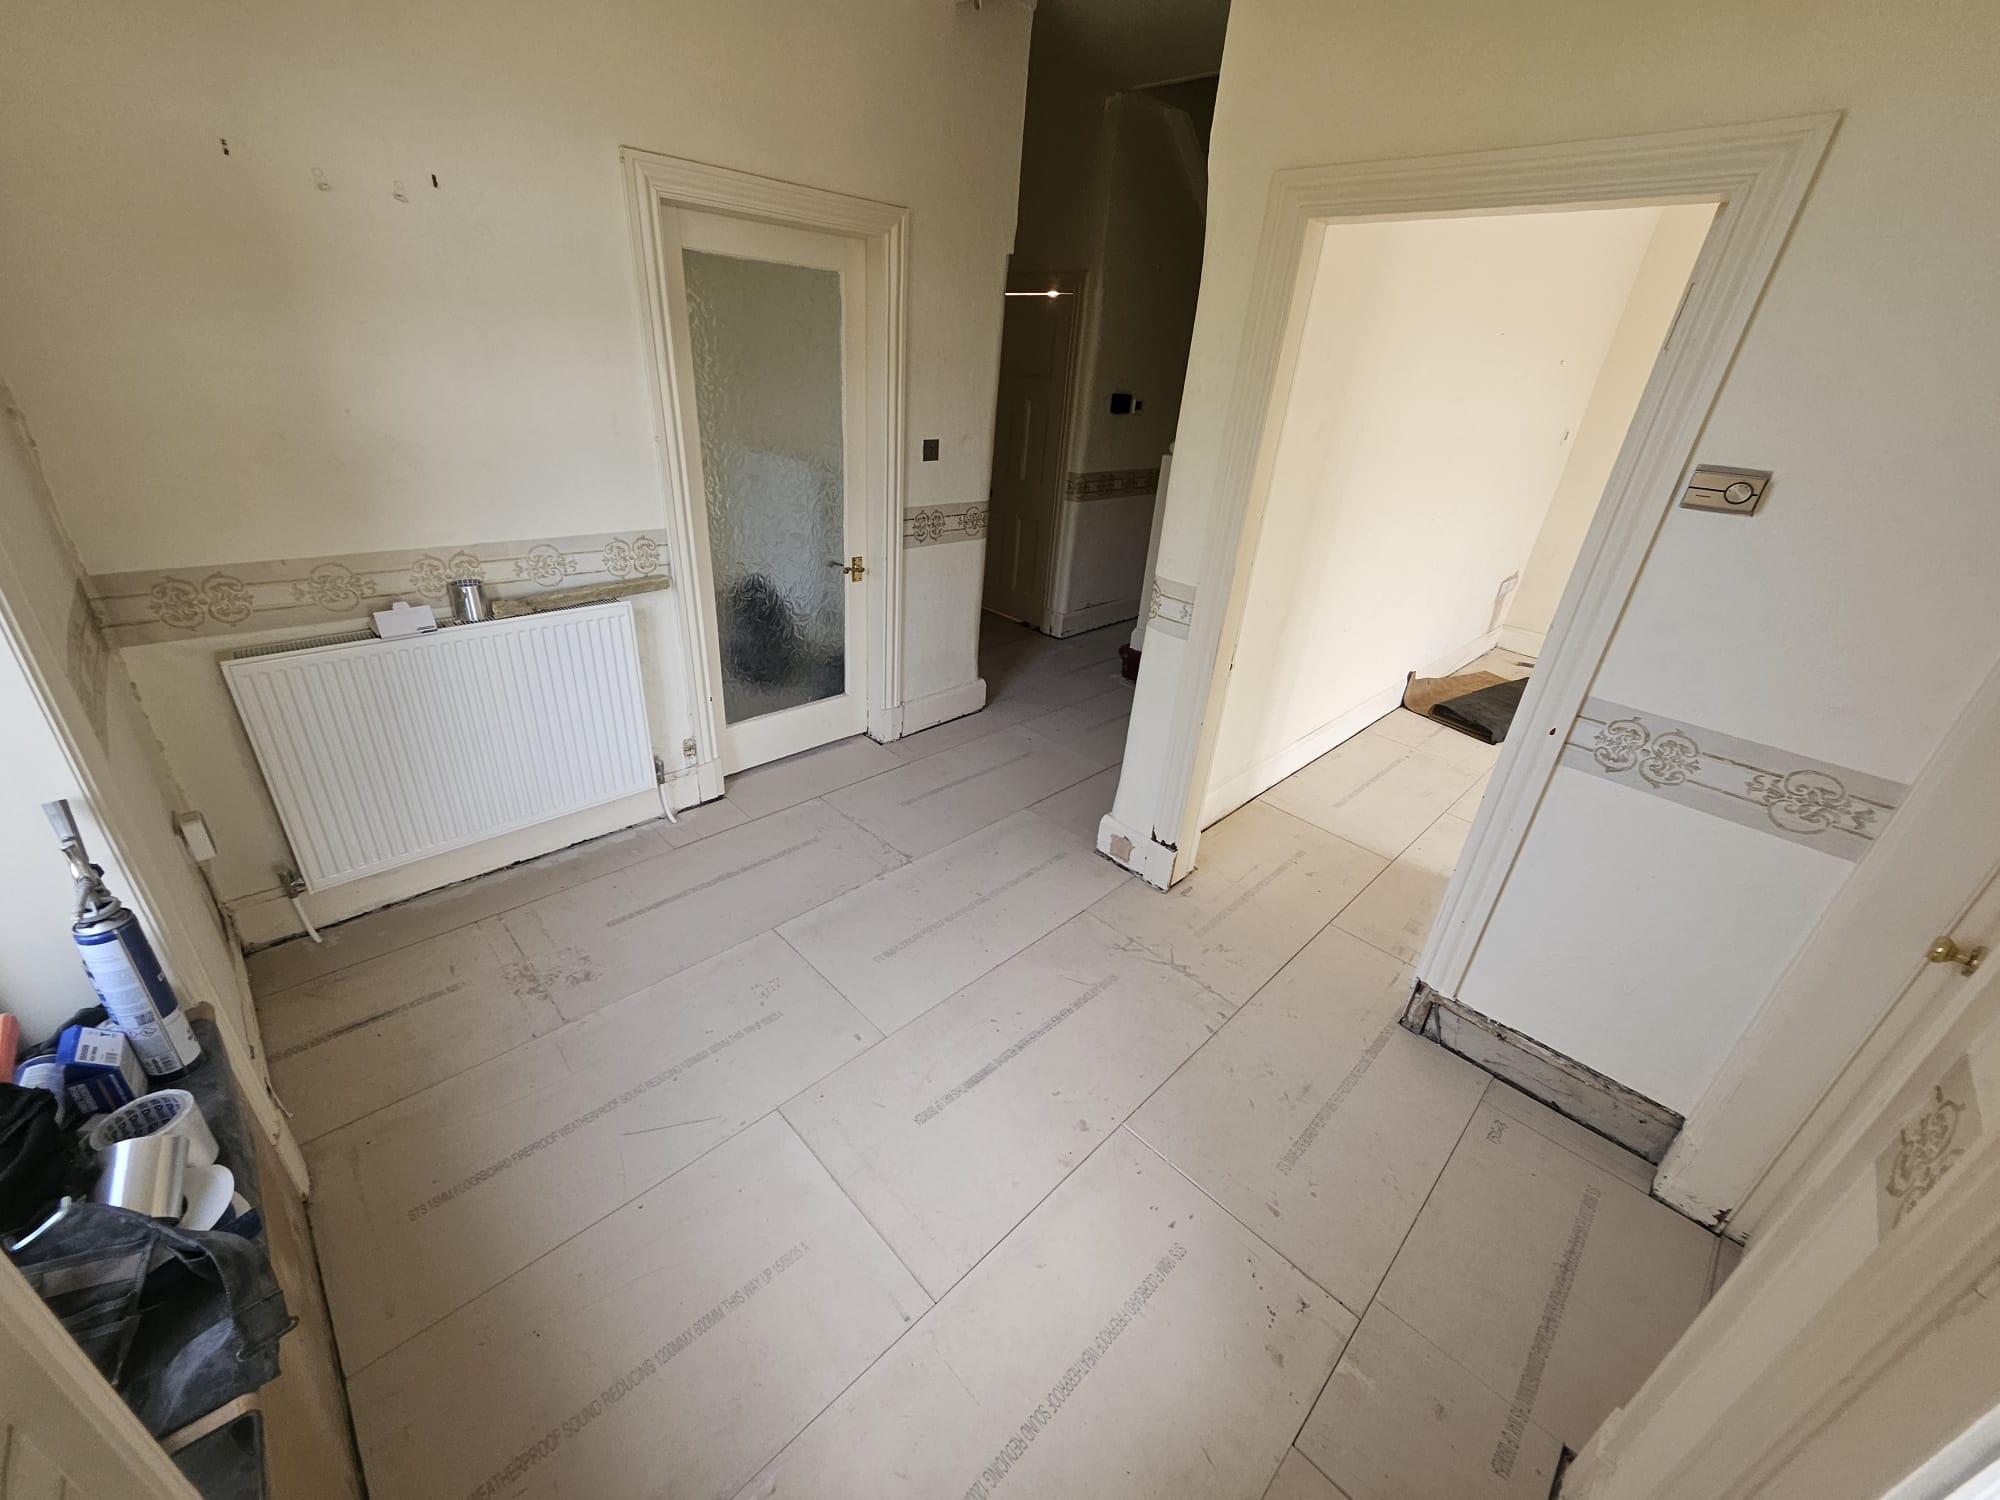
Standard Underfloor Insulation


Natural Insulation Installation
For a higher end floor insulation solution we can install Inditherm Hemp Insulation with Pro Clima airtightness membranes for maximum performance. This type of installation can be installed from below without the vapour control layer but will require a minimum of 500mm depth. For tighter subfloor spaces or projects where flooring is being removed or replaced anyway we will install the insulation from above the floor which results in a higher performance solution without compromises on airtightness.
Typical cost: £3,000–£5,000
Process
- Step 01
The installation is generally done room by room with half the floor lifted at a time.
- Step 02
Subfloor ventilation is checked and cleared with any in joist vents prepared with a telescopic vent extender.
- Step 03
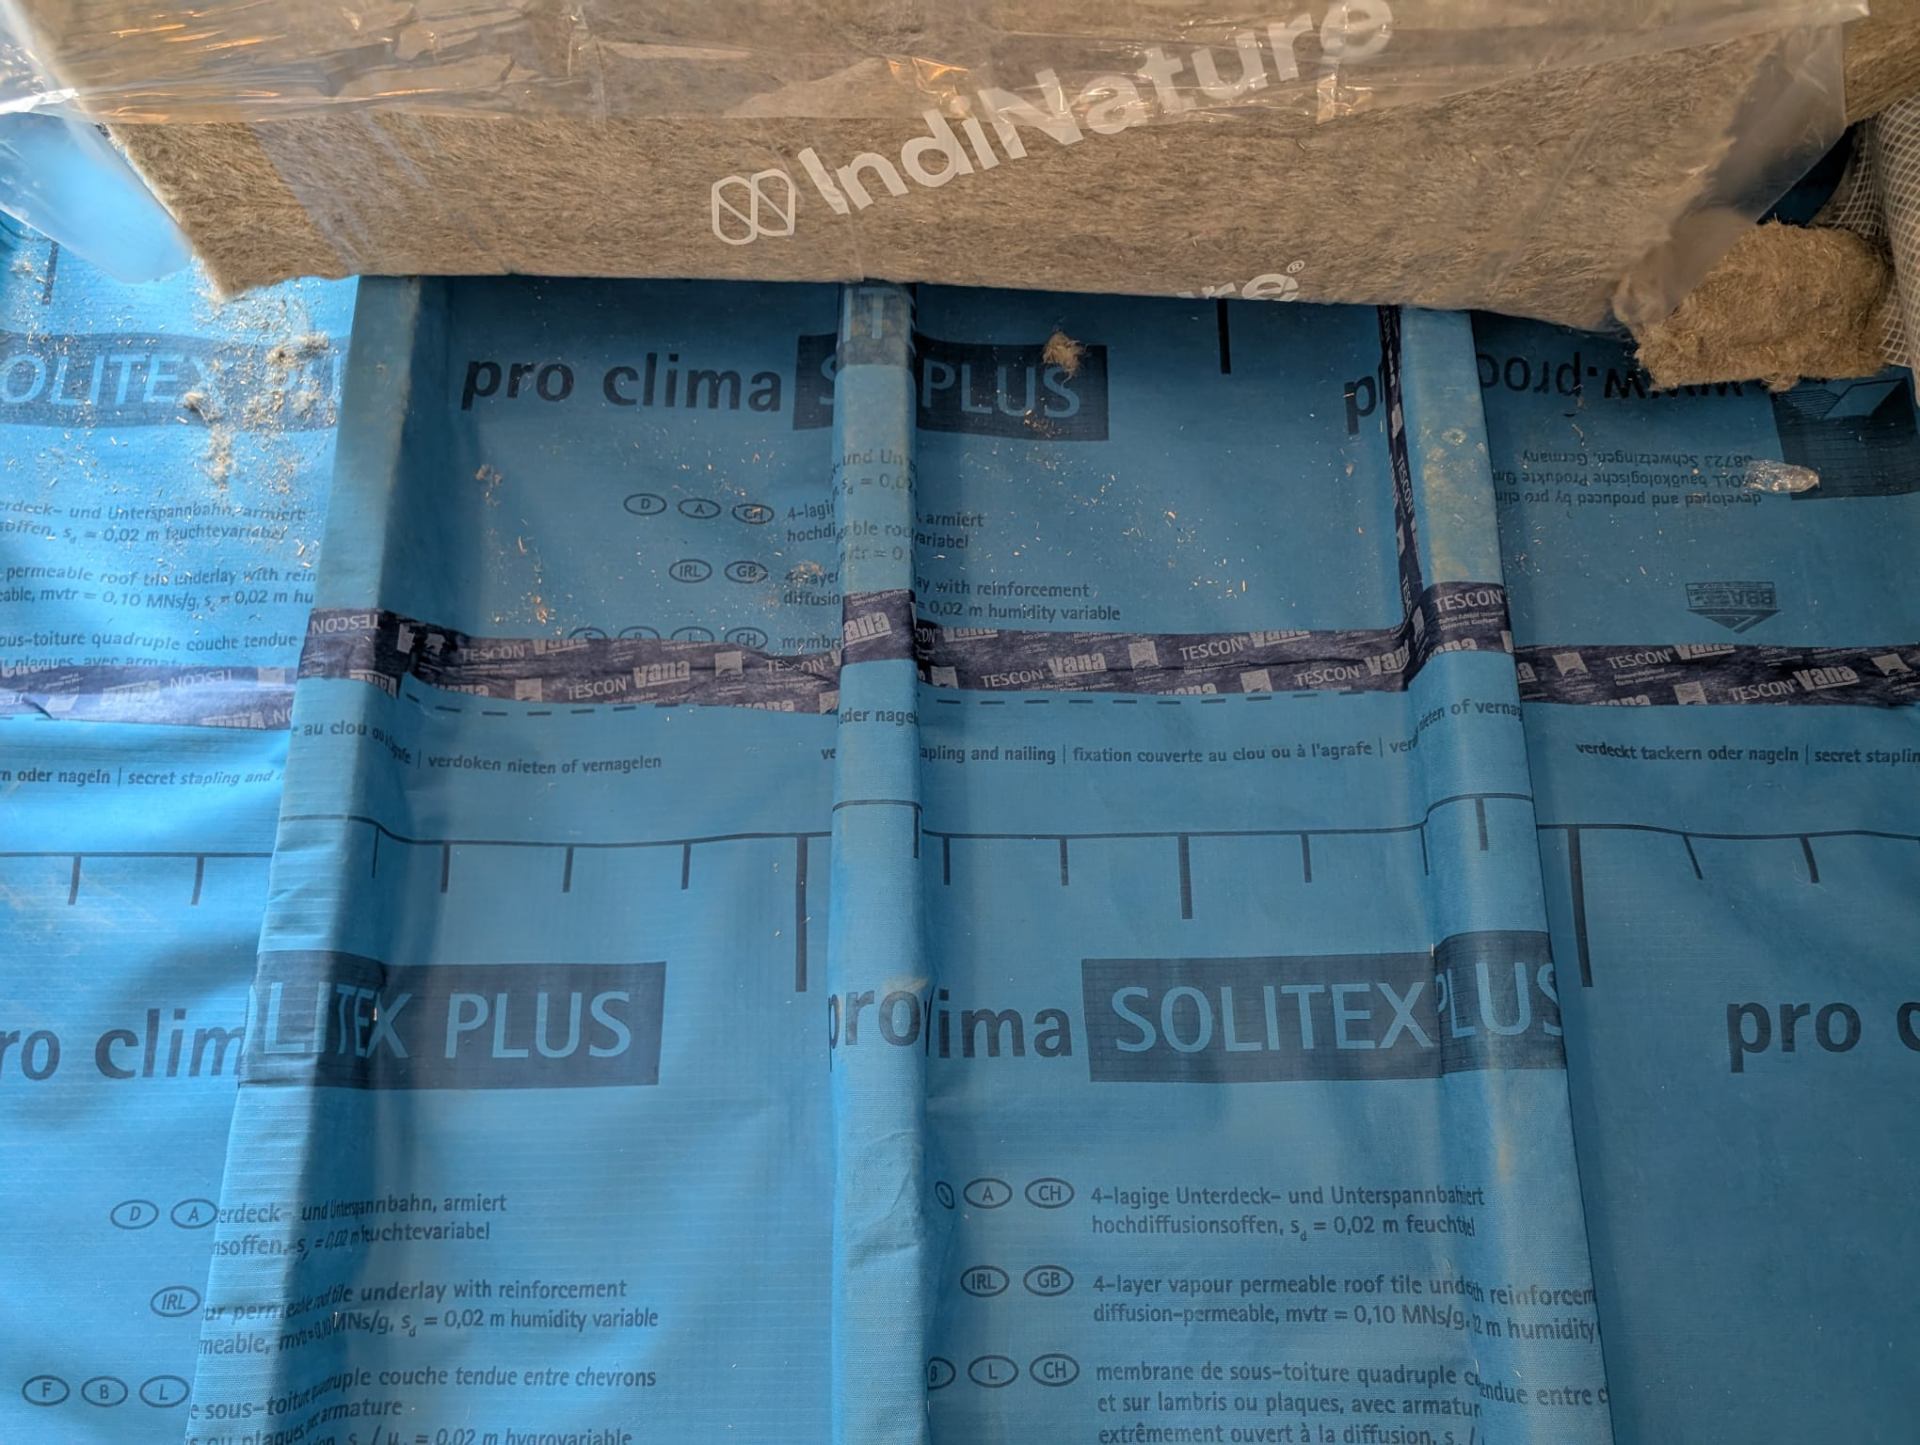
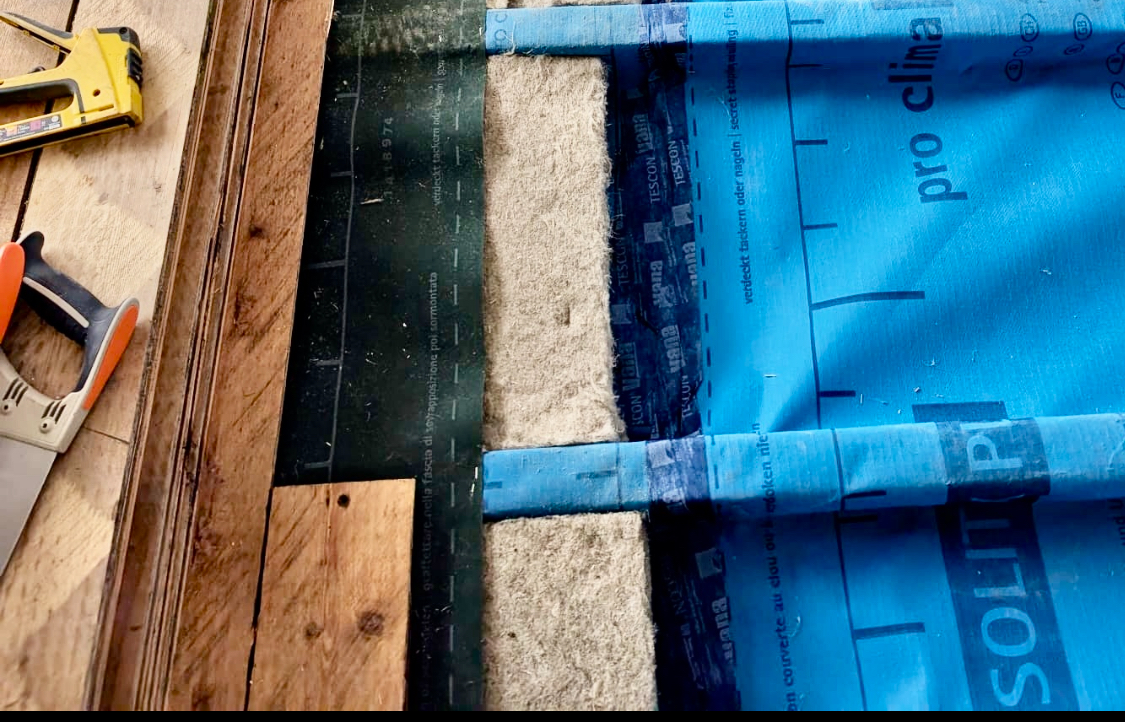
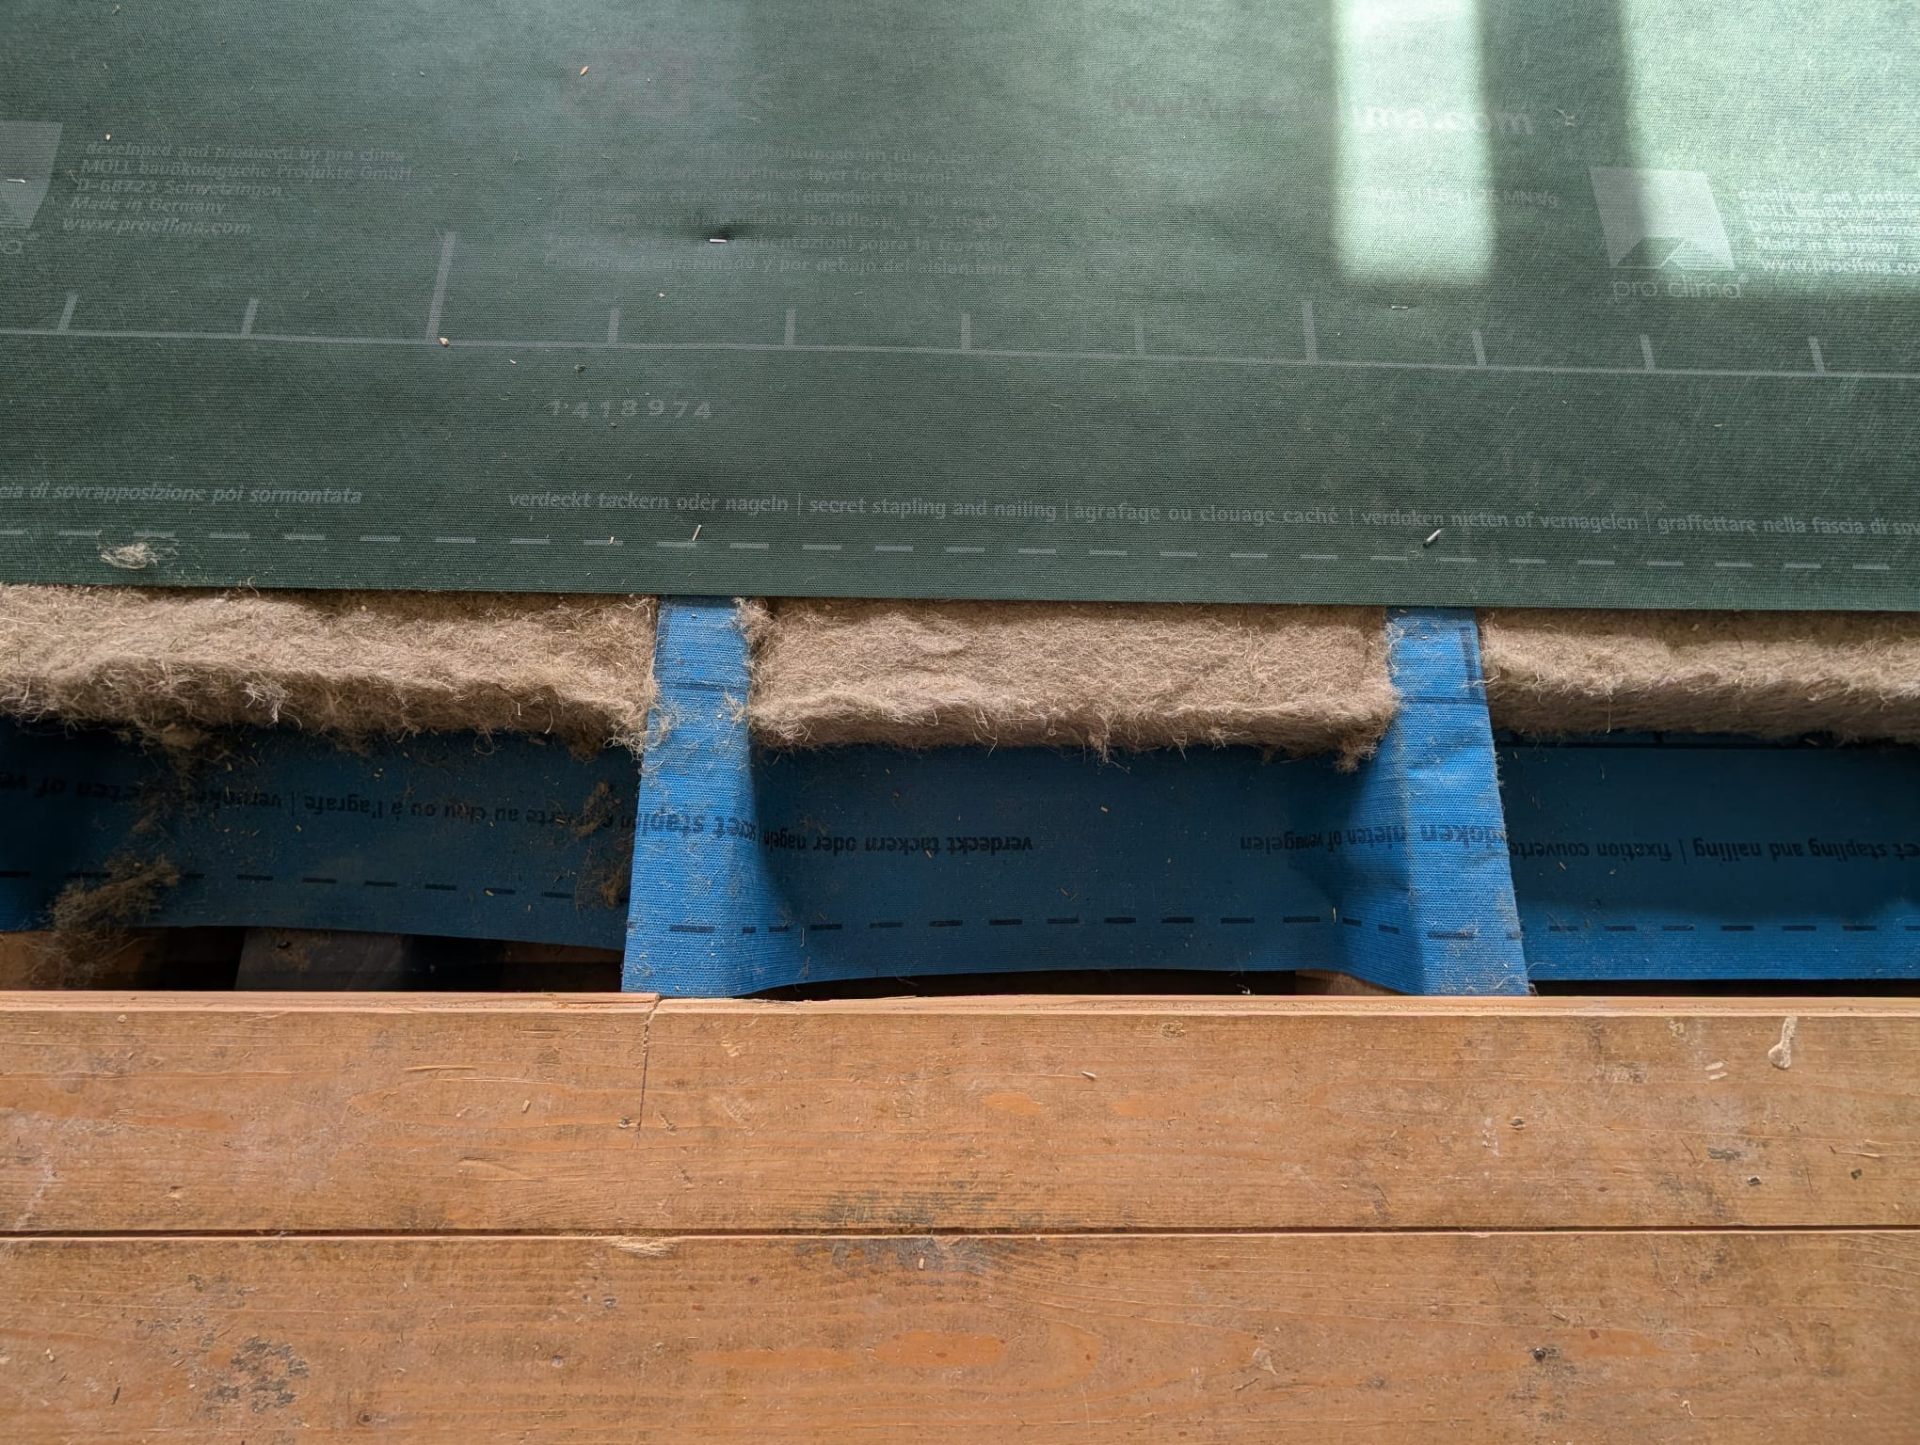
Pro Clima Solitex Plus breathable membrane is installed over the top of the joists to create a 'hammock' at the correct depth for the insulation to sit in.
- Step 04
We tape the membrane to the perimeter of the wall with Contega Solido airtightness tape and tape any joins or penetrations with Tescon Vana airtightness tape.
- Step 05
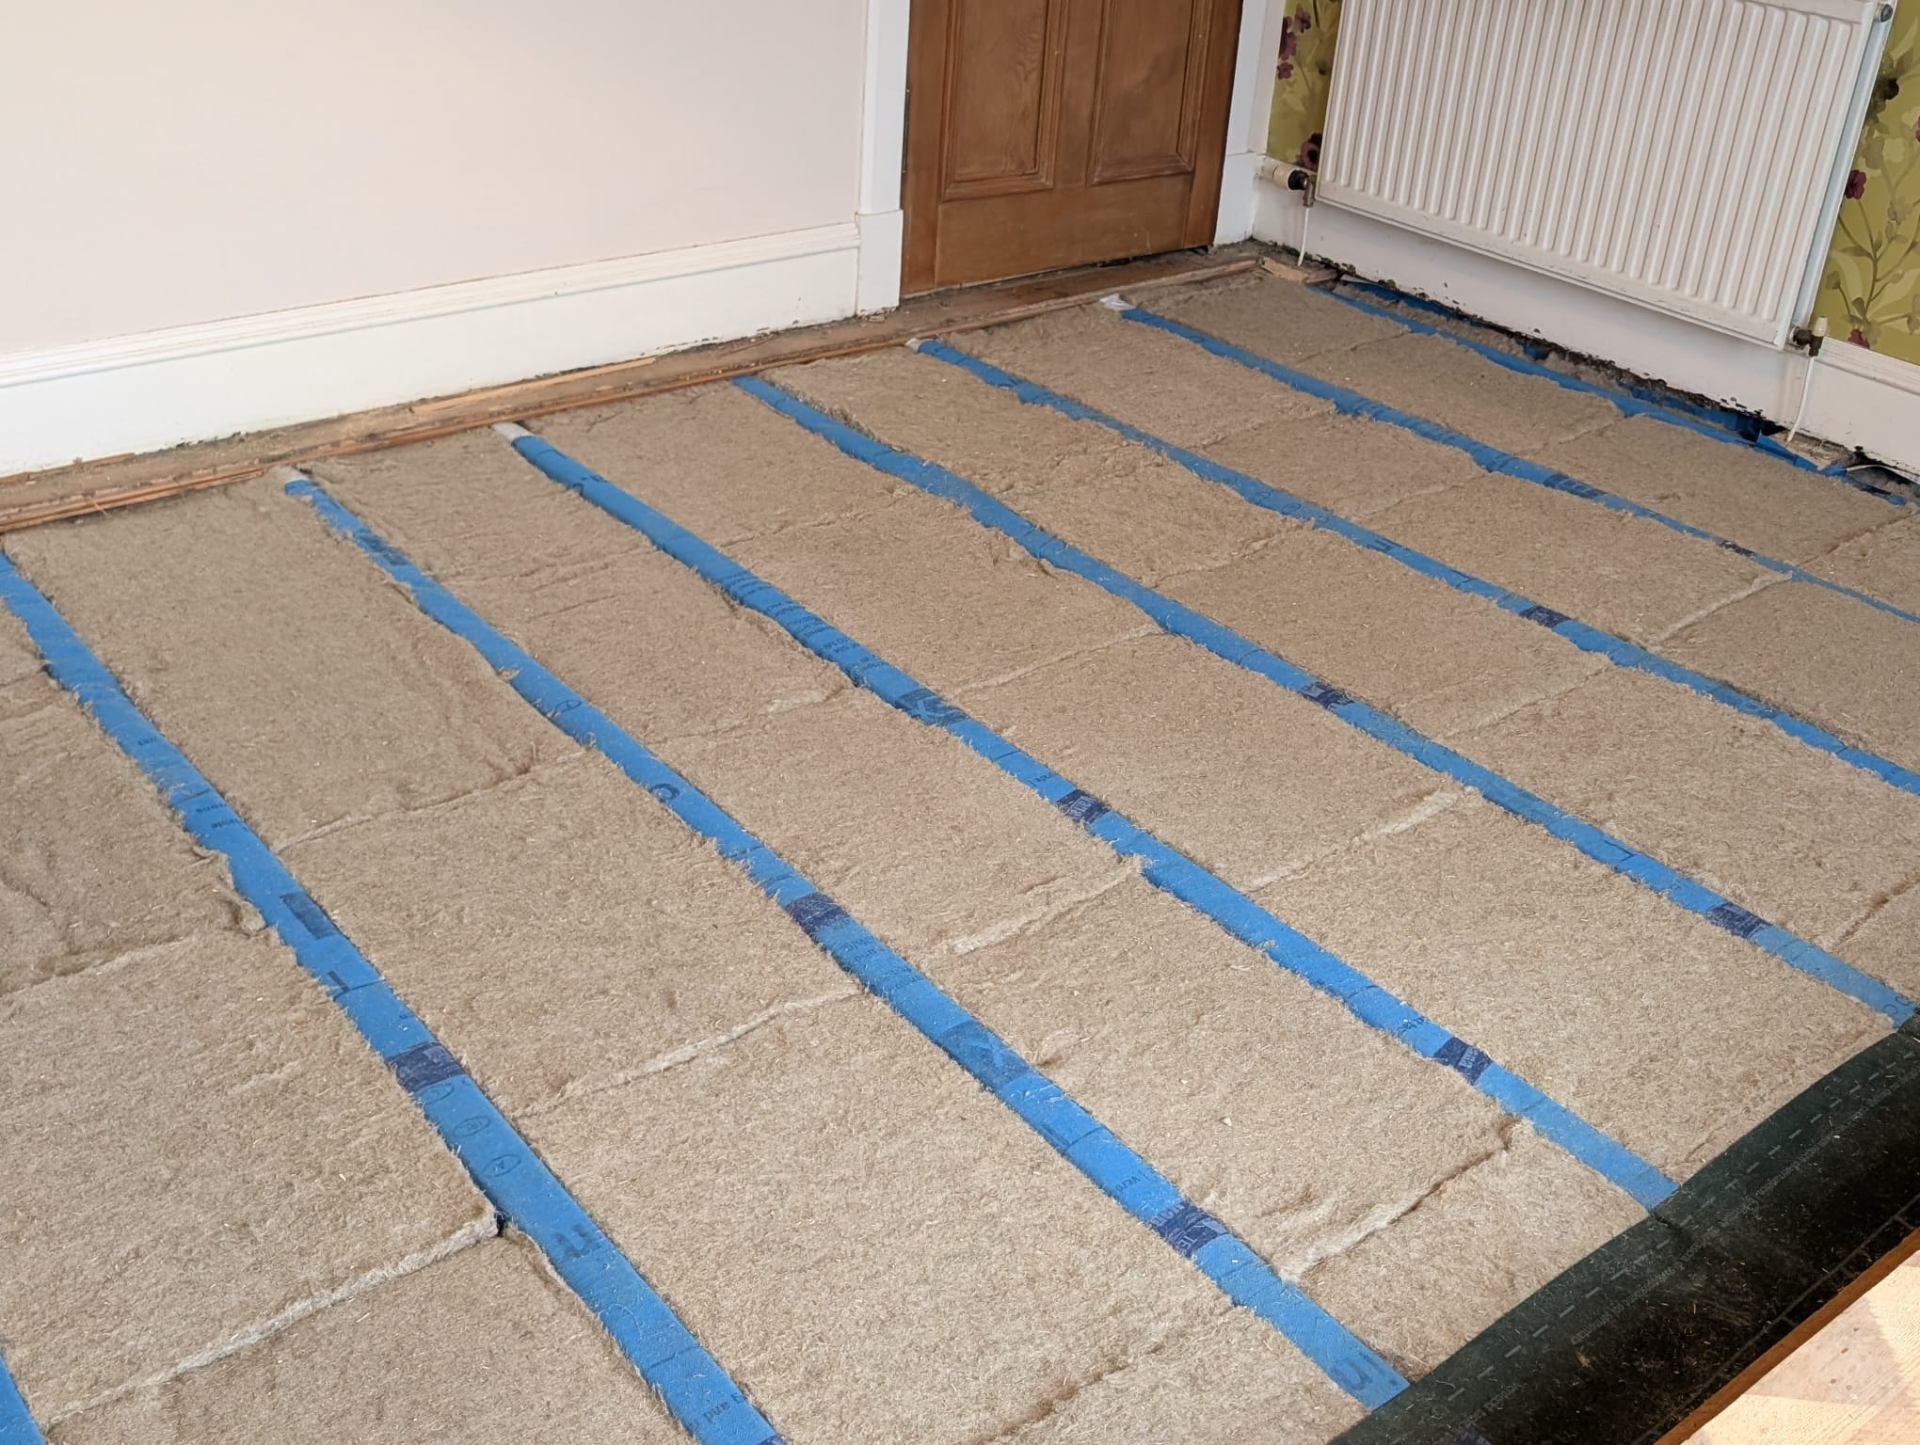
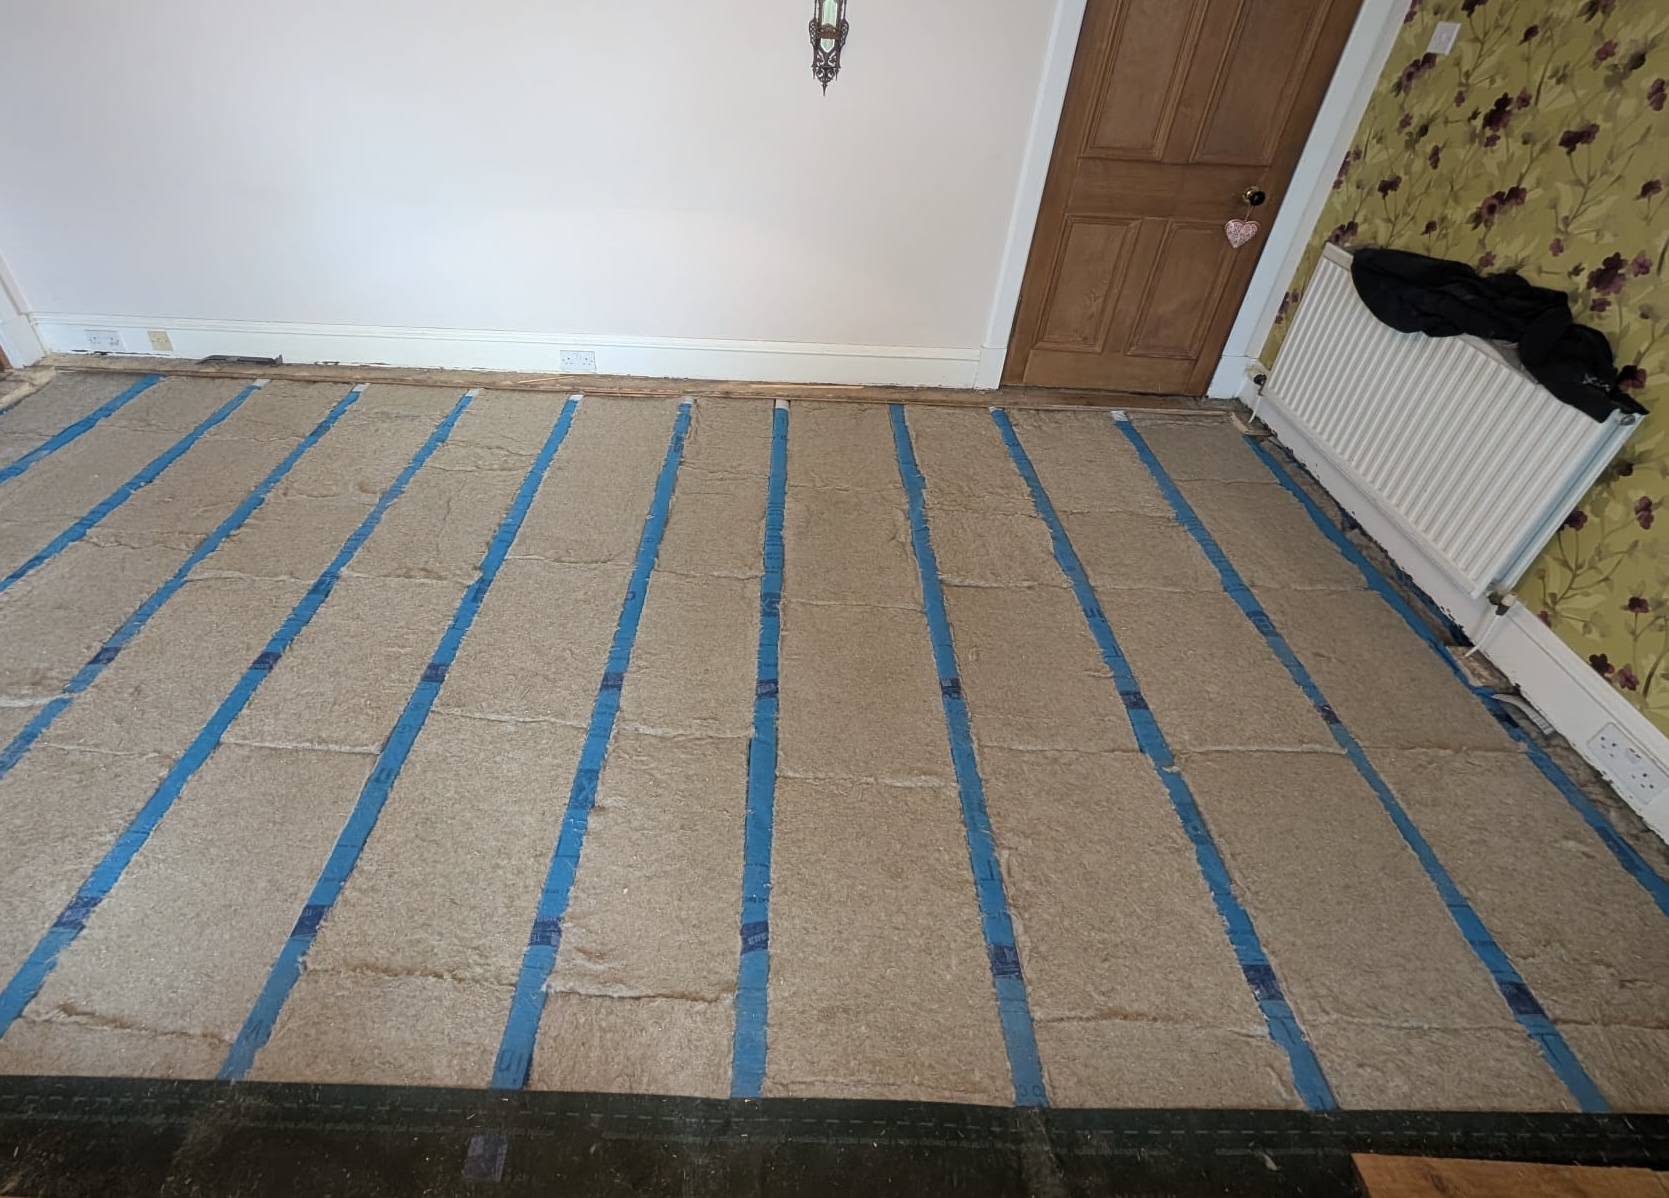
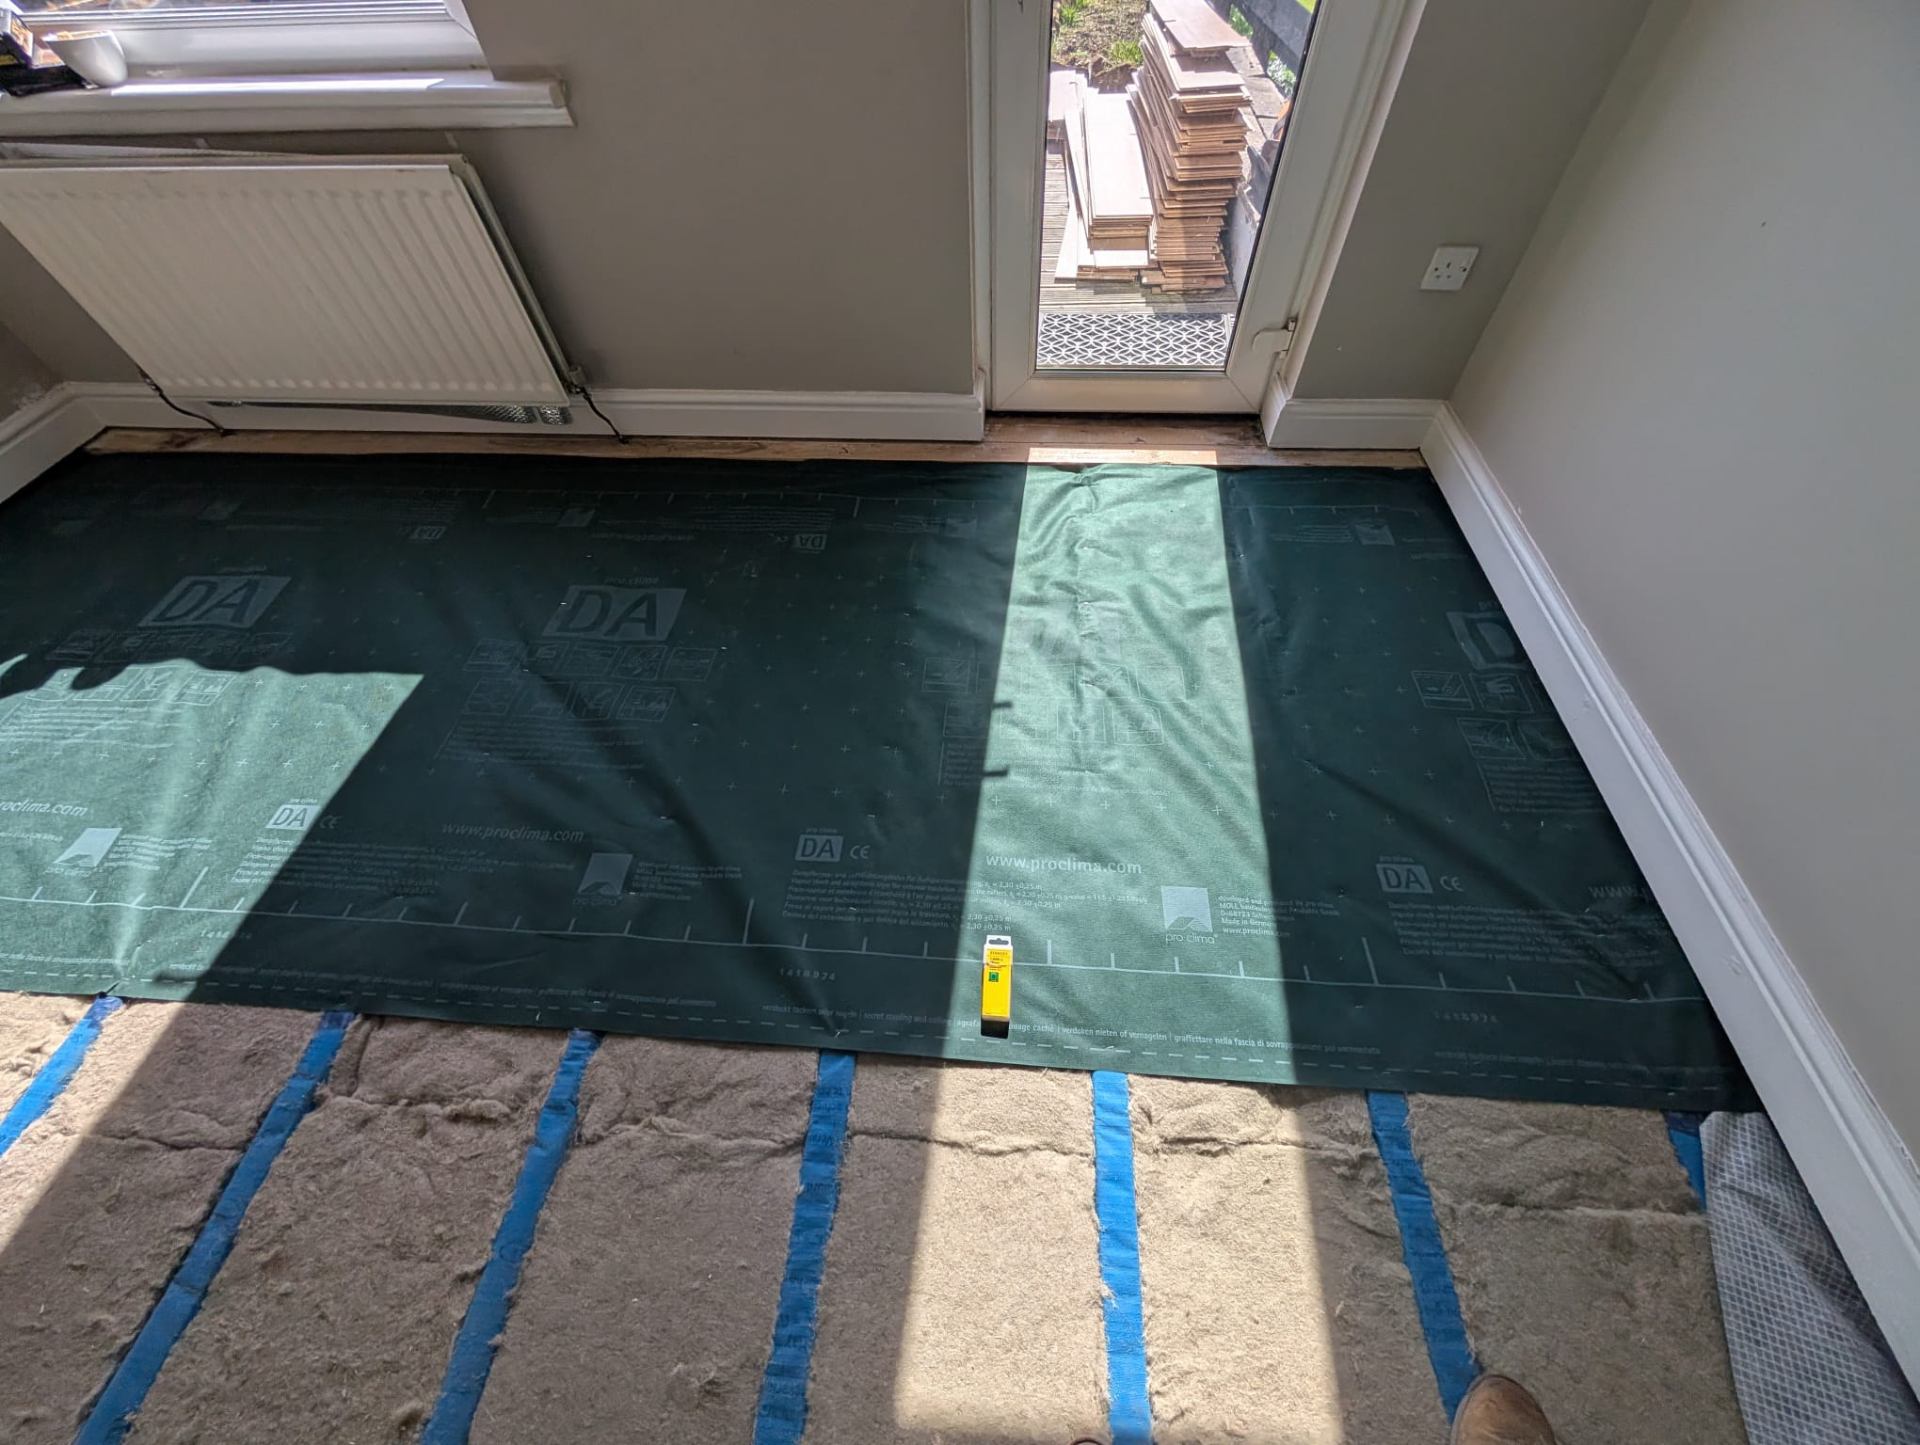
Indinature Inditherm Hemp Insulation is installed between the joists cut precisely to create a tight friction fit.
- Step 06
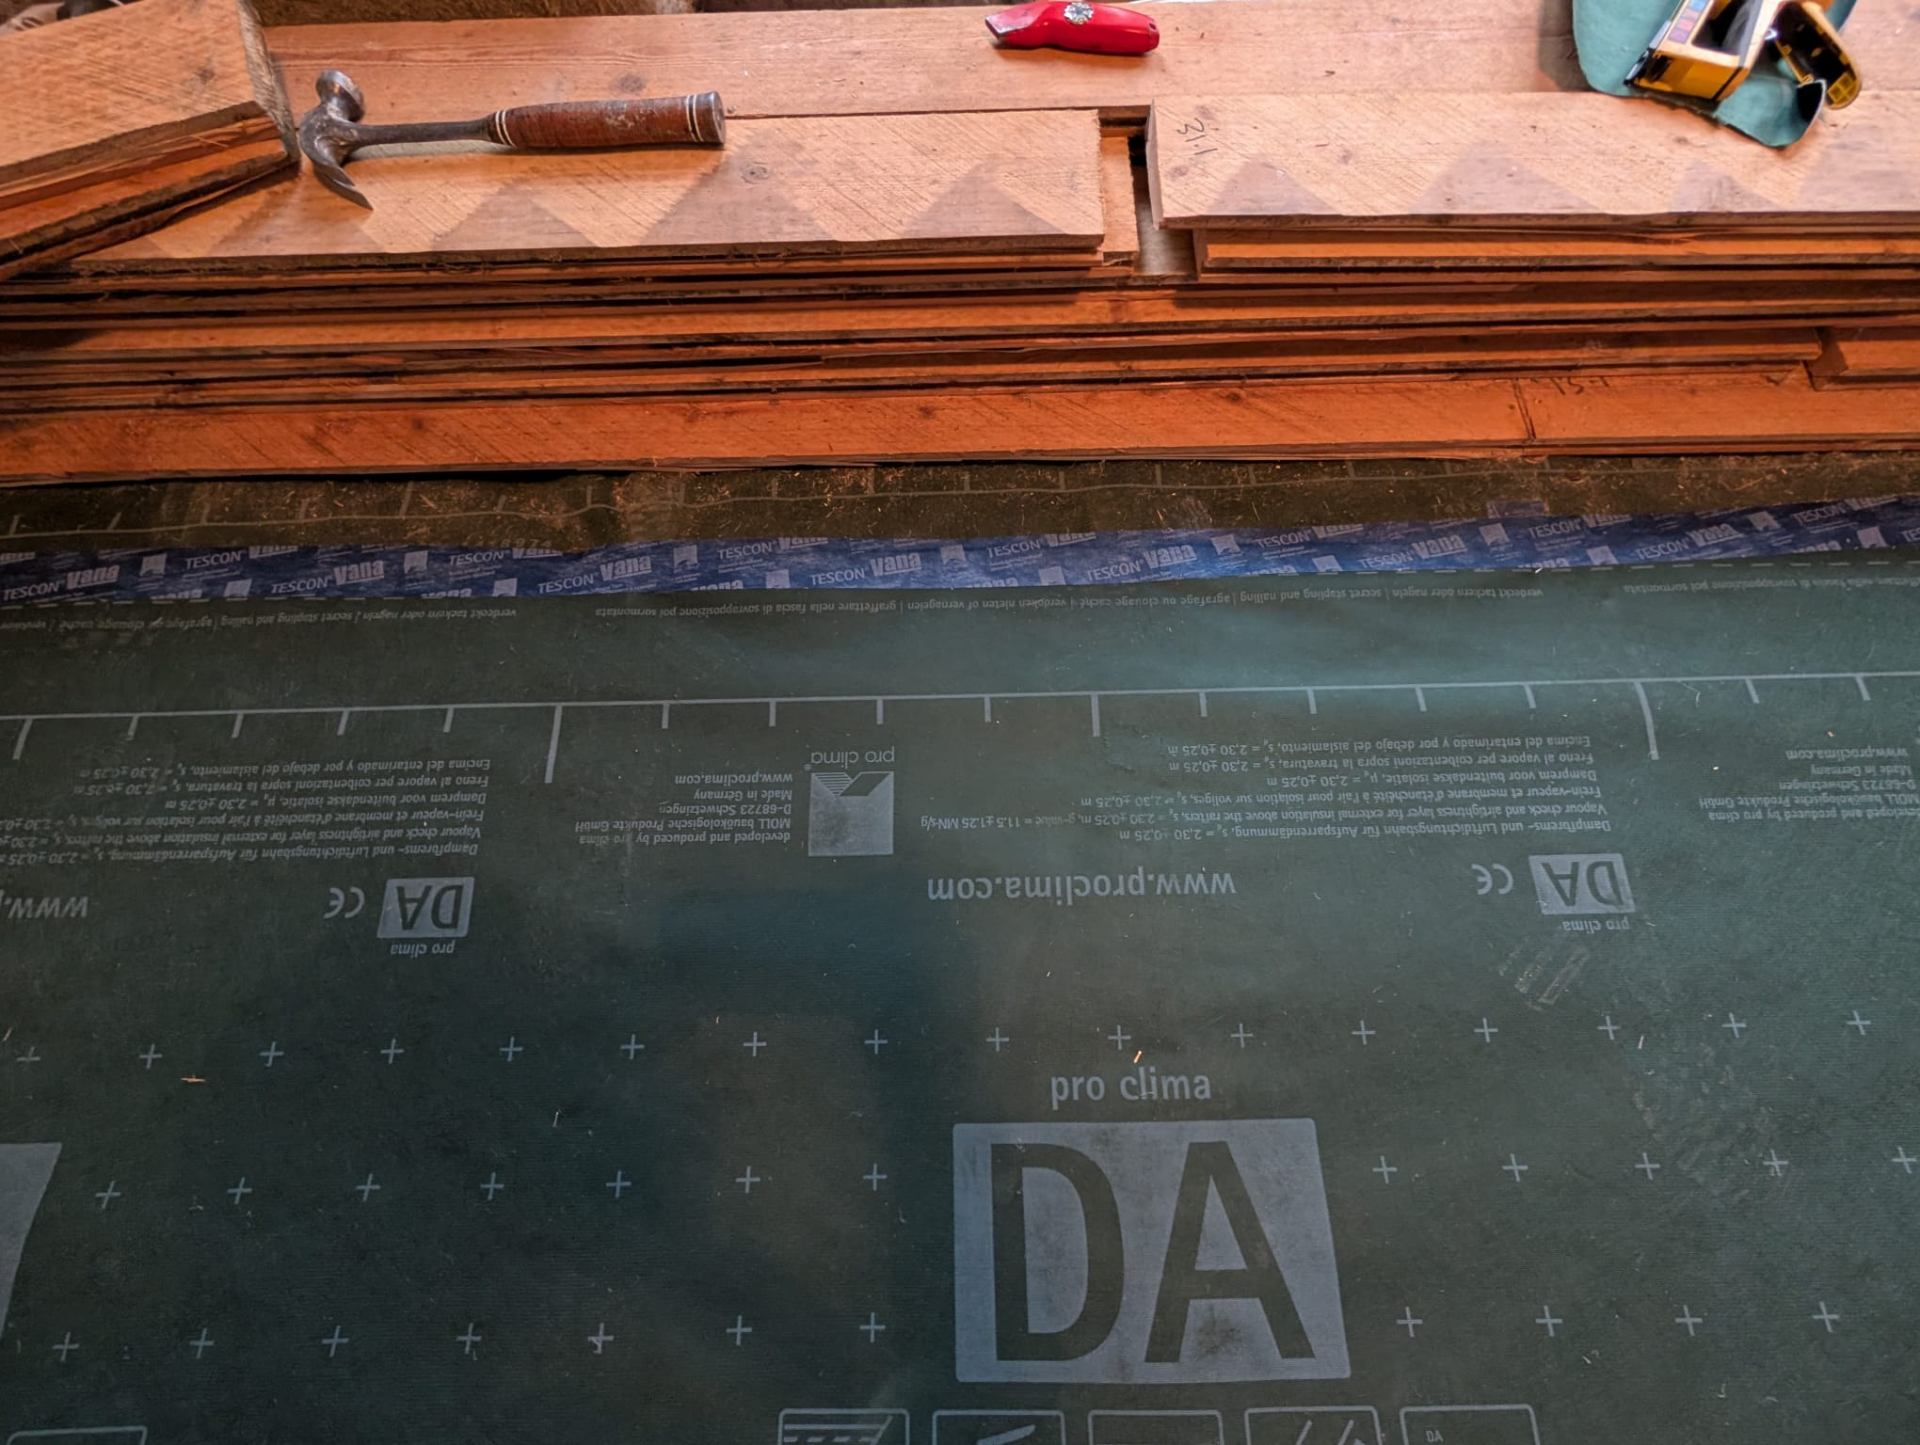
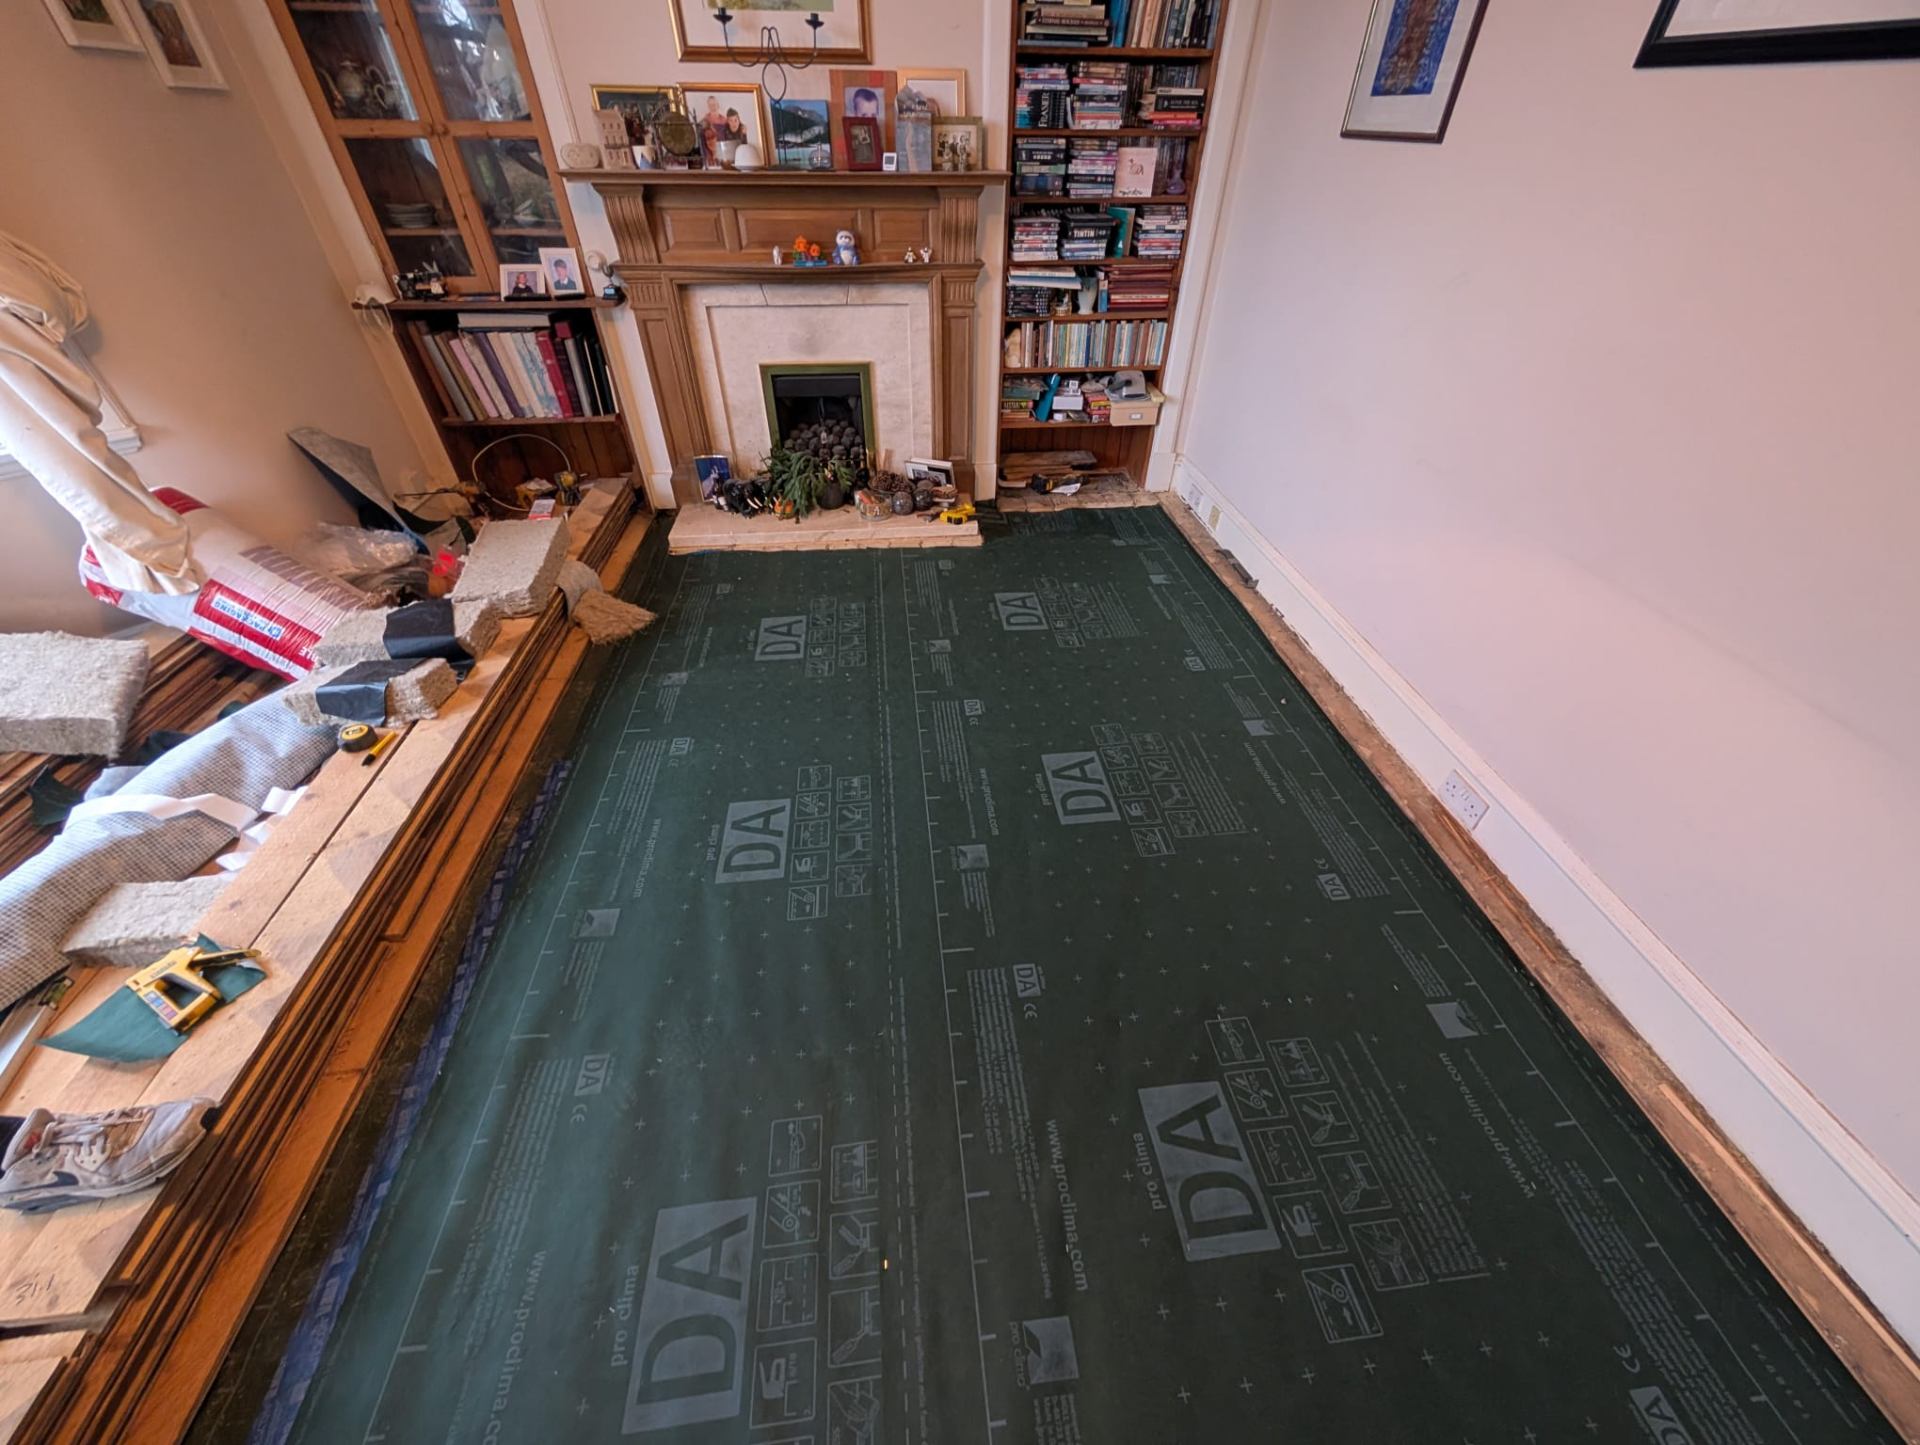
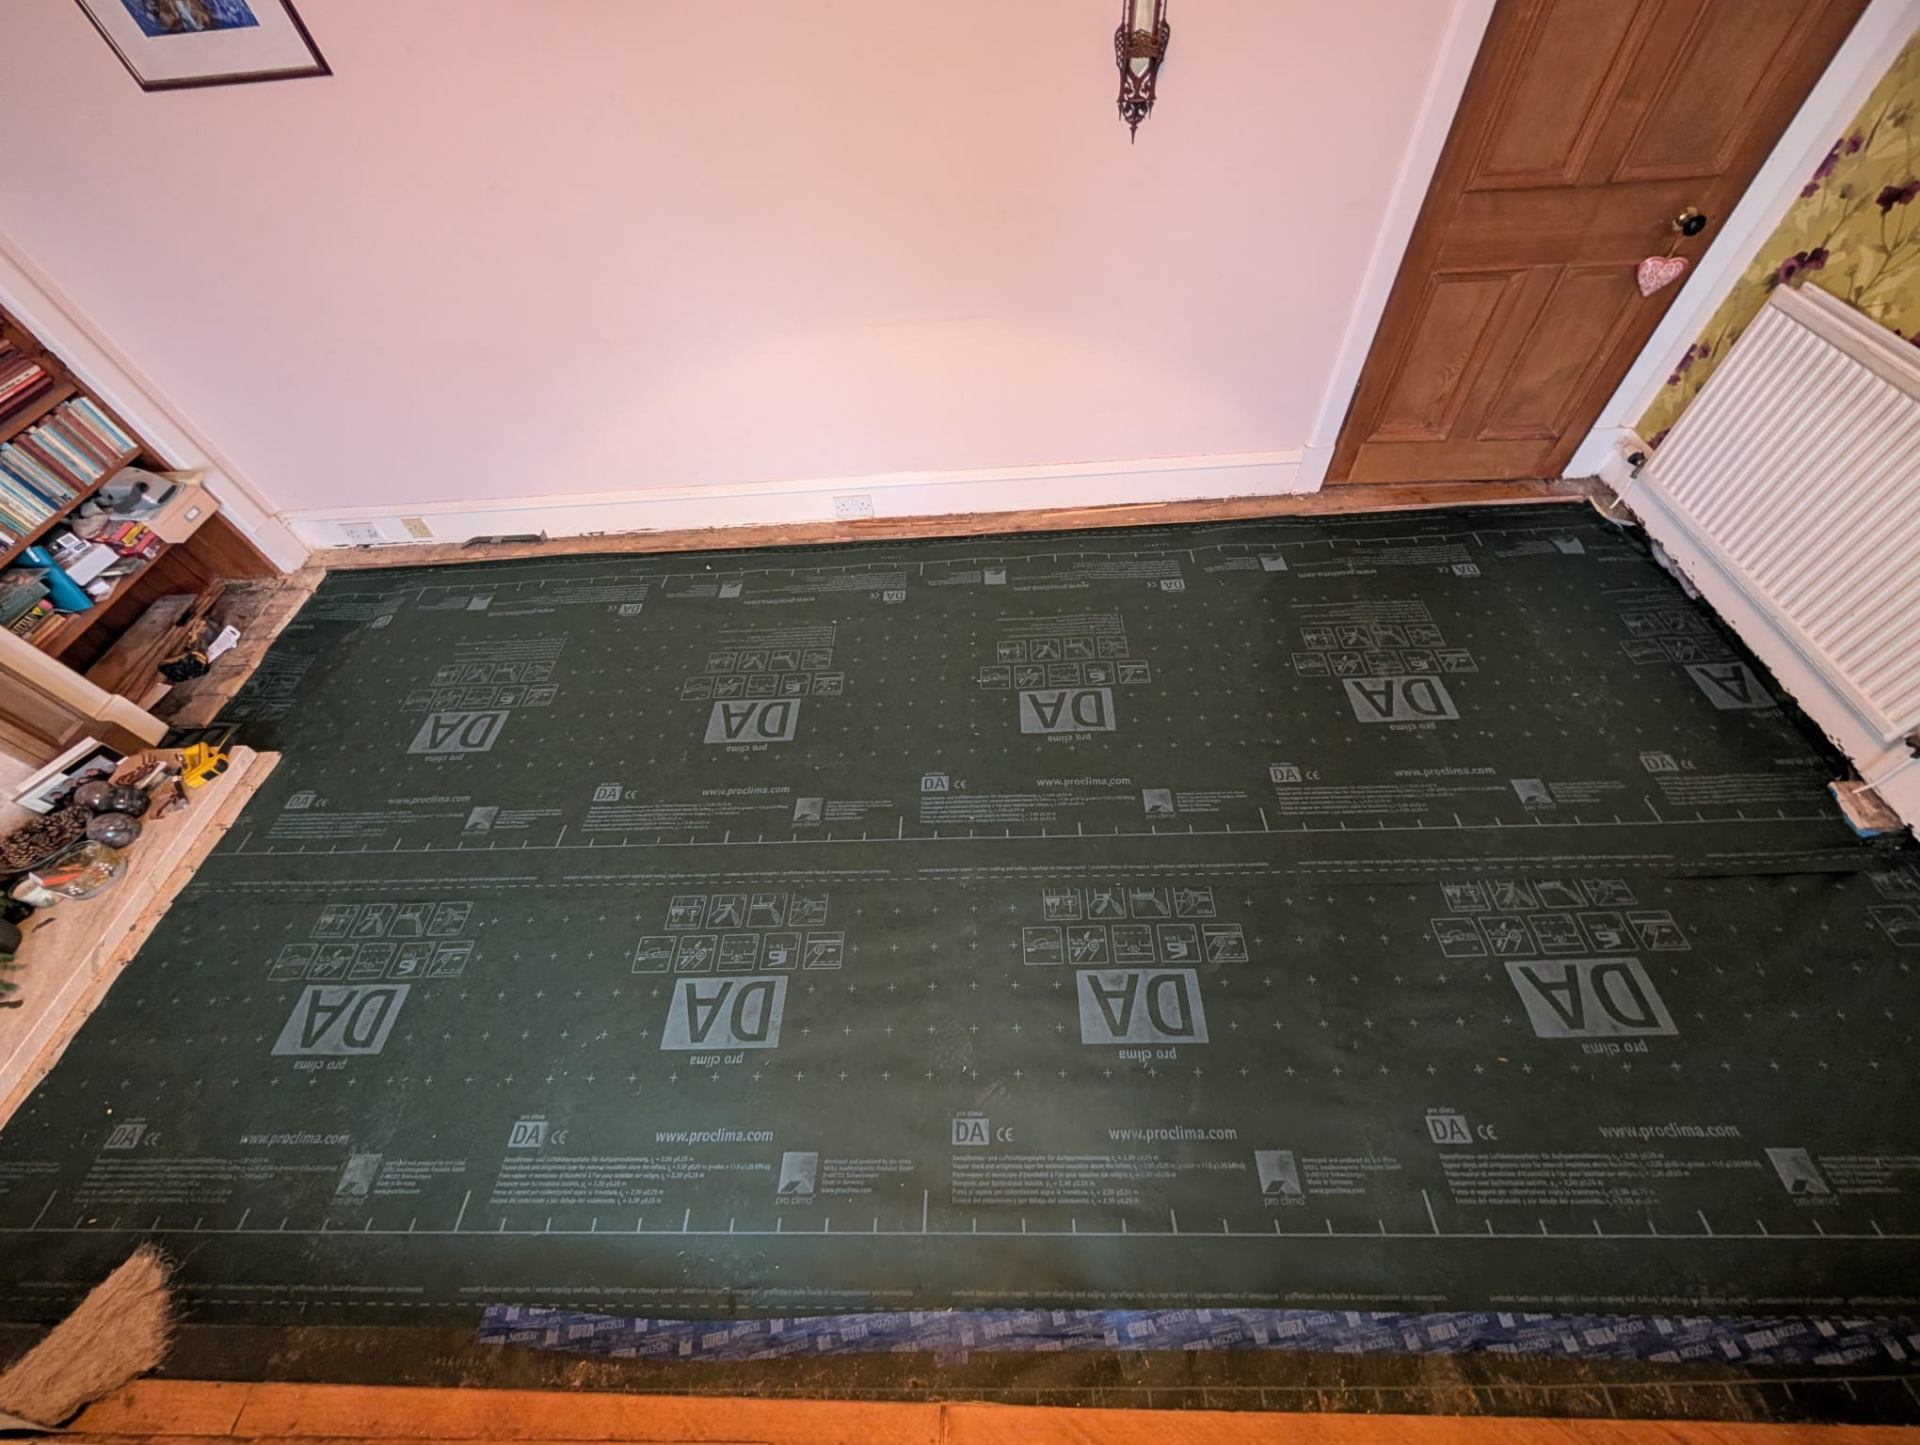
Pro Clima DA vapour control layer is installed on top of the joists with all joins taped with Tescon Vana and perimeter taped with Contega Solido.
- Step 07
The existing flooring is reinstated or new flooring is installed if the floors are being replaced.
Hemp Underfloor Insulation System


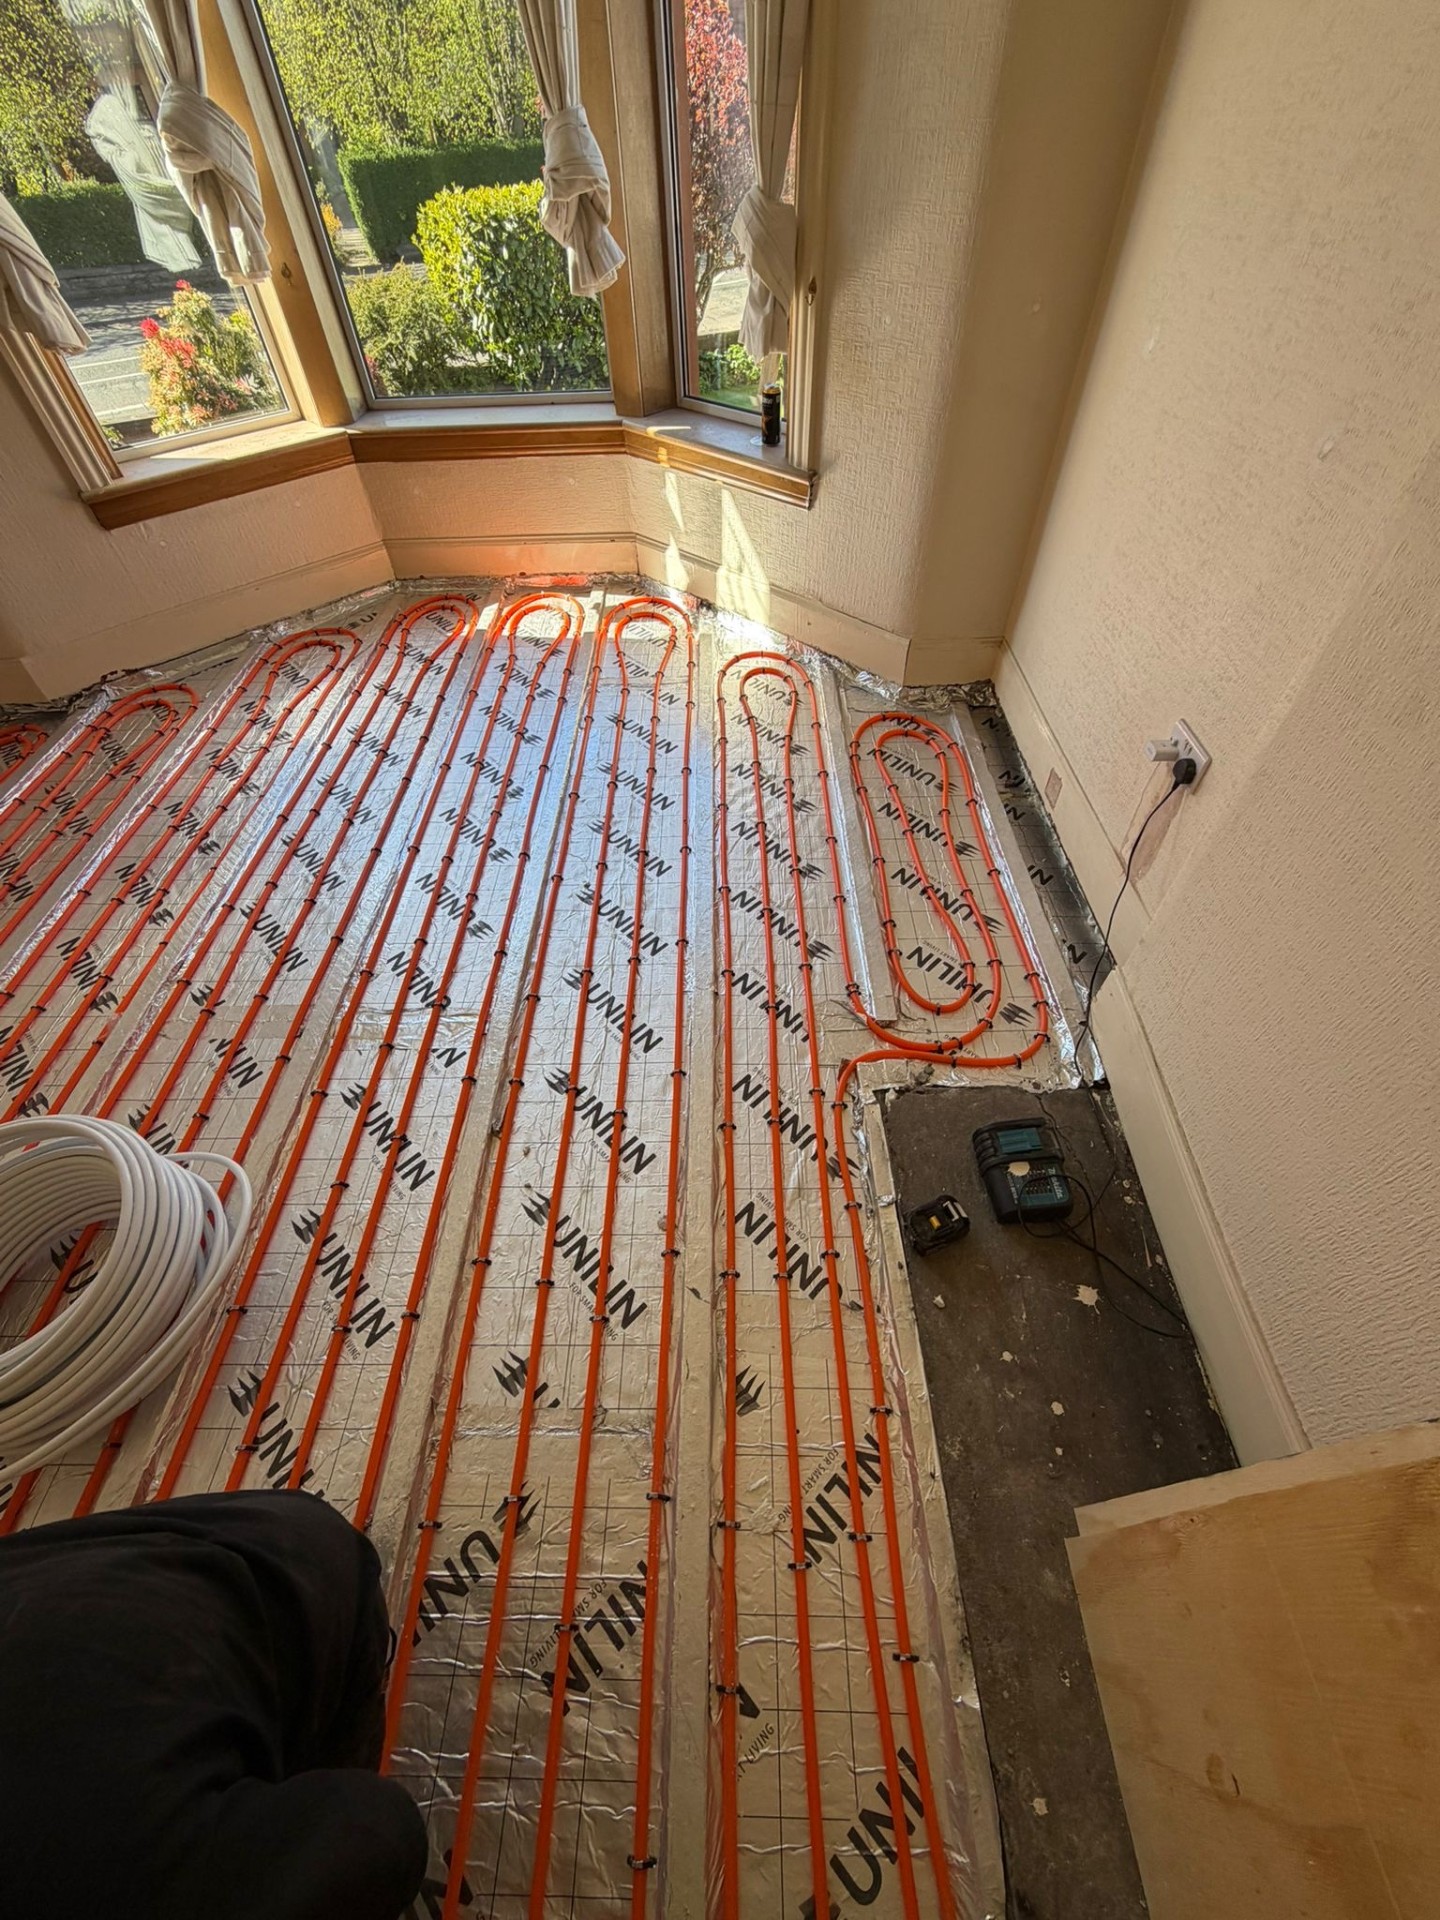
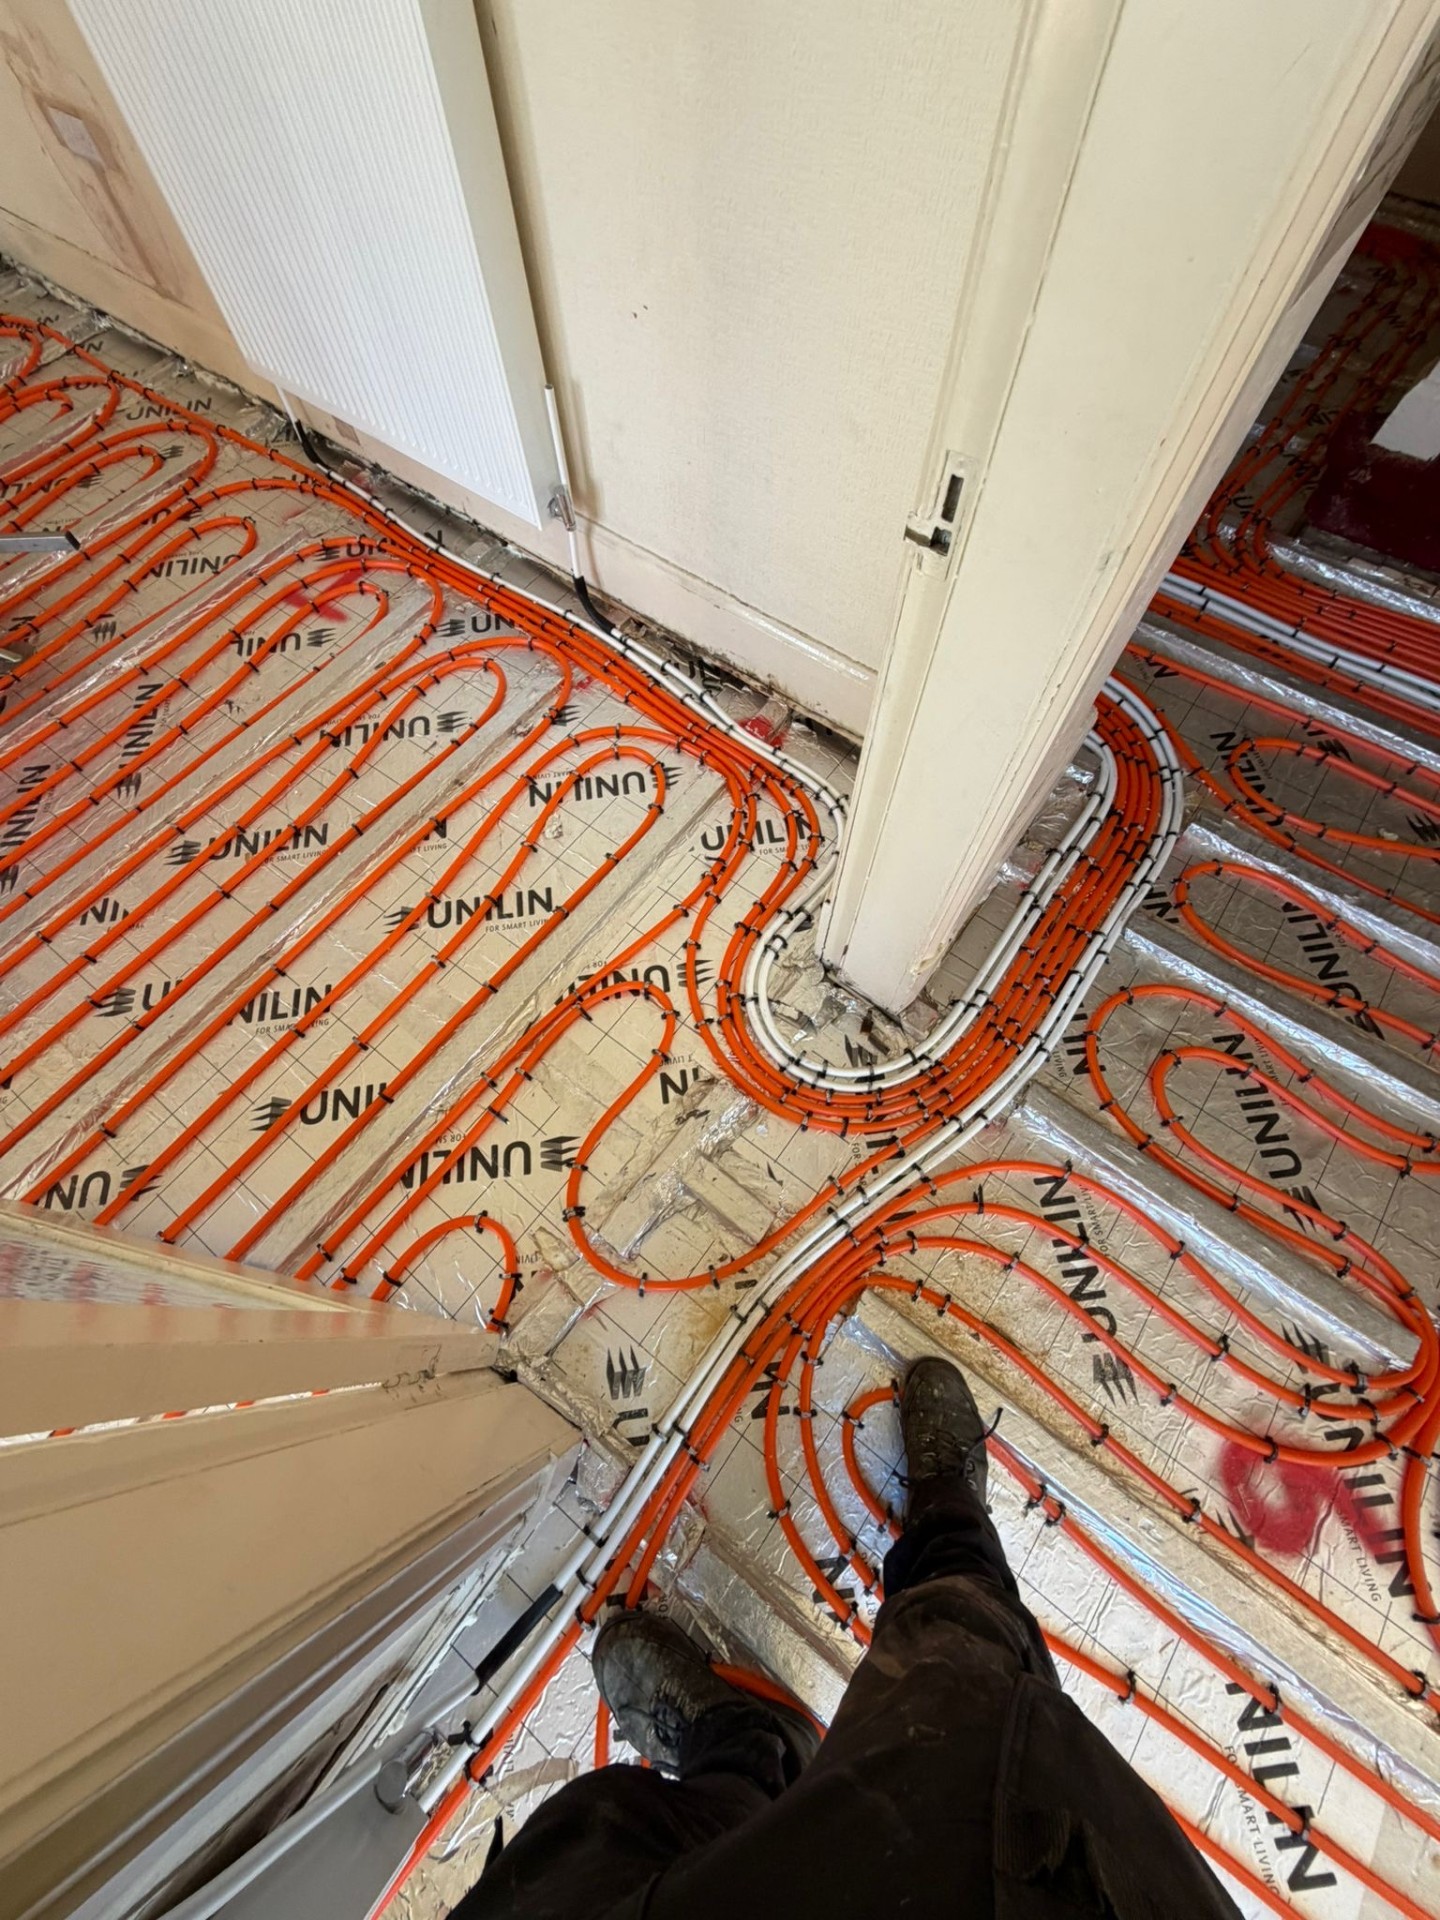
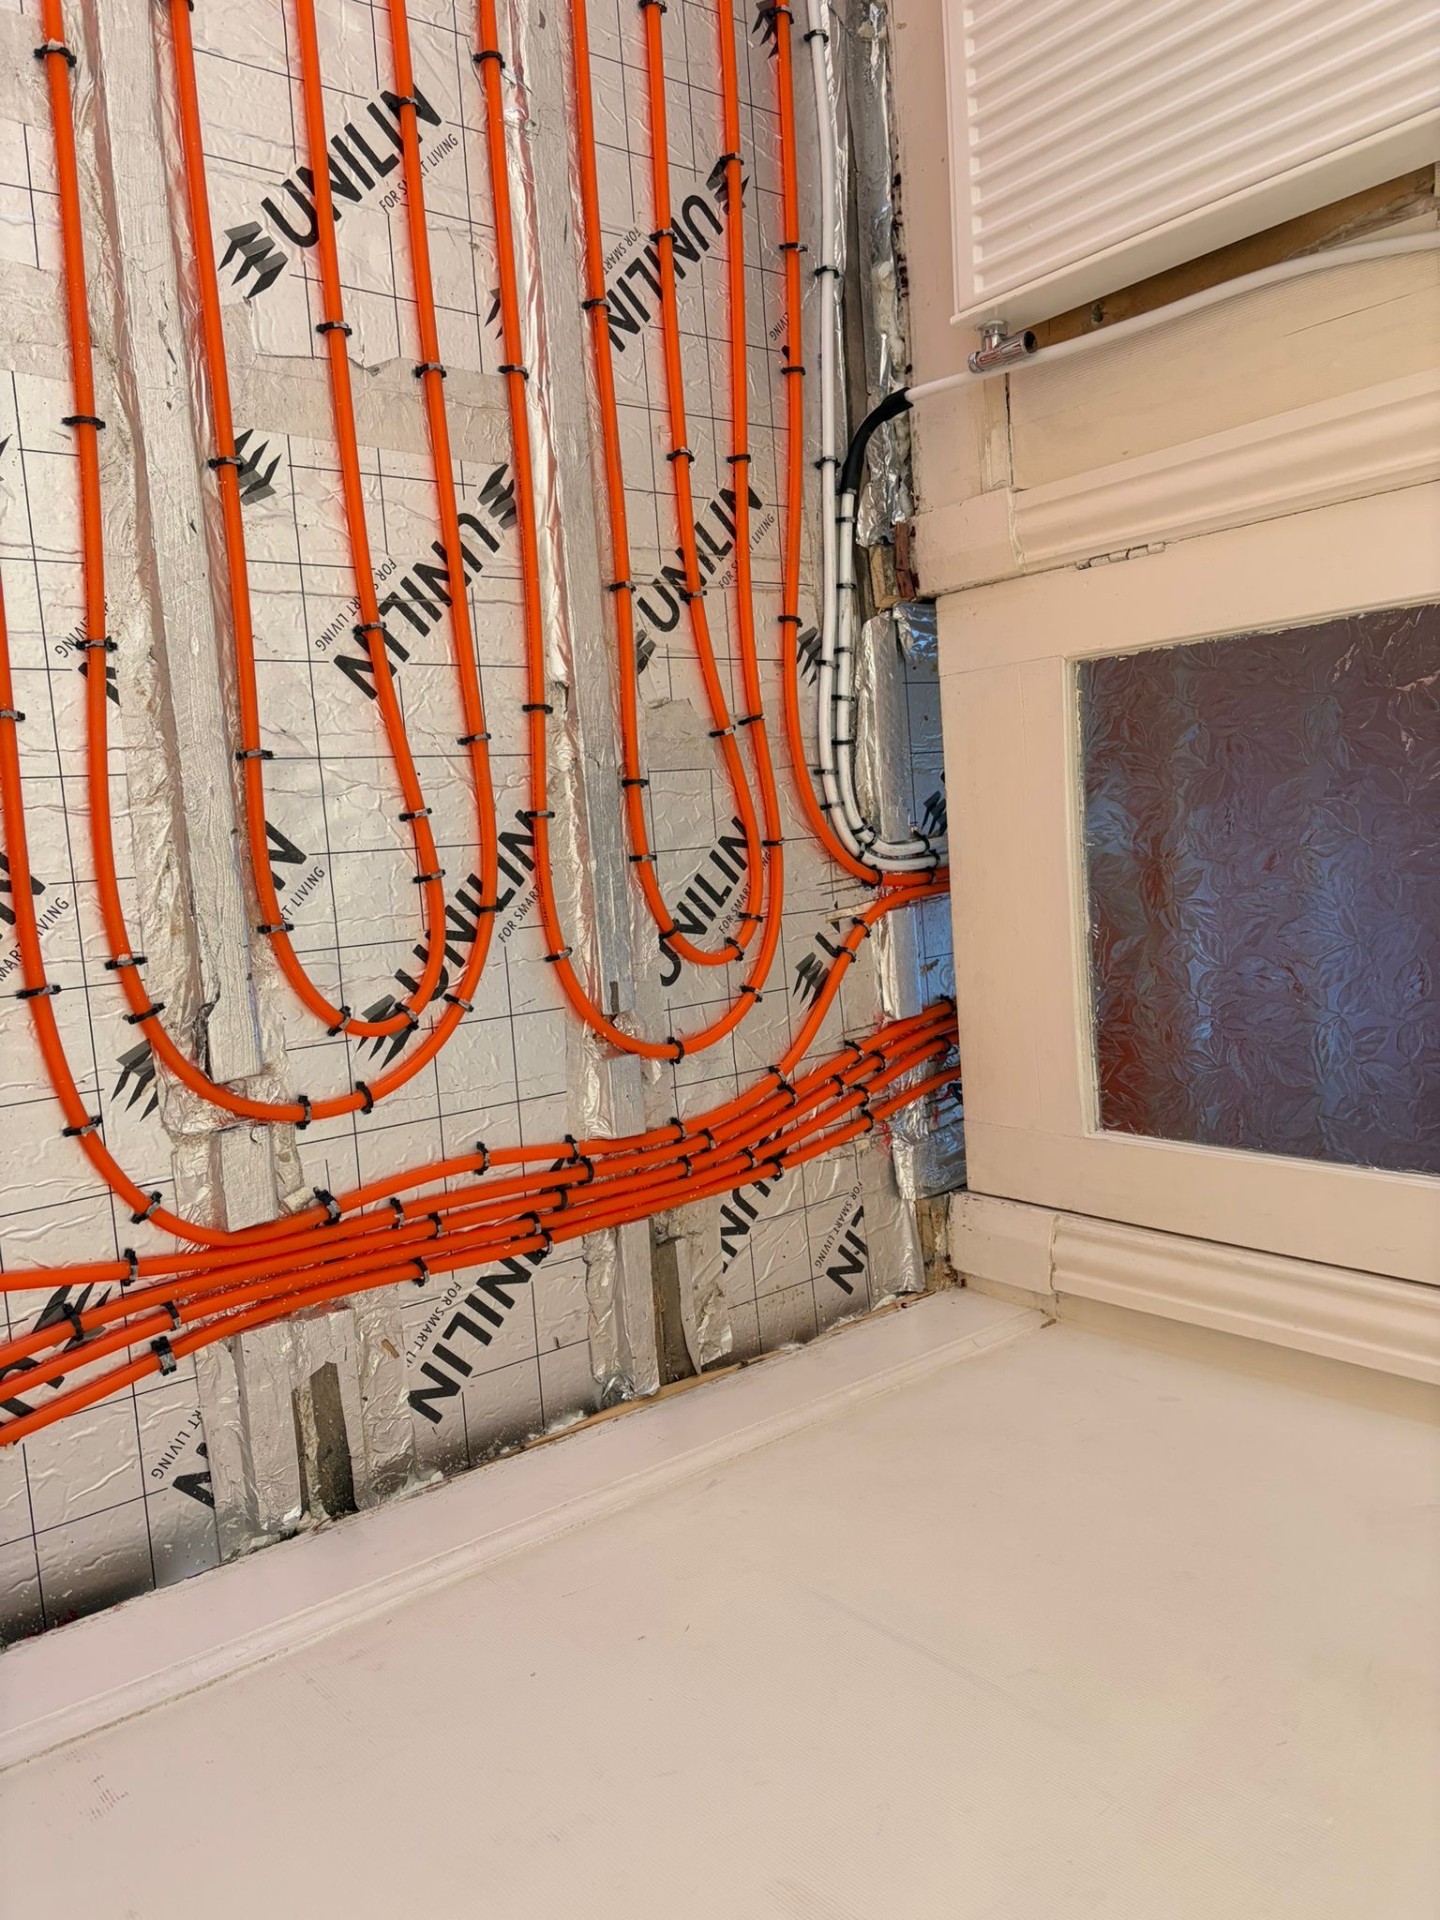
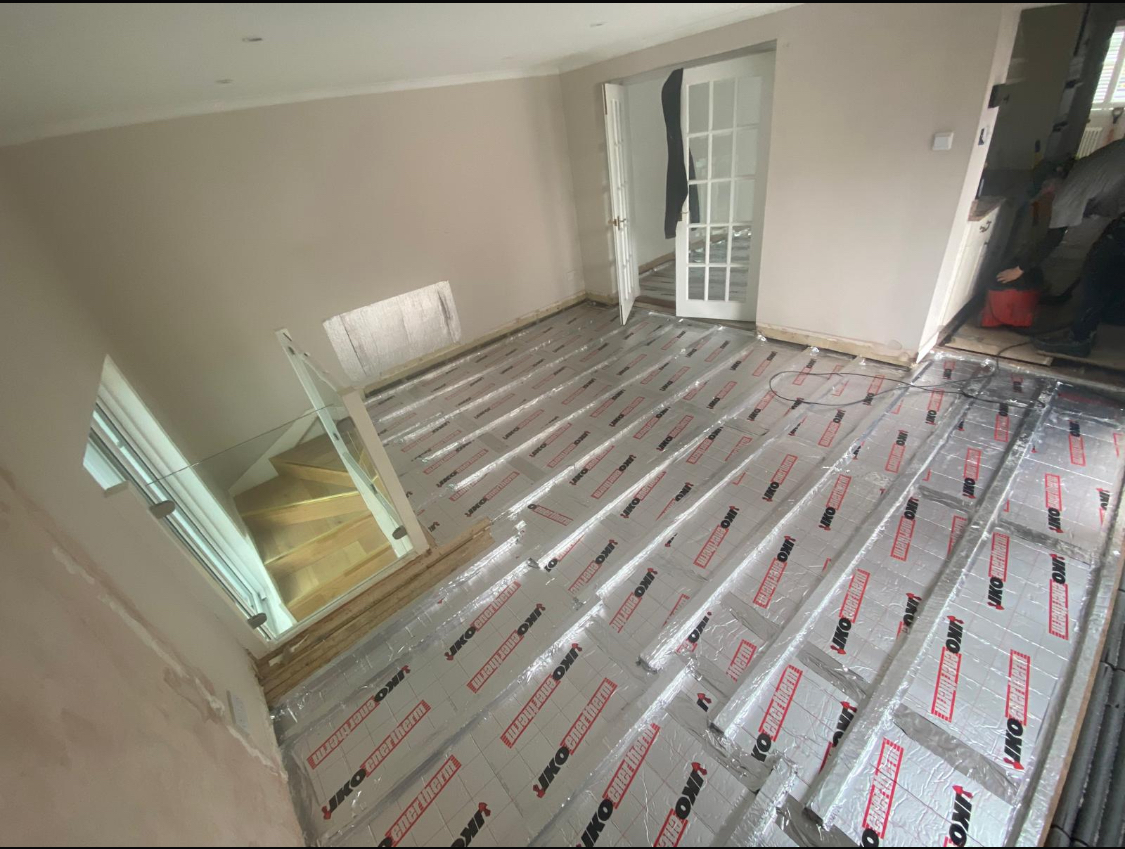
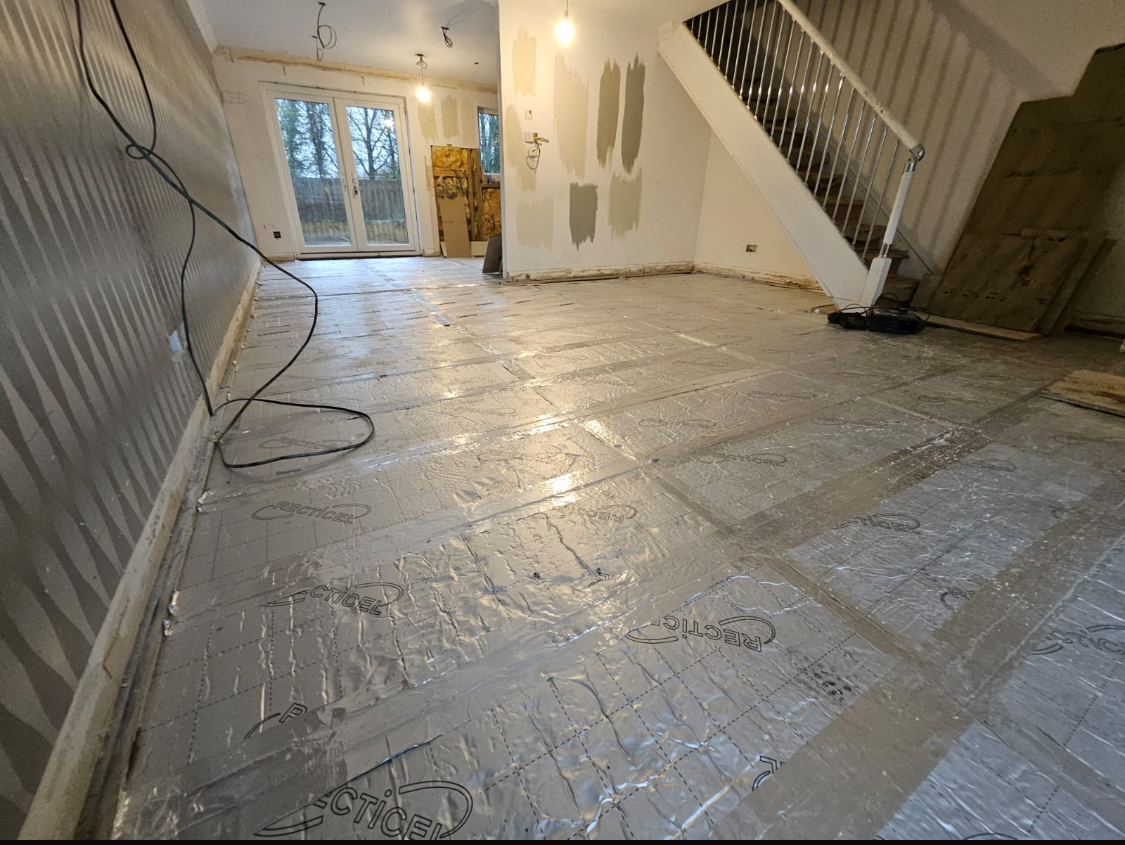
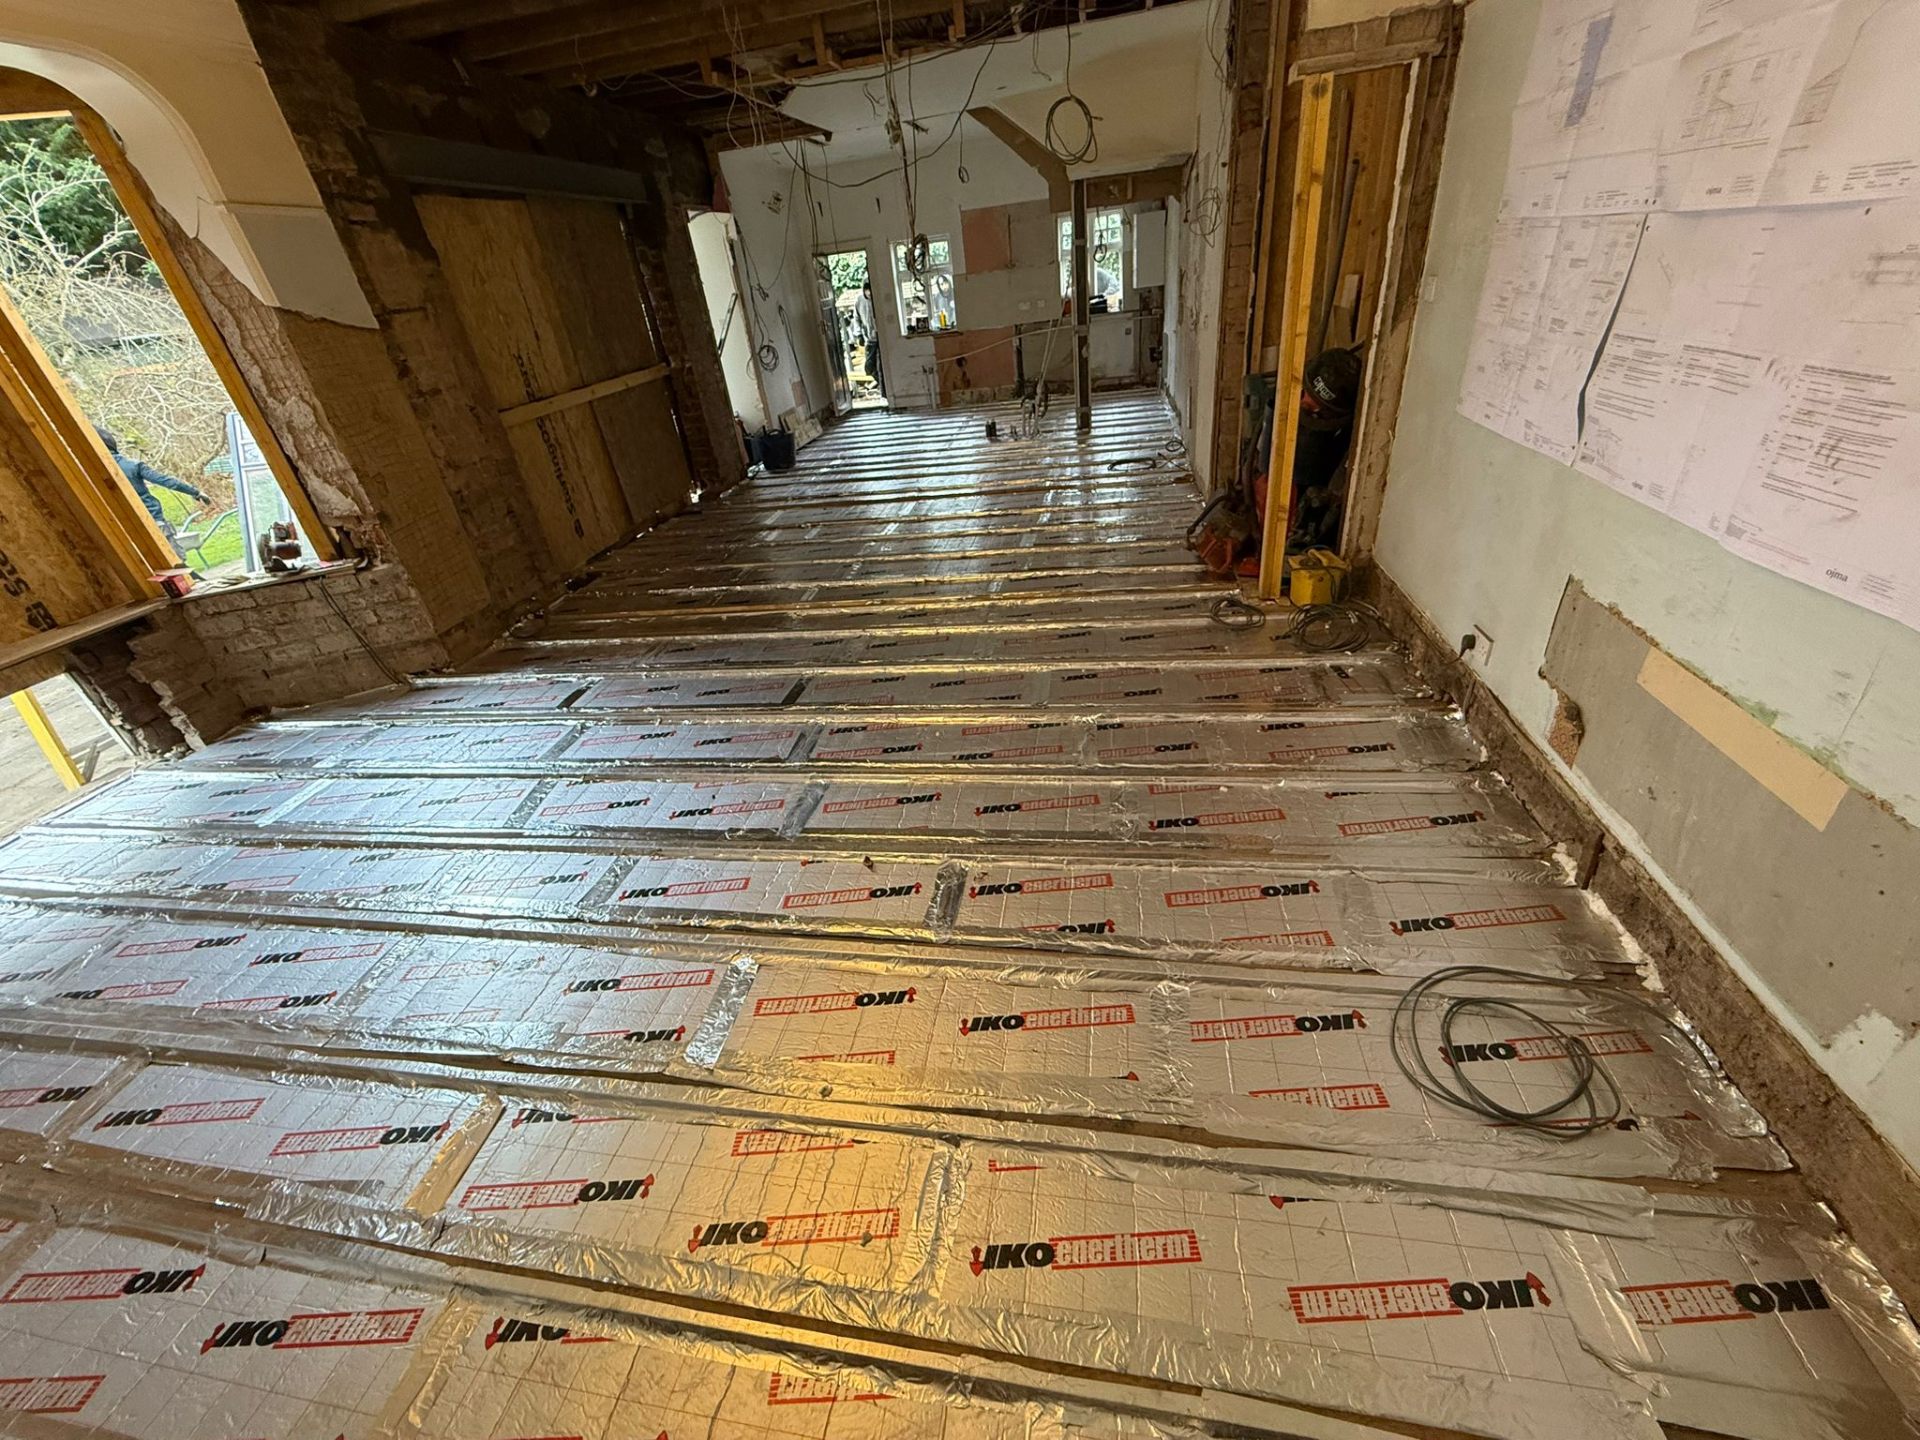
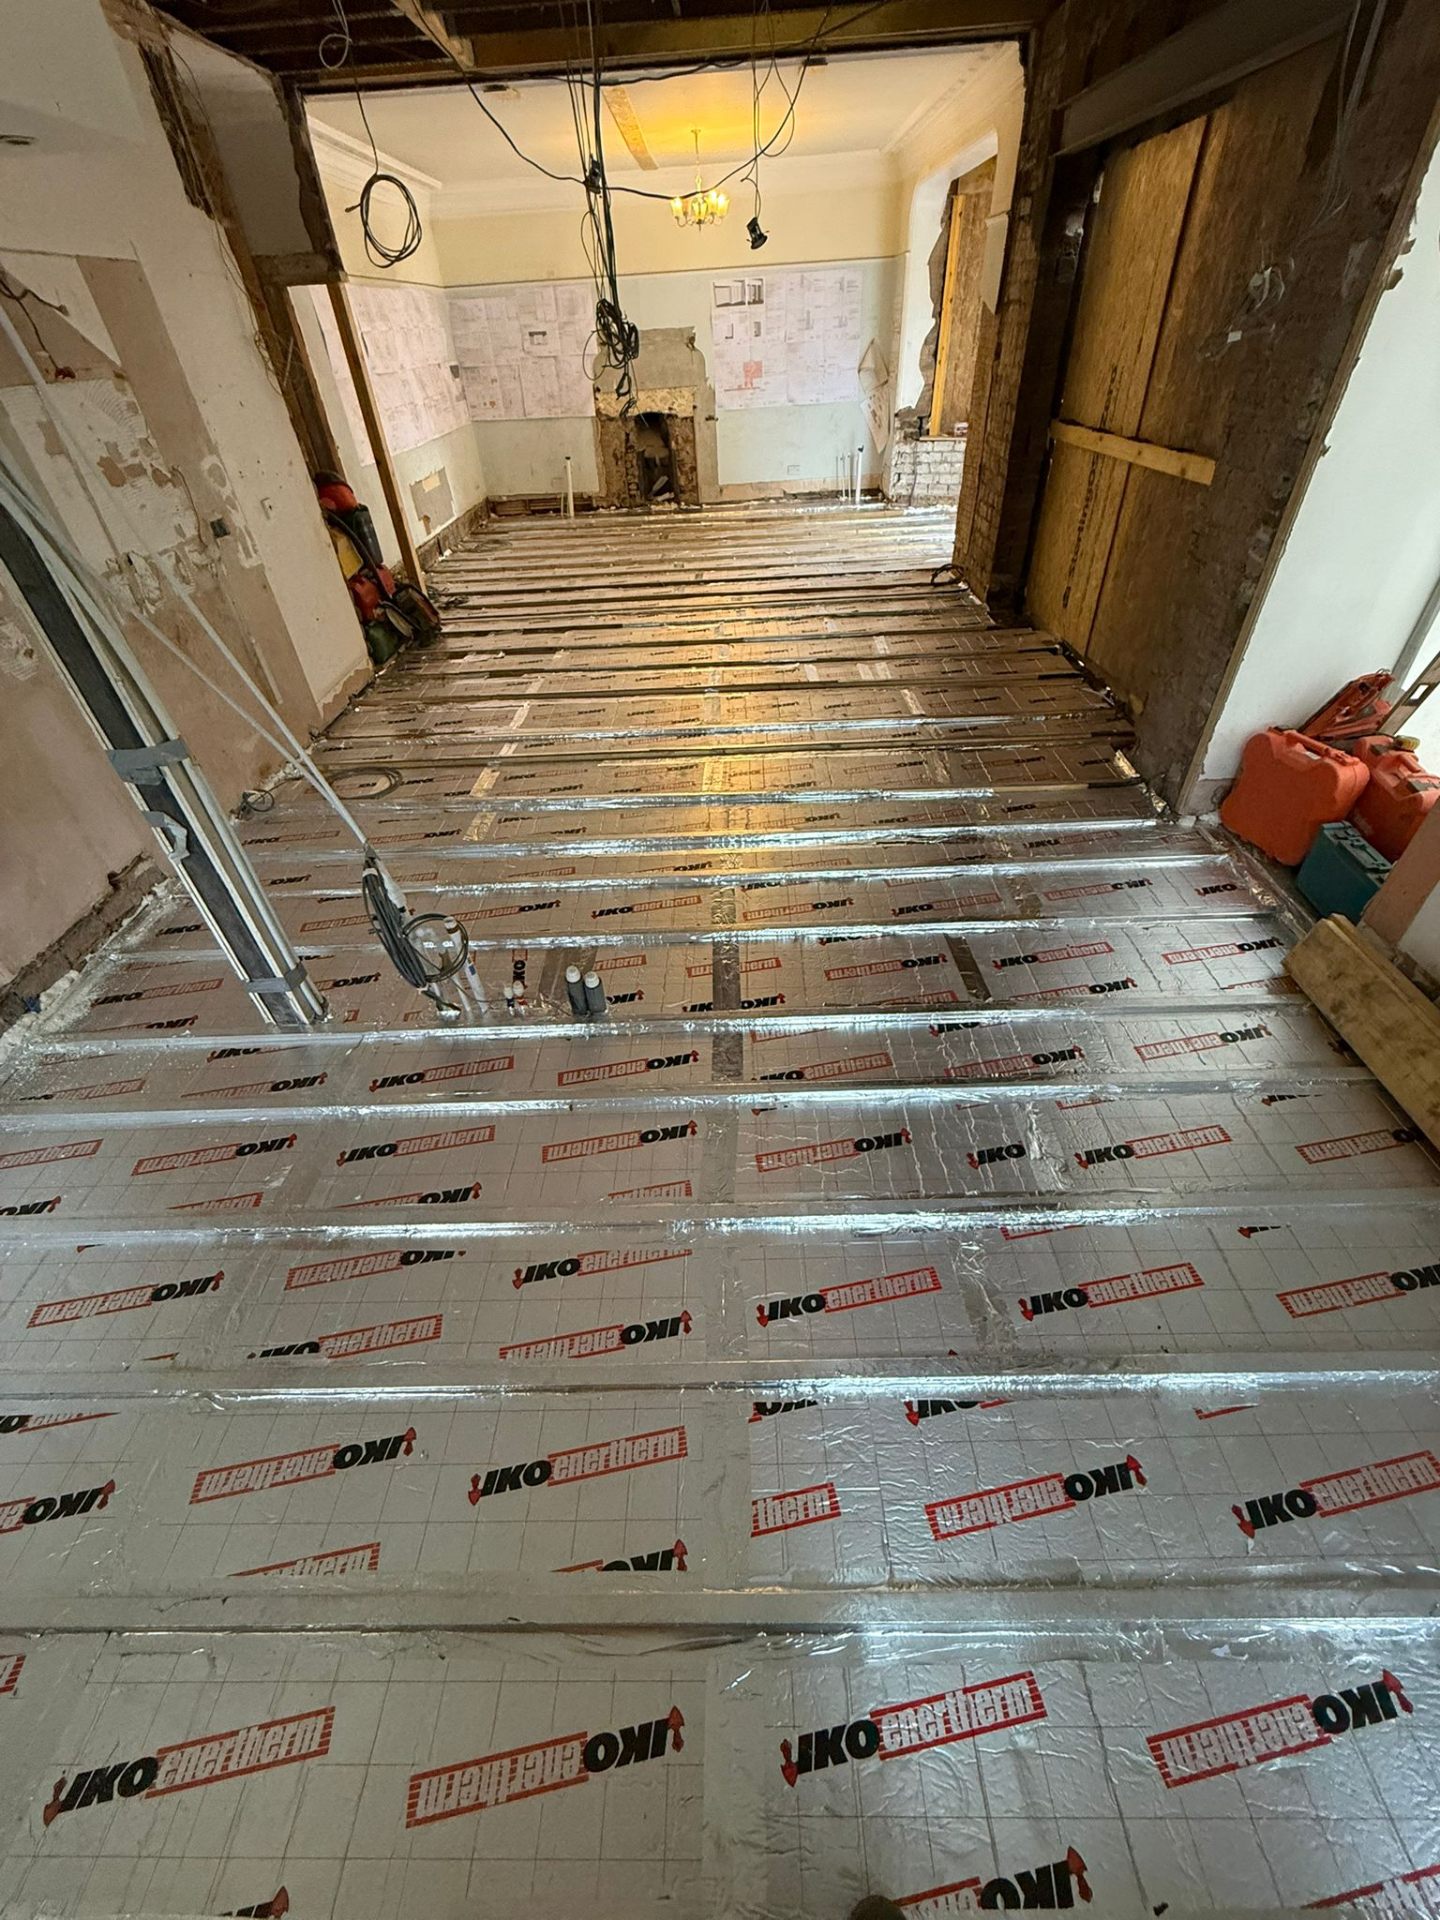
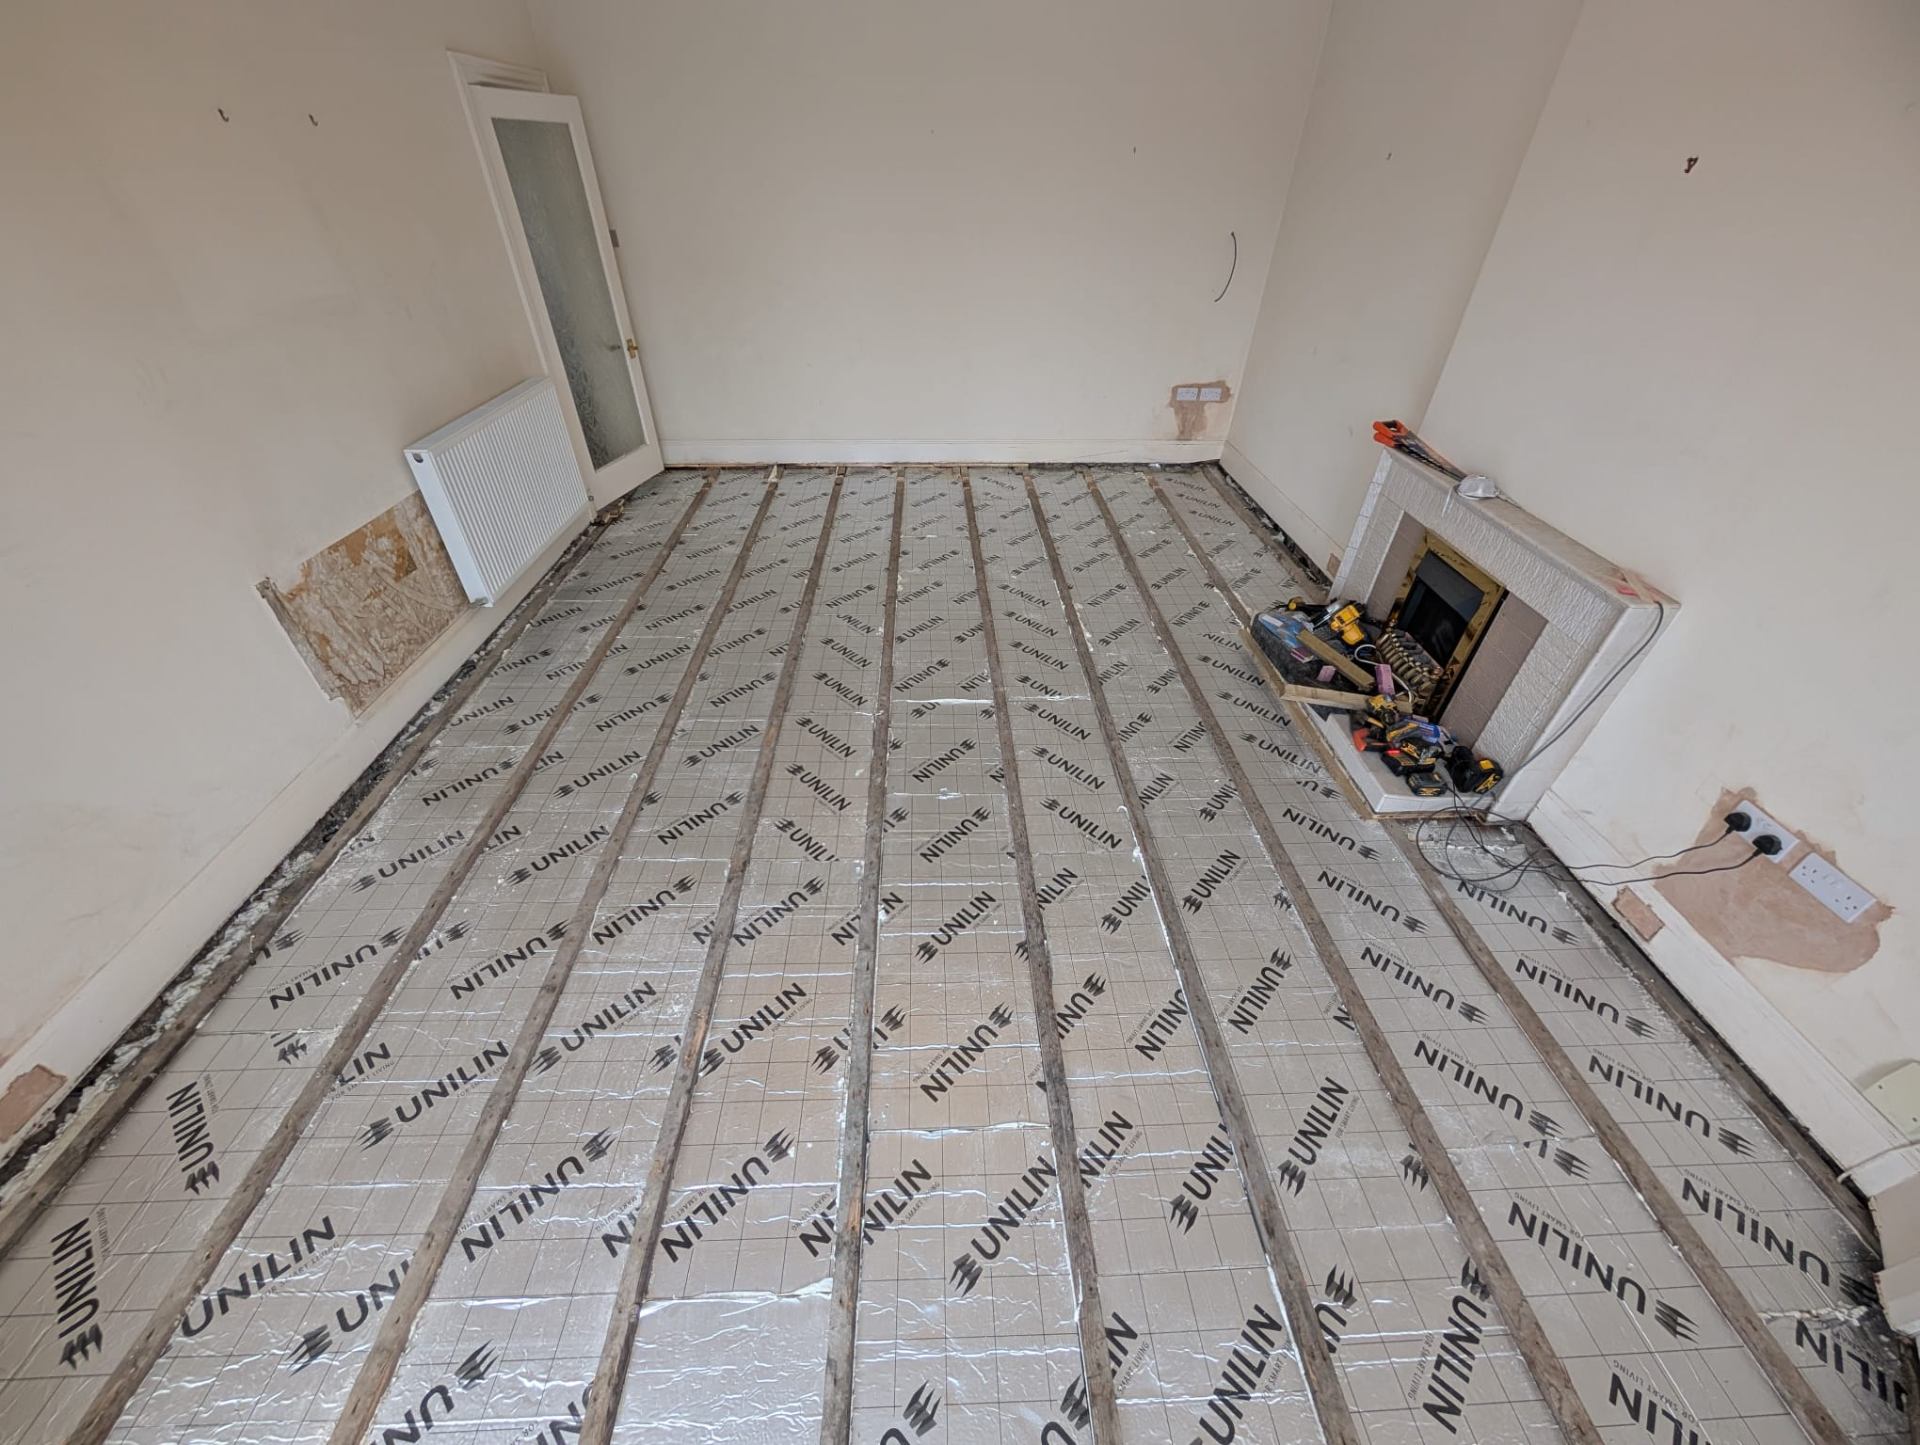
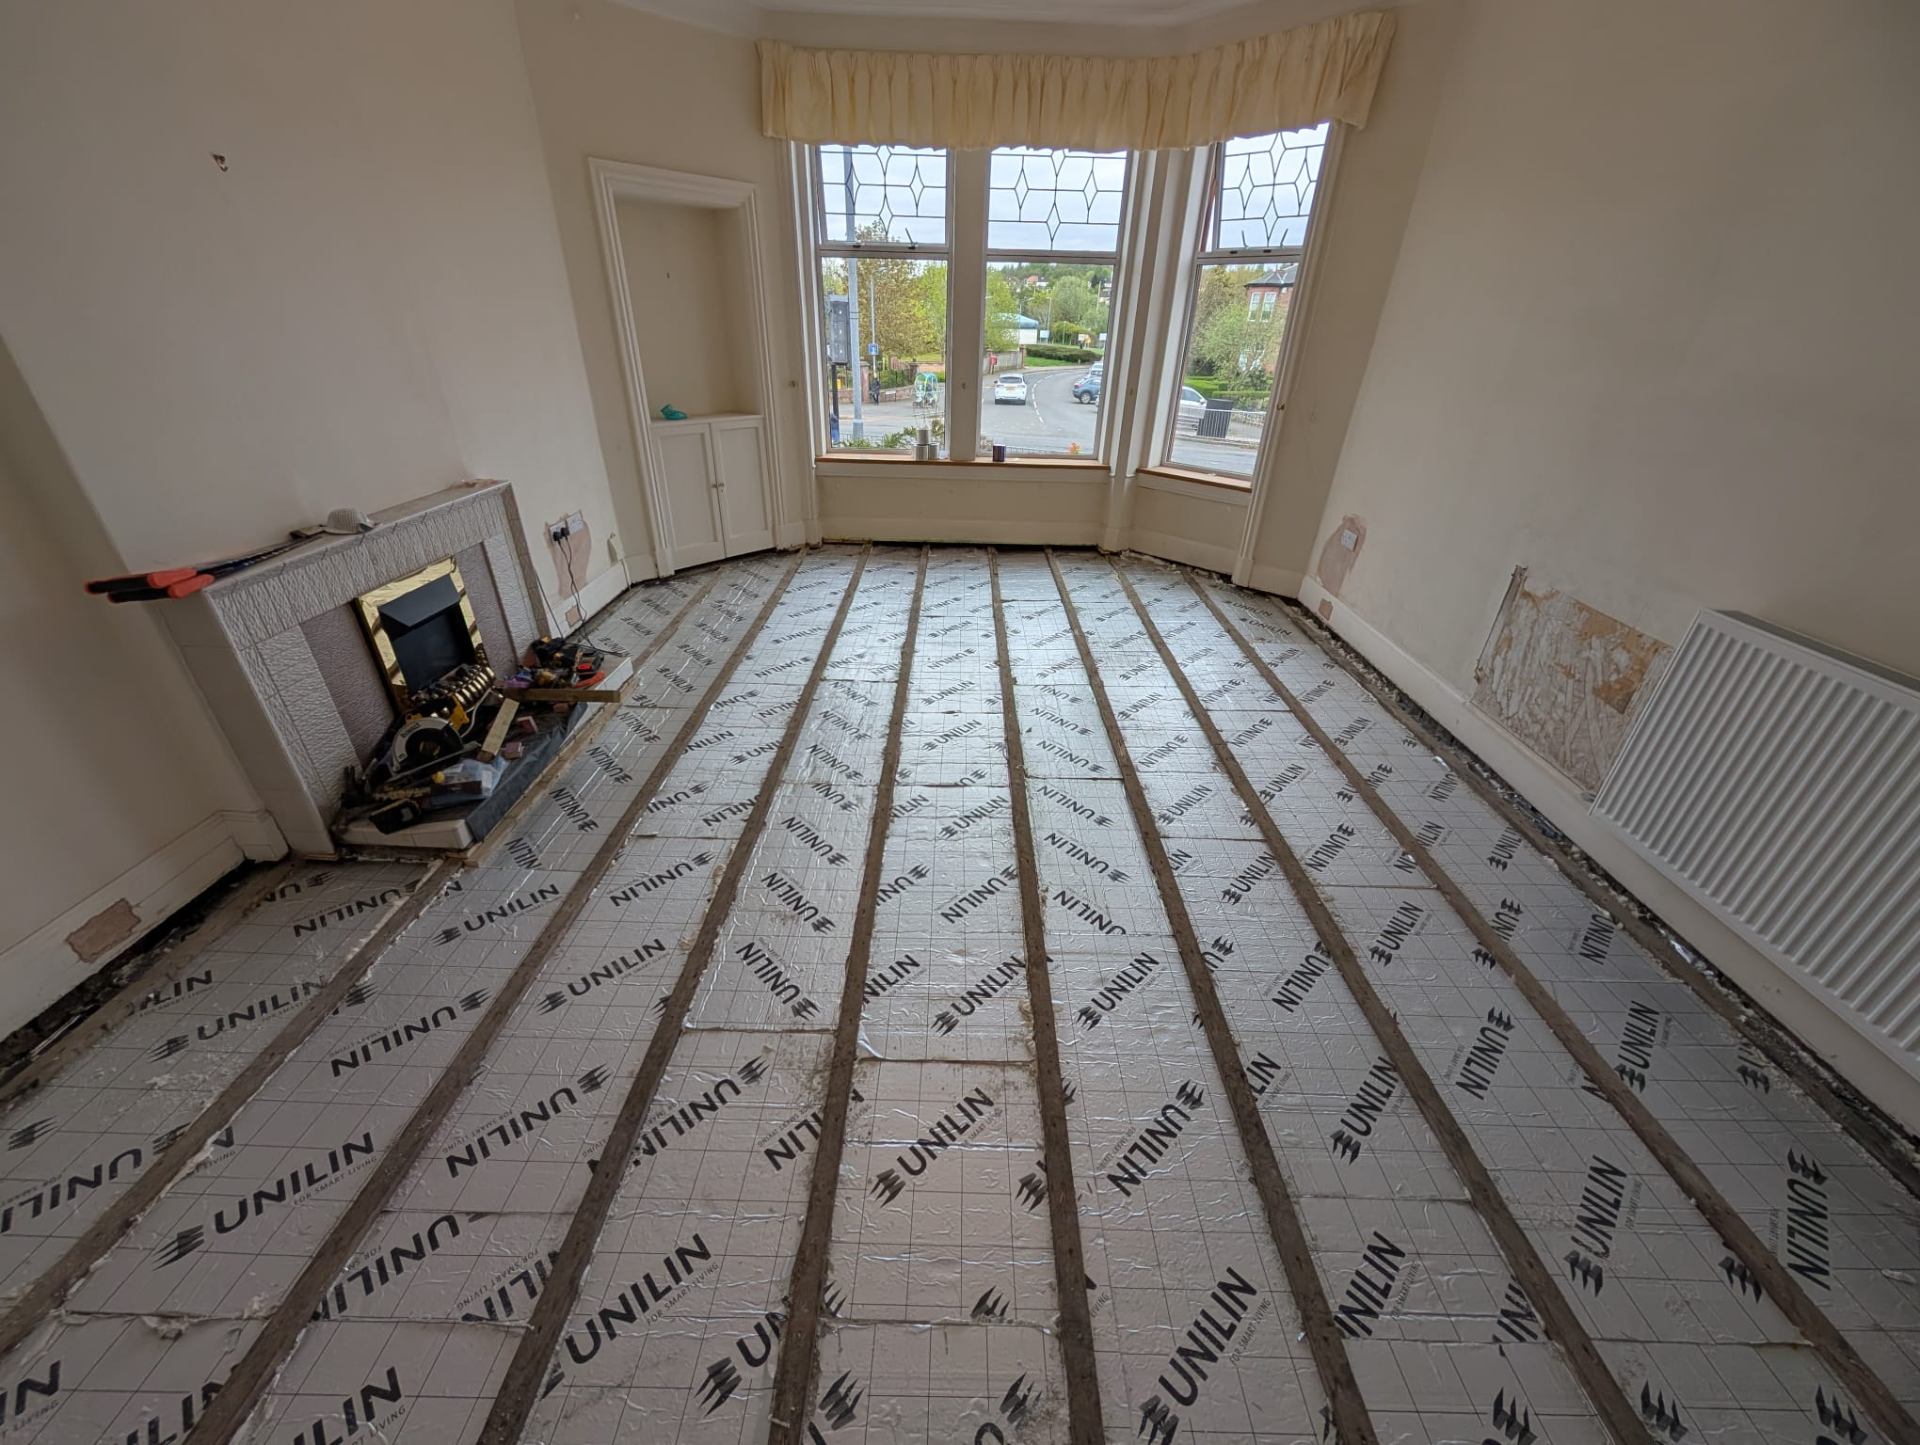
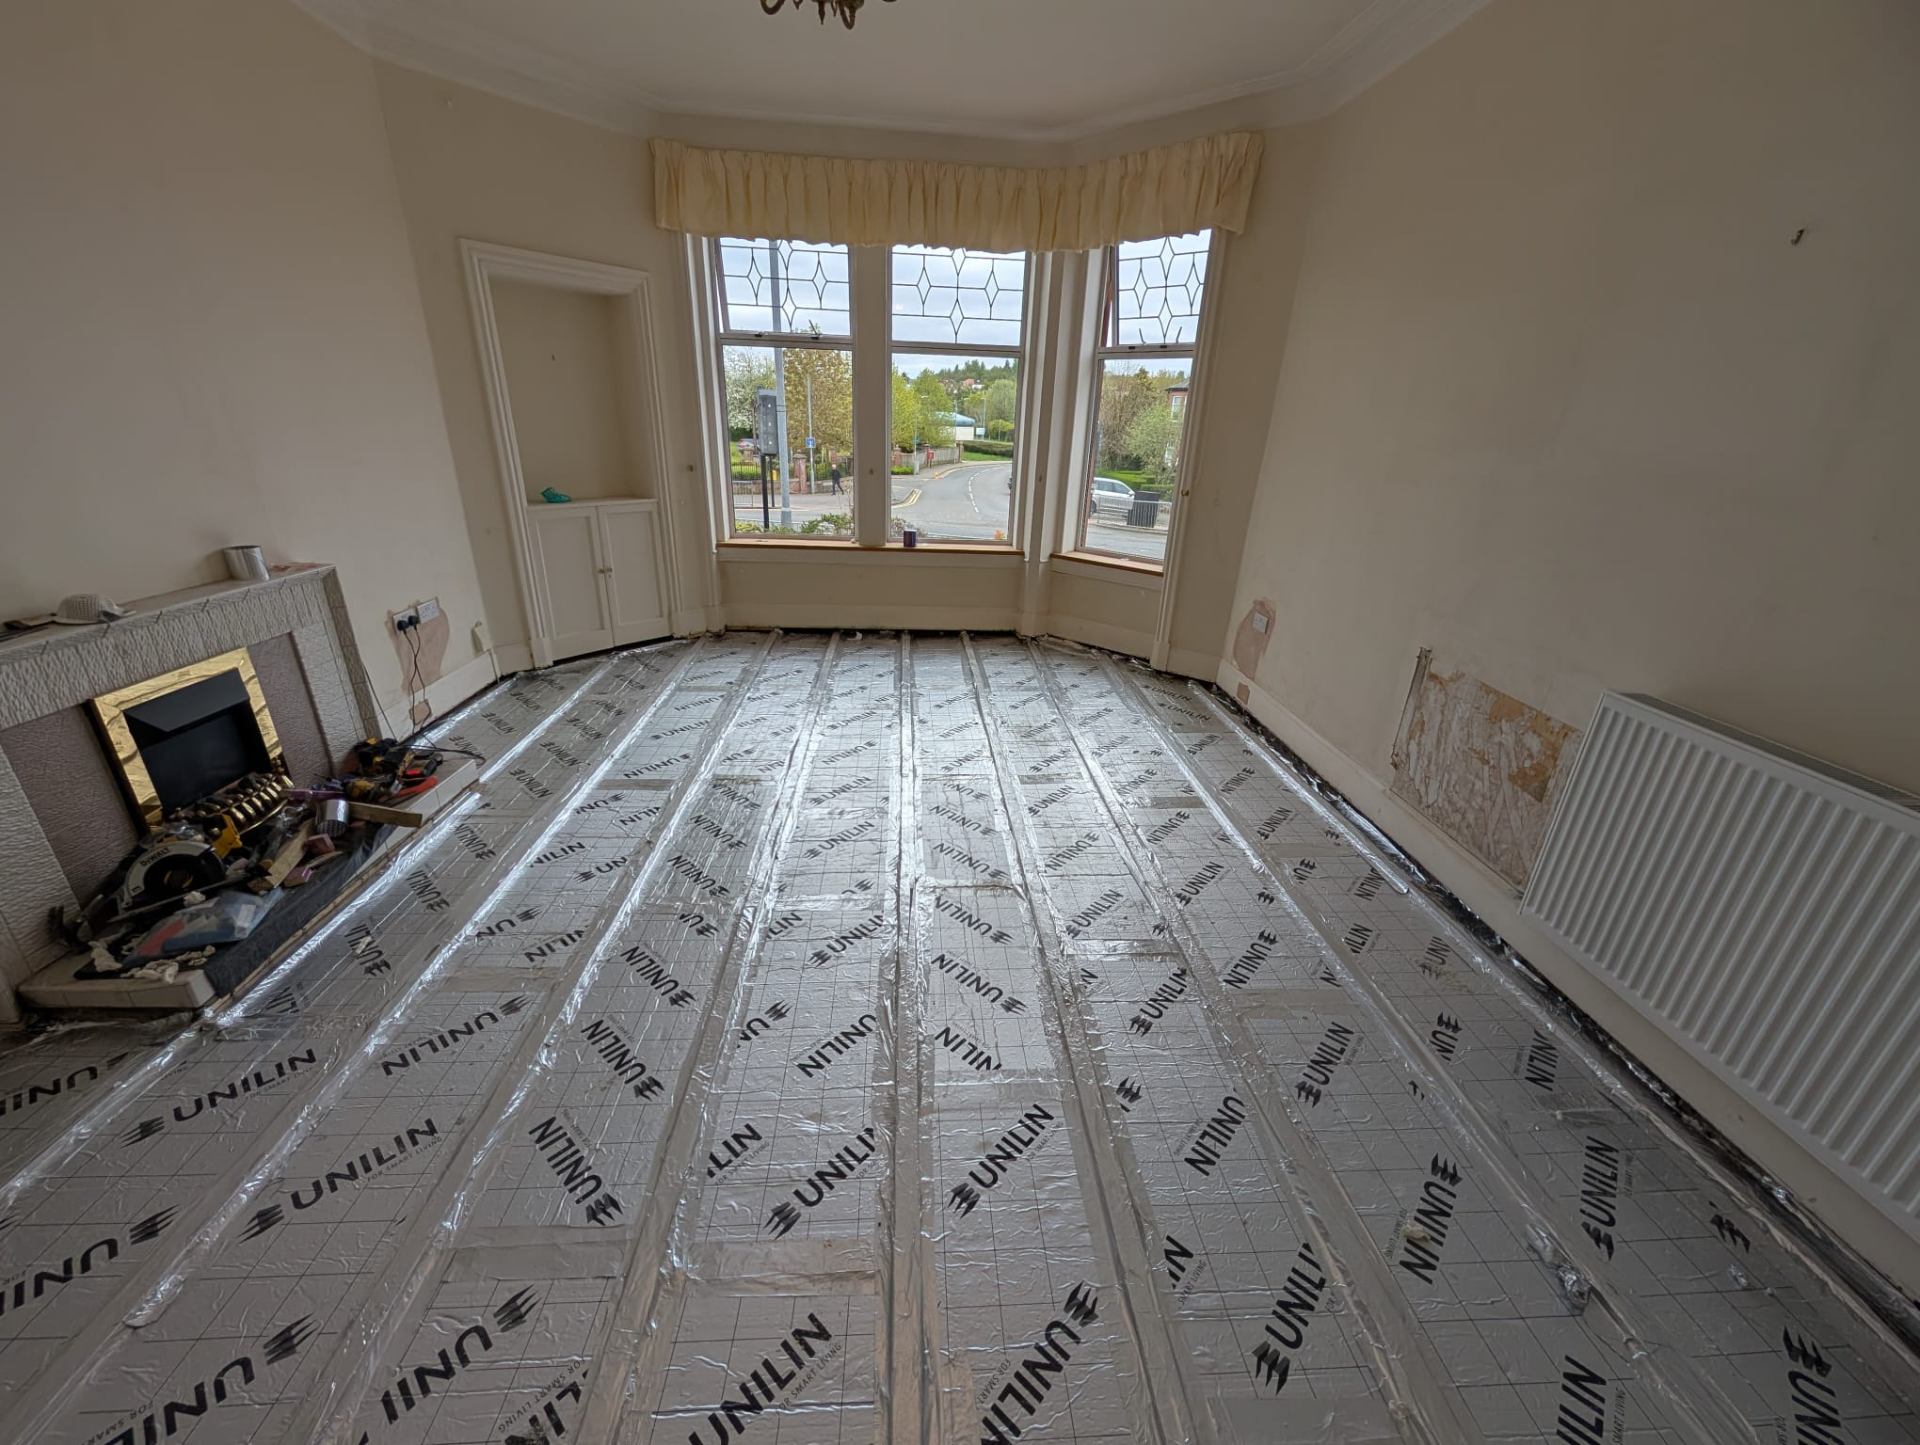
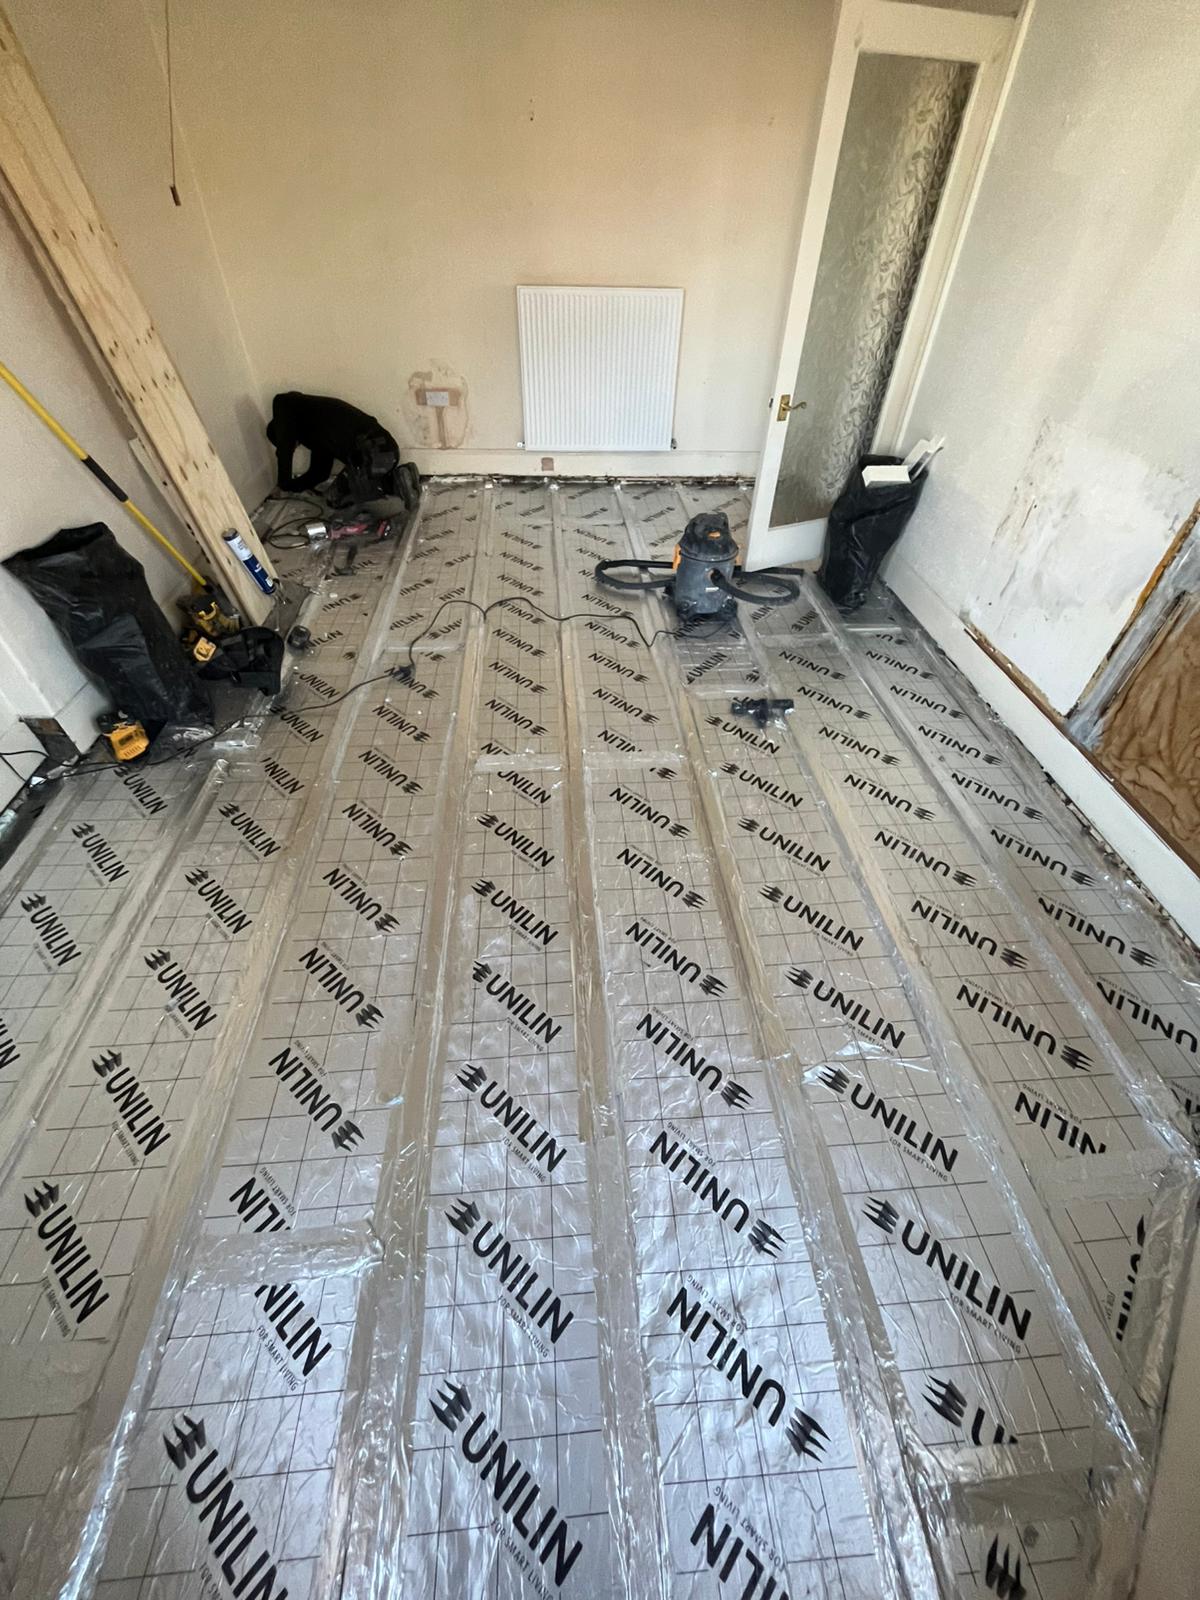
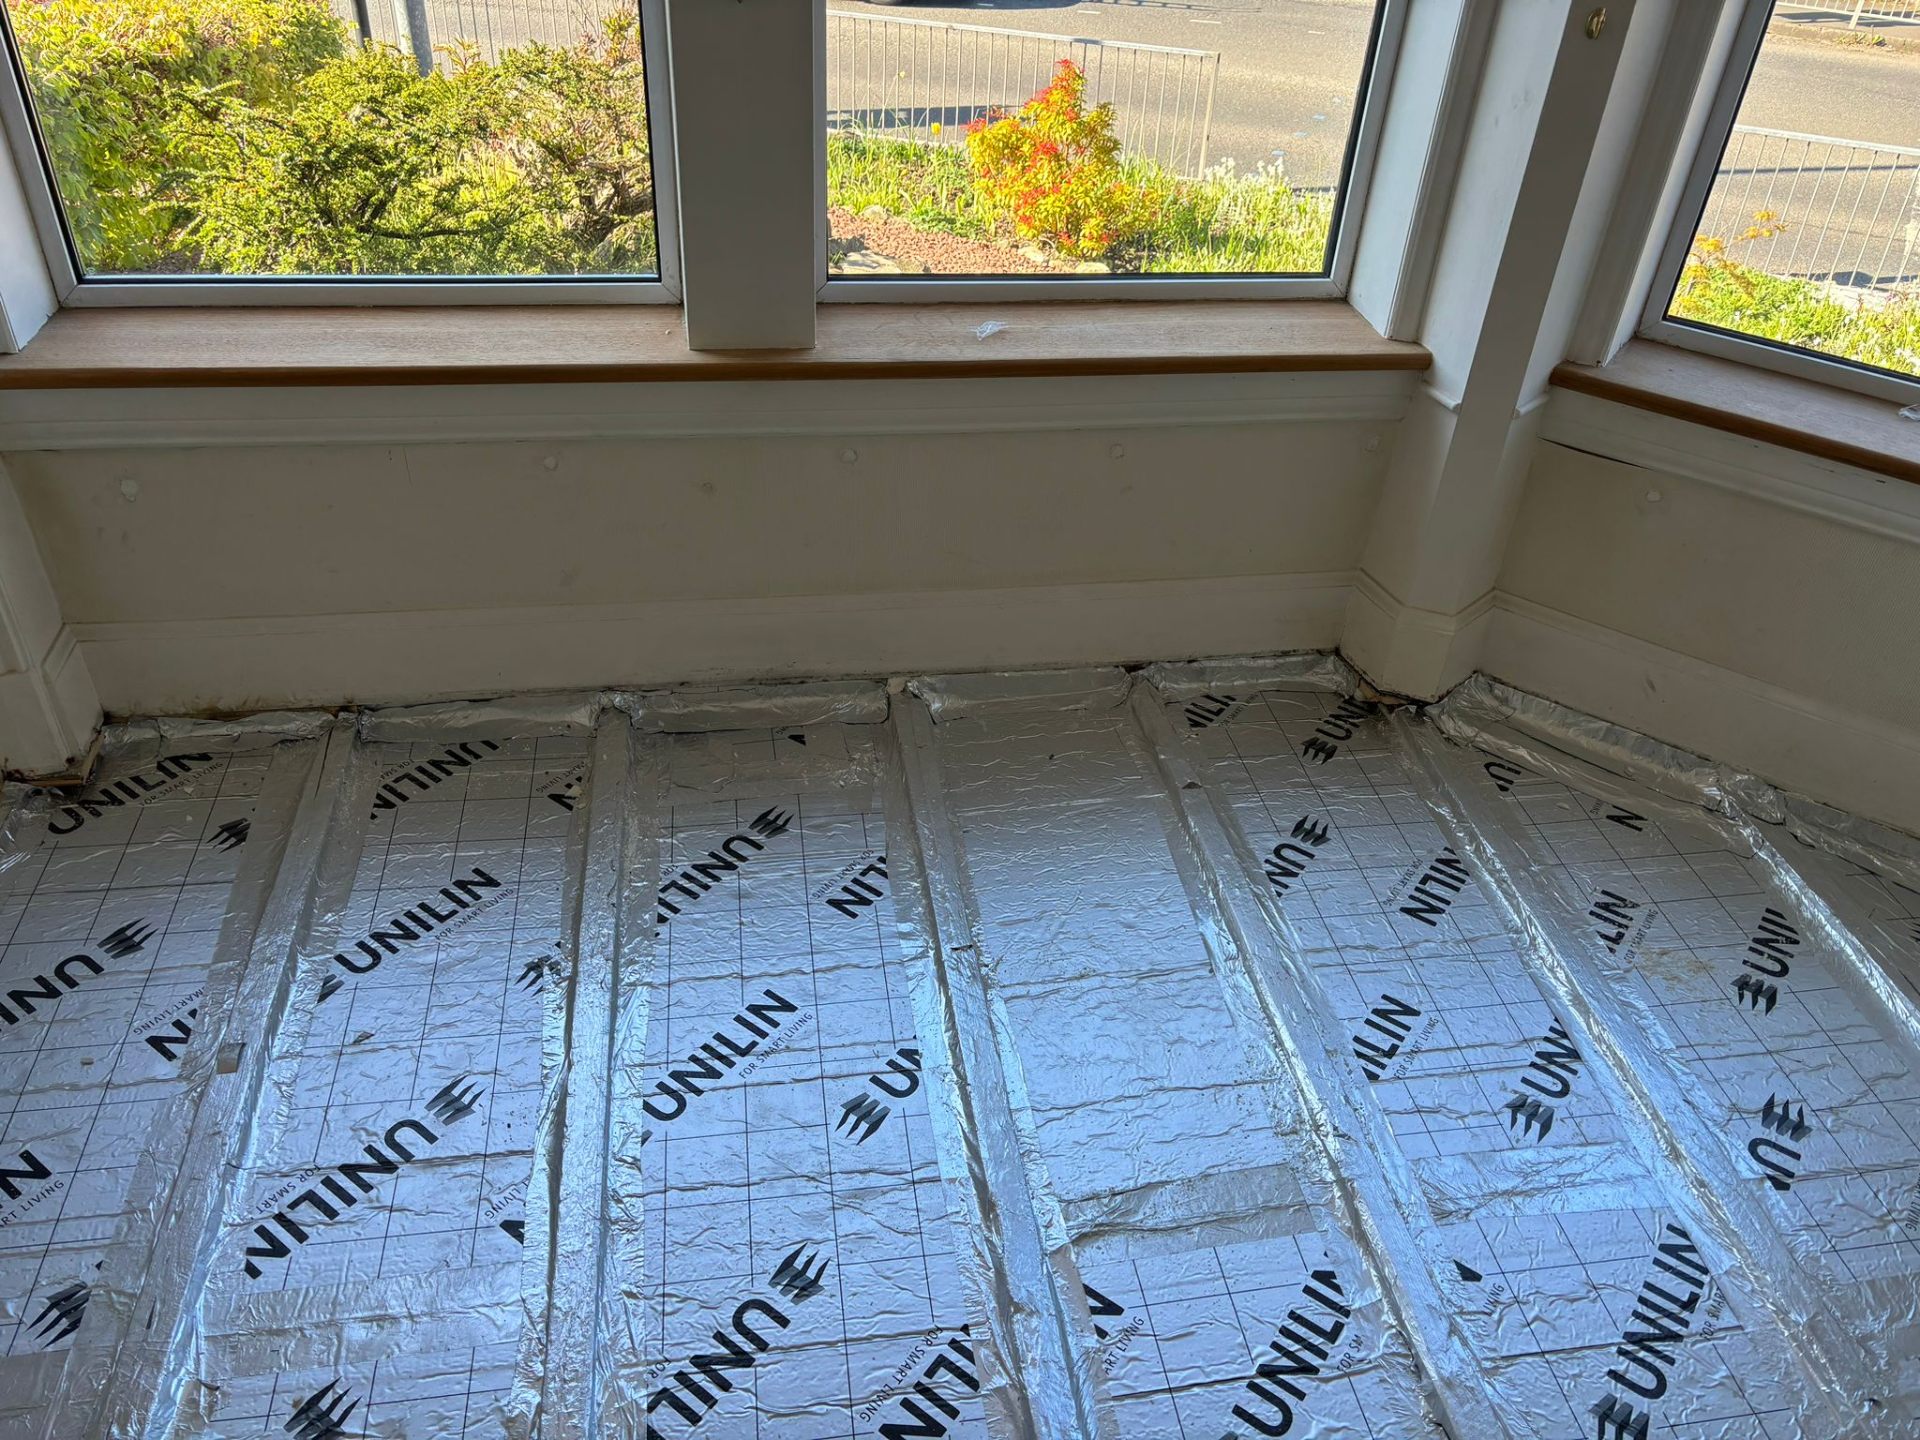
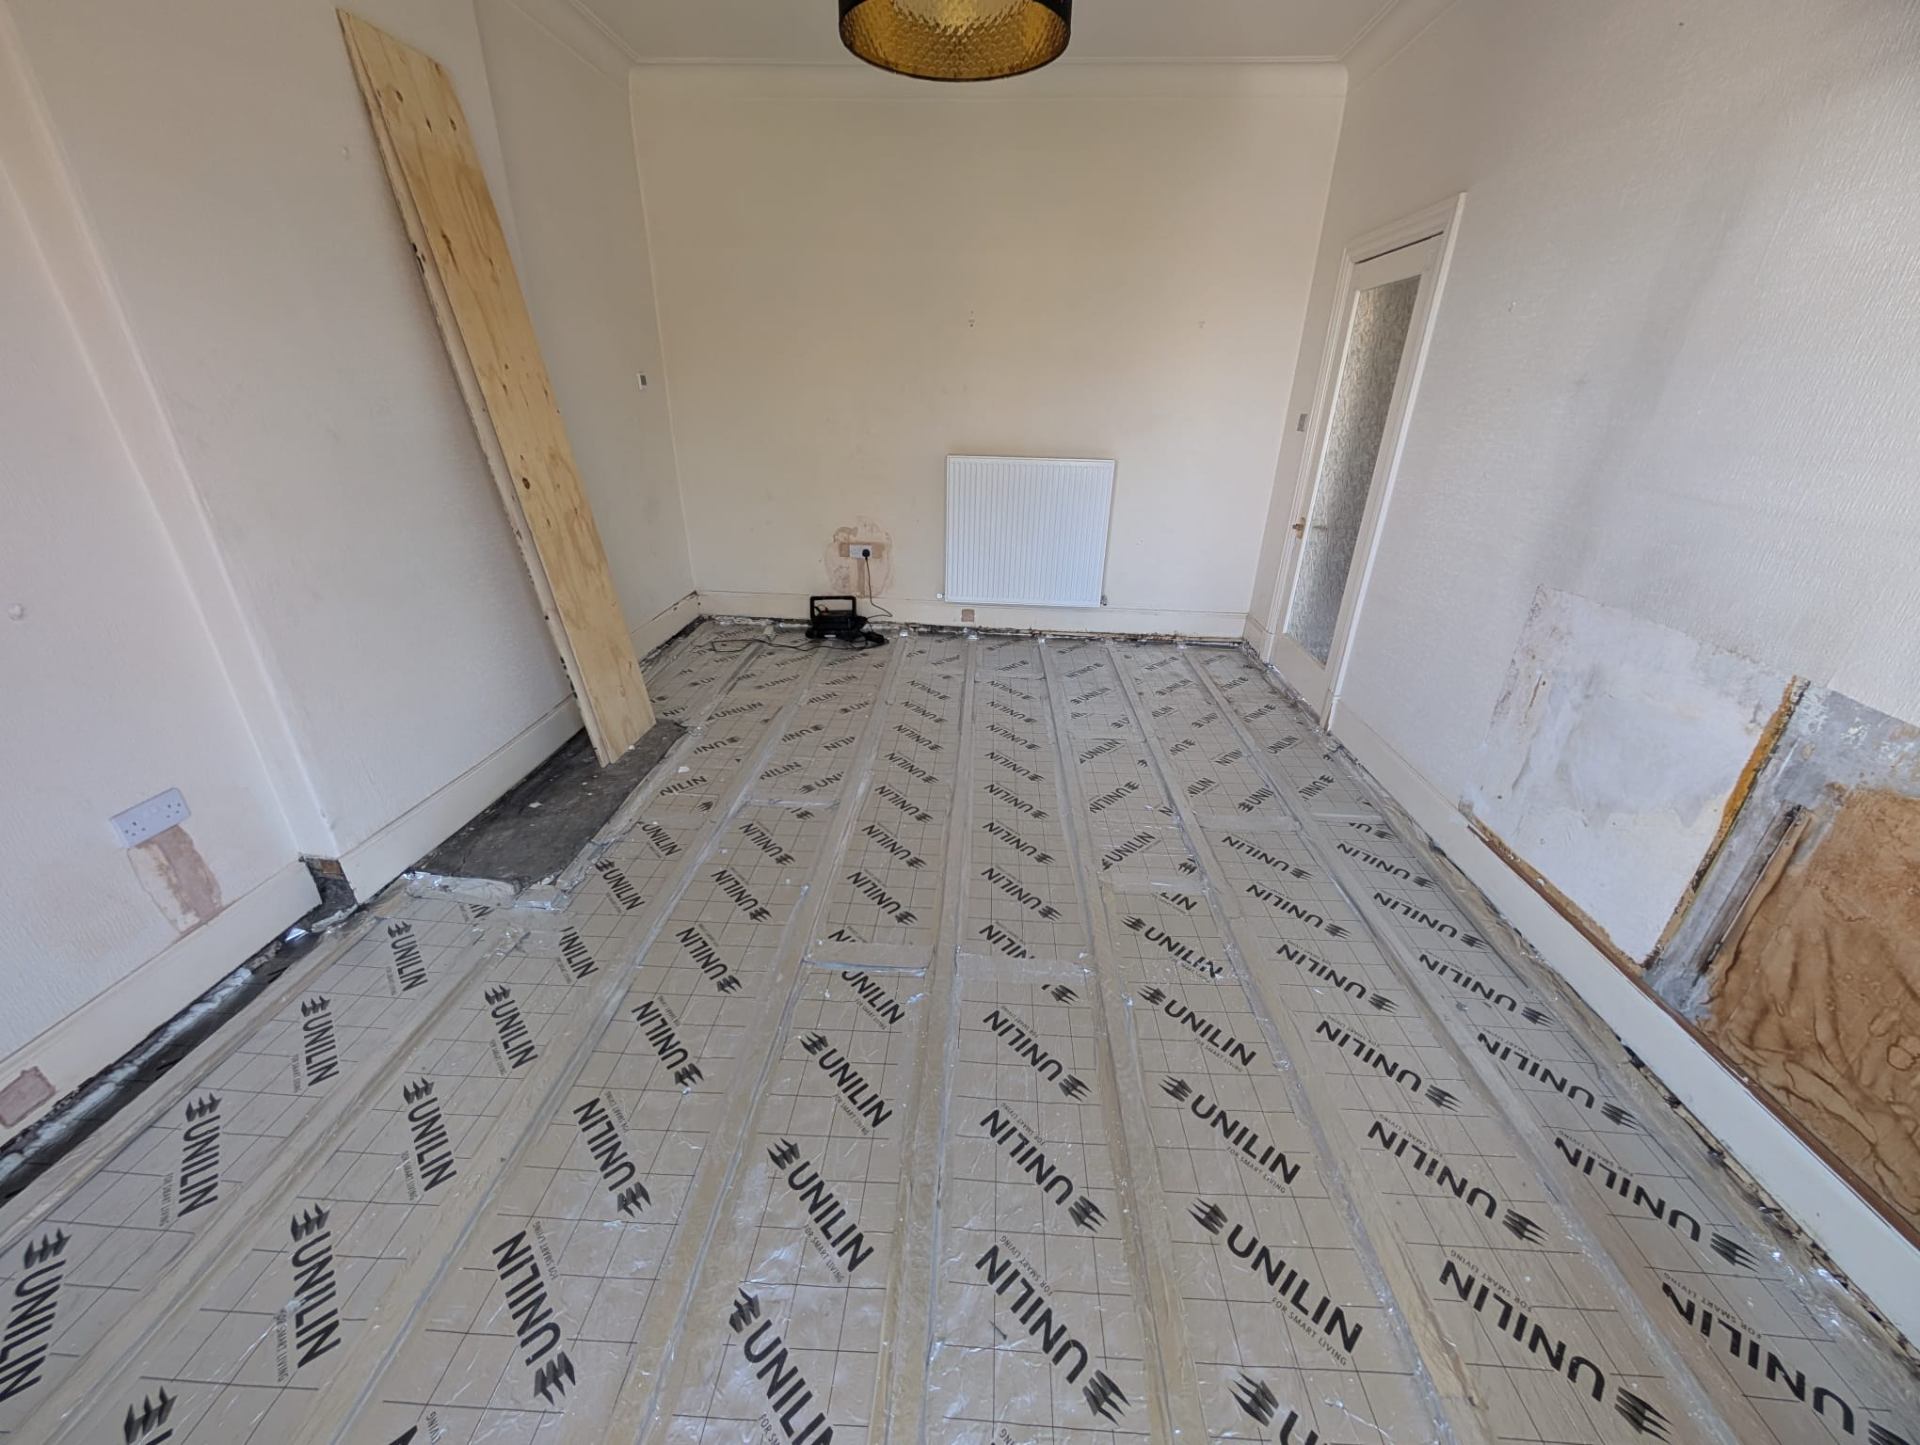
PIR Insulation For Underfloor Heating
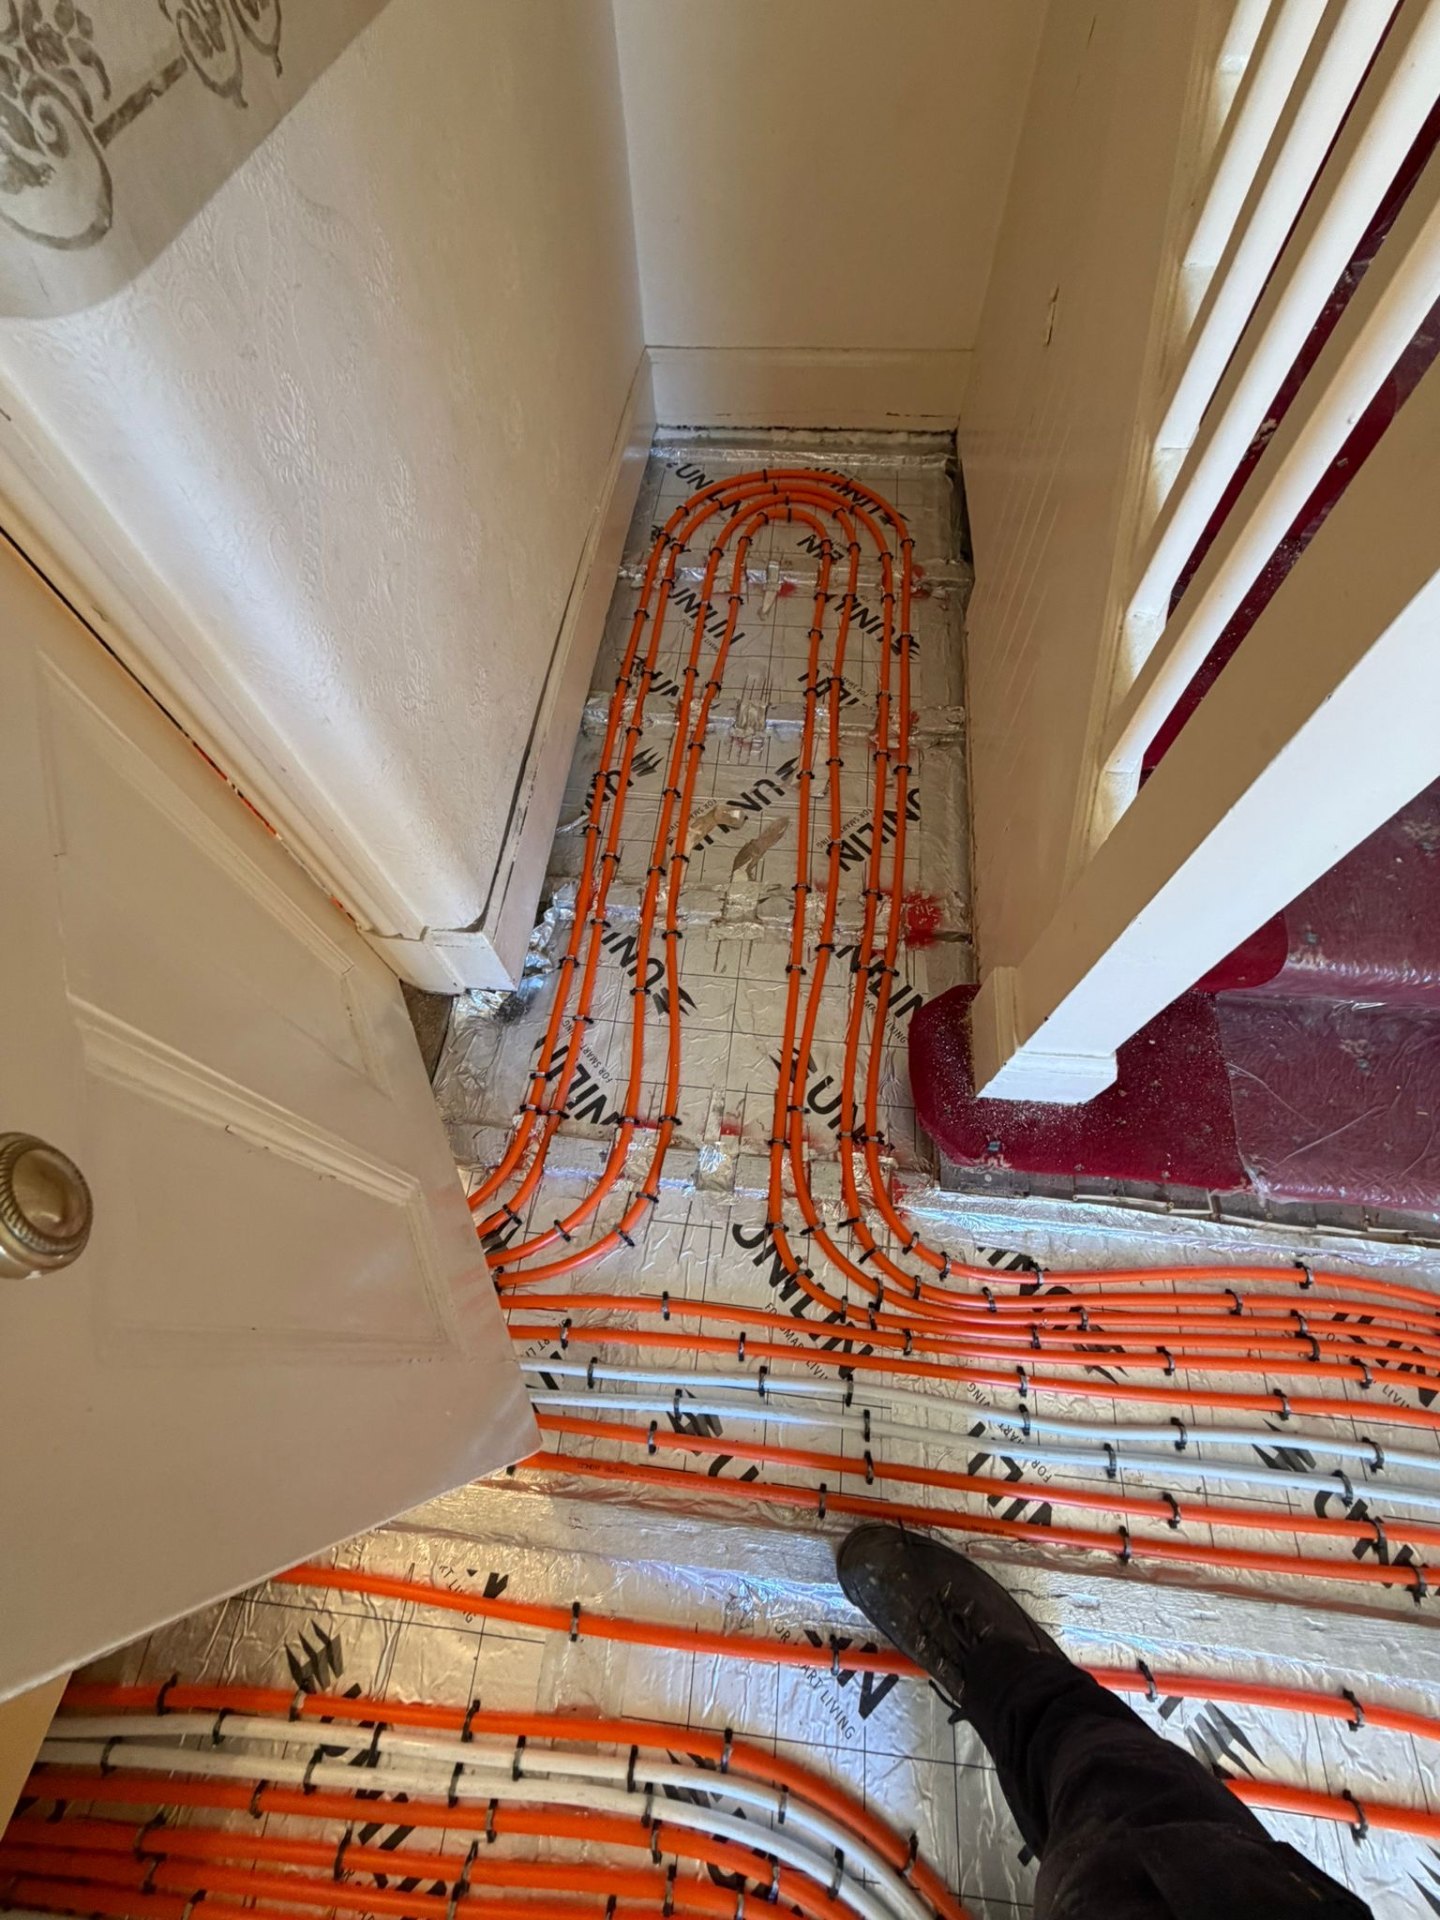
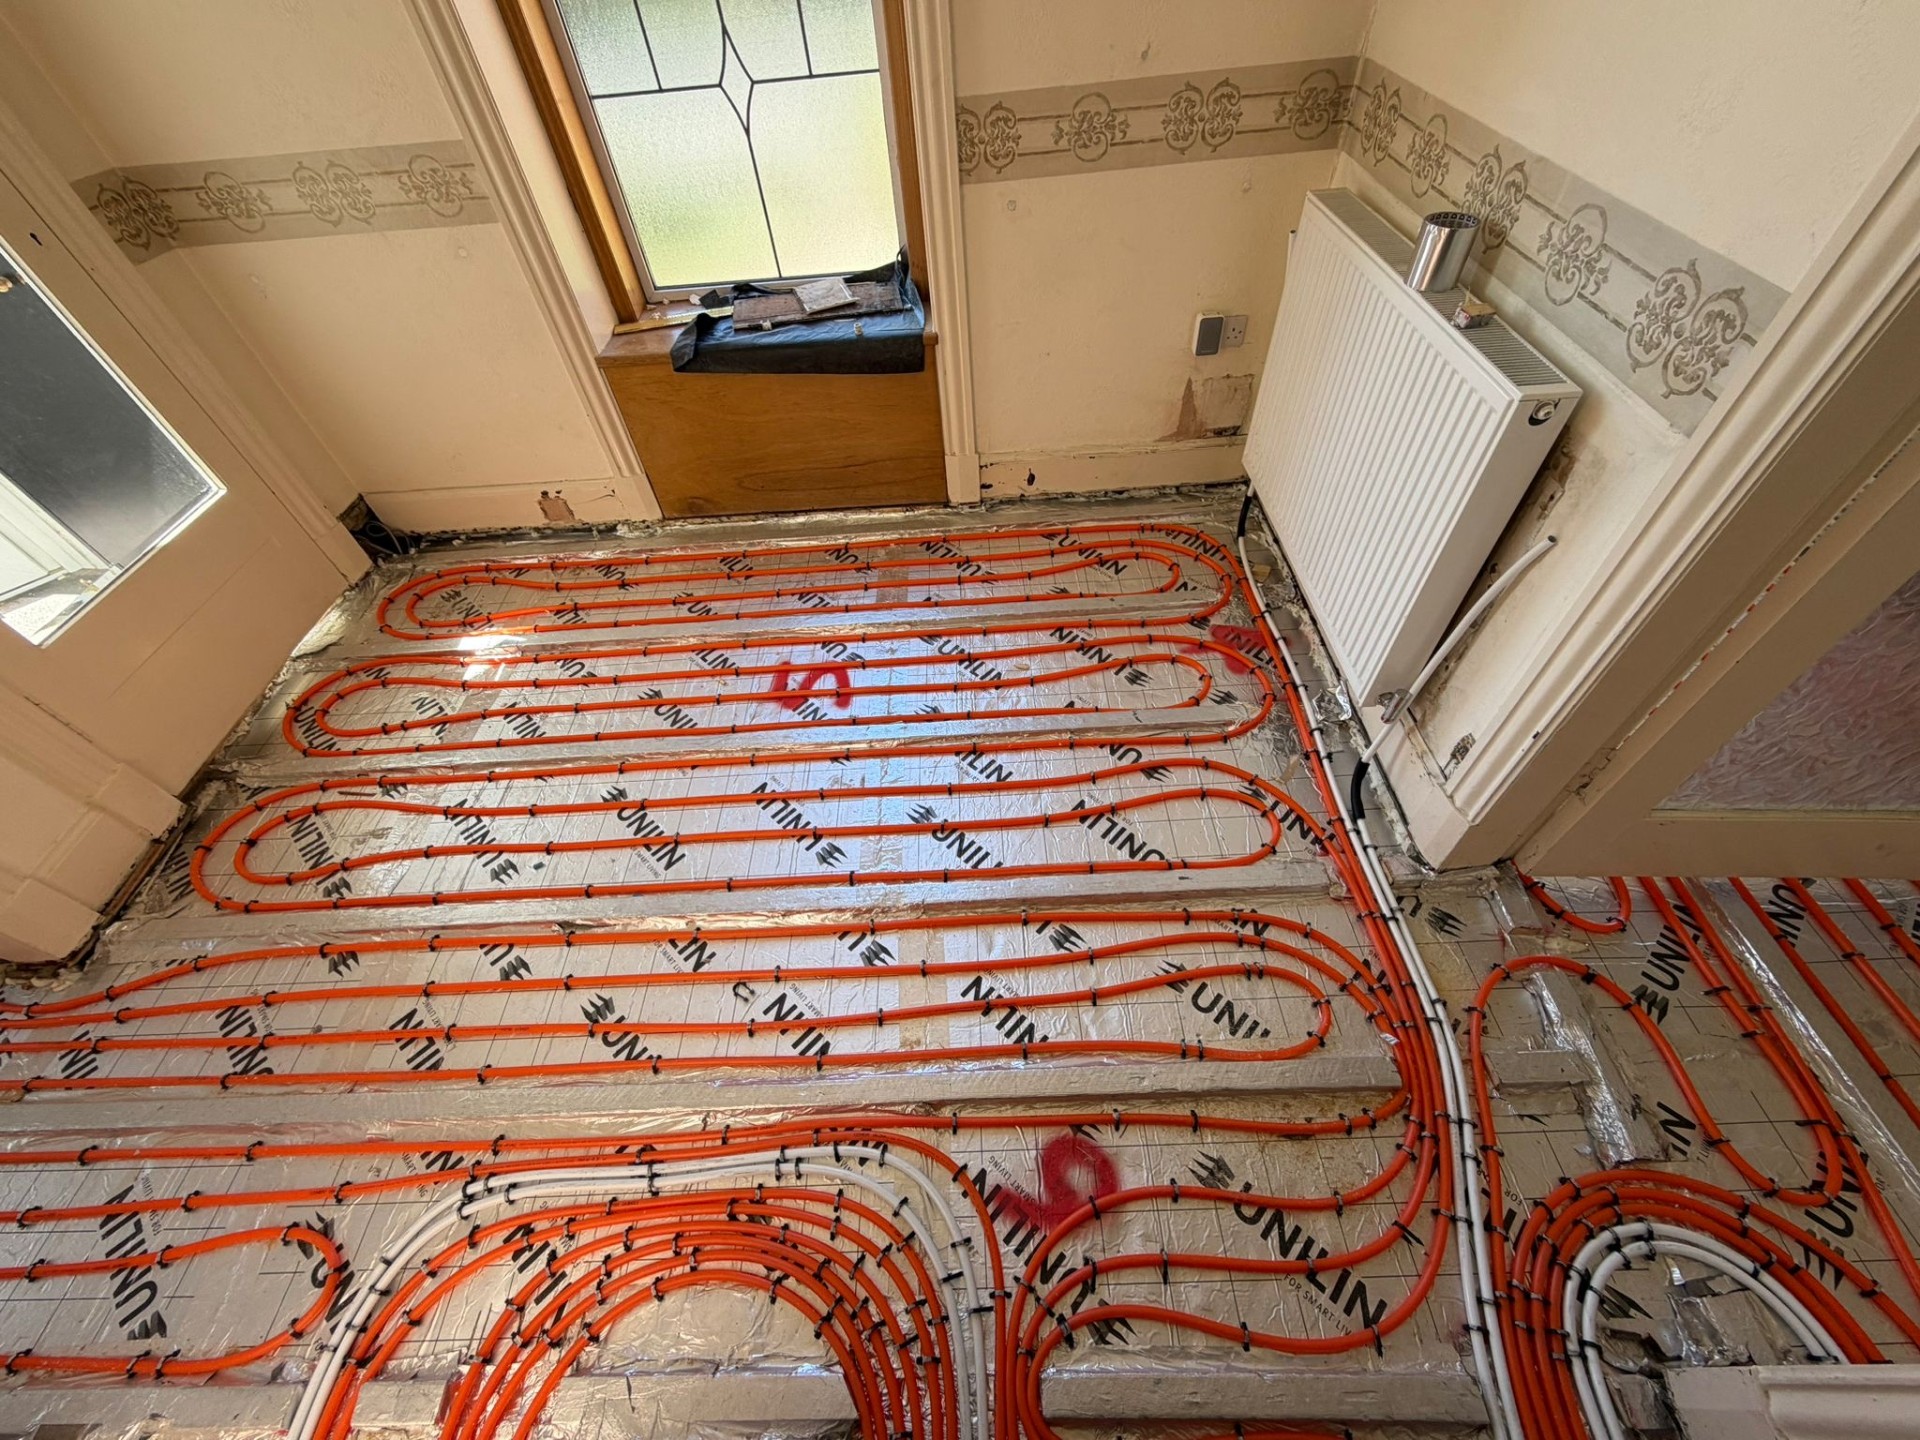
If you are installing underfloor heating the priority for your floor insulation becomes less about preventing cold air infiltration and more about reflecting the warmth generated by the heating system upwards into the home. High performance PIR insulation is what we would recommend for this task as it comes with highly reflective foil facing to reflect the radiant heat upwards and drastically improves the performance of the underfloor heating. Most underfloor heating contractors won't have the required TrustMark certification for Underfloor Insulation so we can carry out this element of the work and access the £1,500 Home Energy Scotland grant to subsidise the cost significantly. We are happy to work hand in hand and liase with your UFH contractor or have several excellent partner organisations we can recommend.
Typical cost: £2,500–£4,500
Process
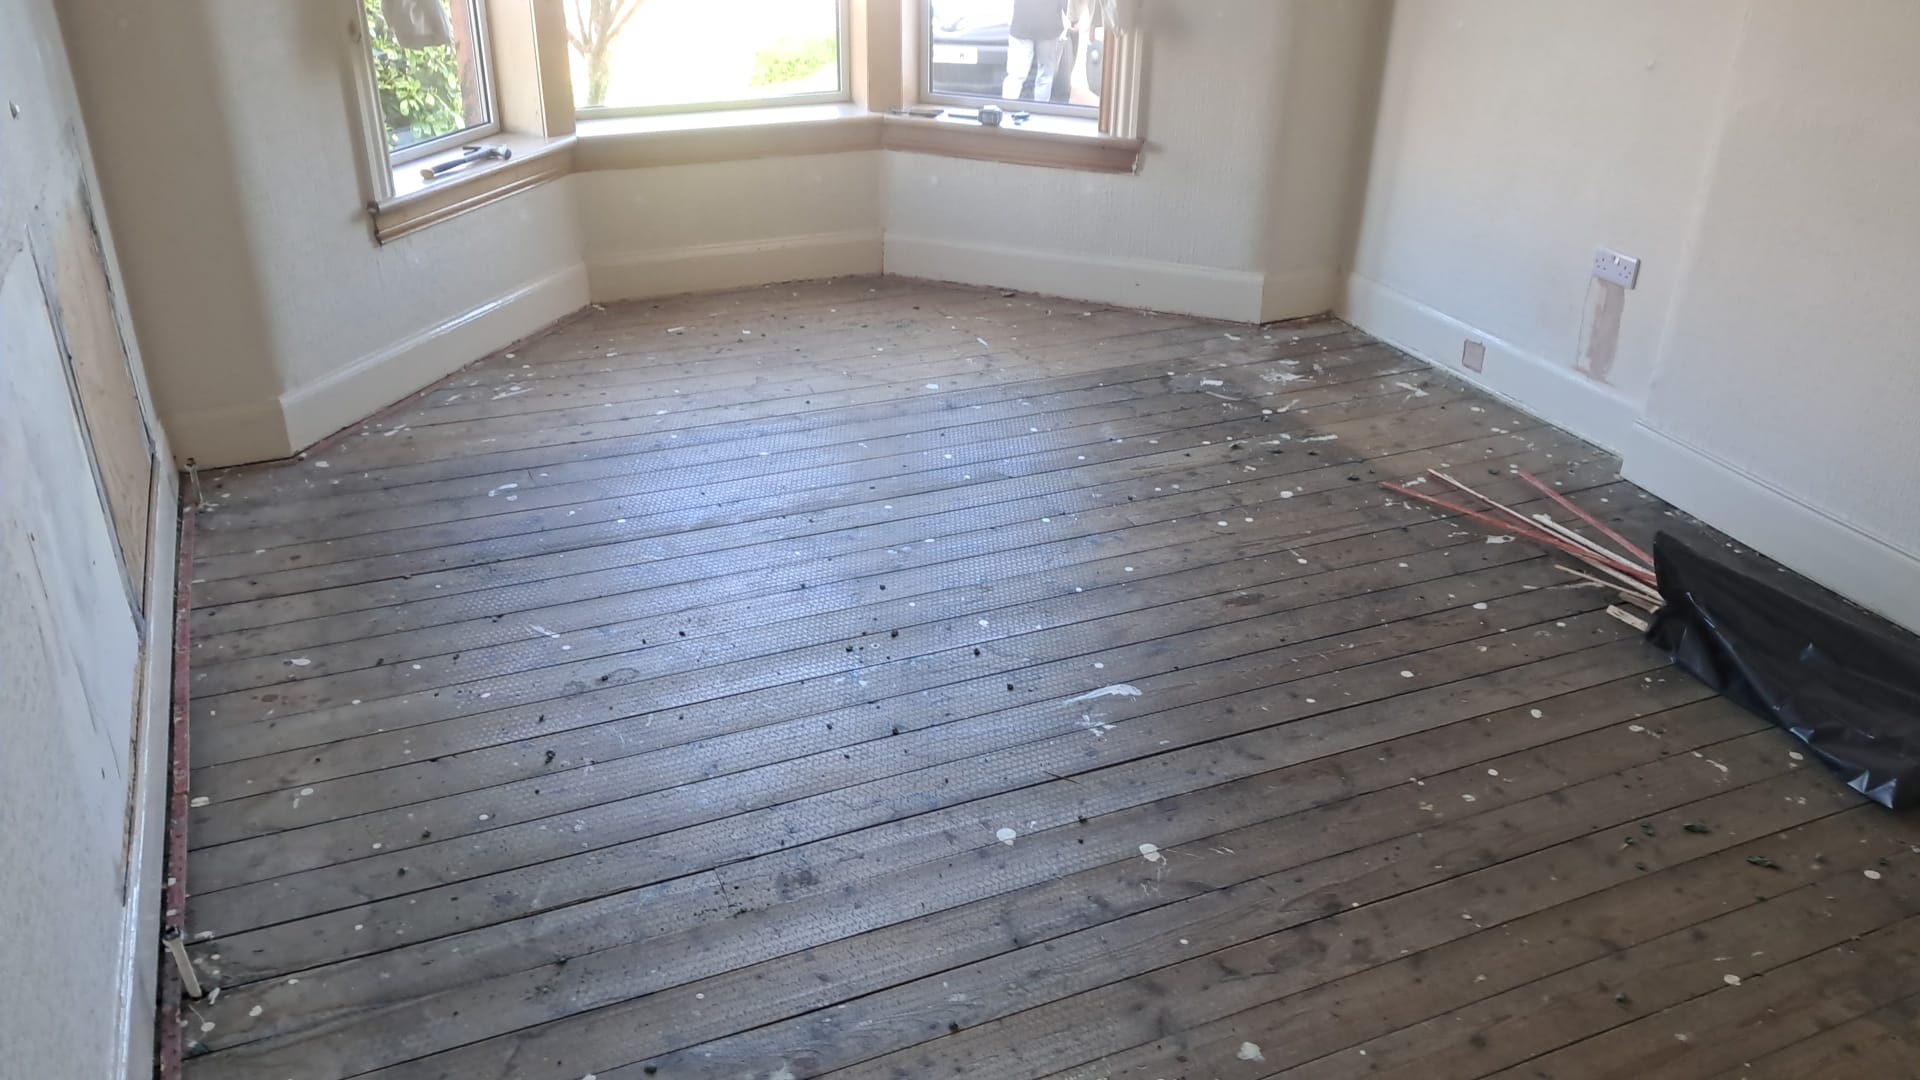
- Step 01
Flooring is taken up and set aside or disposed of.
- Step 02
25mm treated timber battens are installed to provide support for the insulation set at the level required for the underfloor heating system design.
- Step 03
PIR insulation is cut to size of each joist width and installed tightly between floor joists.
- Step 04
High quality airtightness foam is used to fill any small gaps around penetrations and the perimeter walls to seal any inconsistencies where the insulation meets the walls.
- Step 05
Foil tape covers all joins and where insulation meets the joists.
- Step 06
Underfloor Heating system is installed by your contractor or one of our partner companies.
- Step 07
Flooring is reinstated or new flooring installed.
Underfloor Insulation for Underfloor Heating
Loft Insulation
One of the most effective ways to improve a home's energy efficiency — lower bills, better comfort and decades of payback.
Internal Wall Insulation
Bespoke vapour-closed and heritage vapour-open systems for solid-wall Welsh homes — without changing the outside of the building.
Cavity Wall Insulation
Fill the gap between your walls with non-absorbent EPS bead — a one-day job with decades of payback.